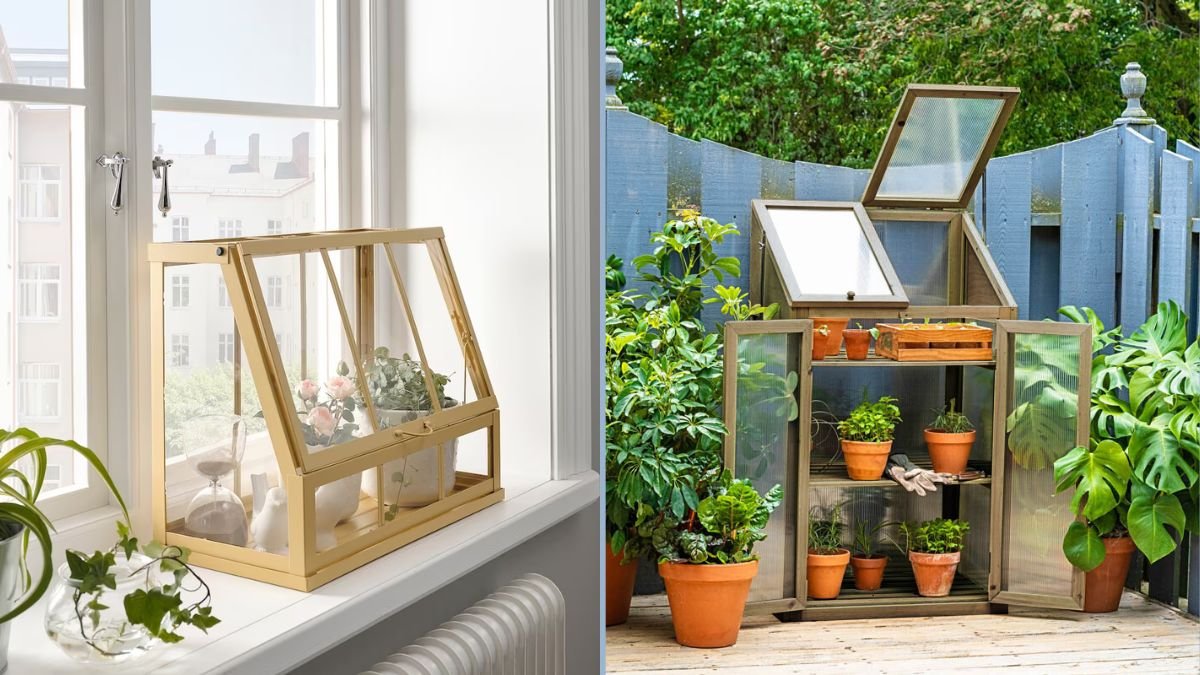
Urban living often limits space for gardening, making traditional outdoor gardens challenging. However, growing plants on a windowsill is an excellent way to enjoy greenery, cultivate herbs, vegetables, and small plants, and create a calming indoor environment. A DIY mini greenhouse for windowsill plants allows gardeners to optimize light, temperature, and humidity, creating ideal conditions for plant growth even in small spaces. This article provides a comprehensive guide for building, maintaining, and benefiting from a windowsill mini greenhouse using entirely plant-based and sustainable methods.
Why a Mini Greenhouse?
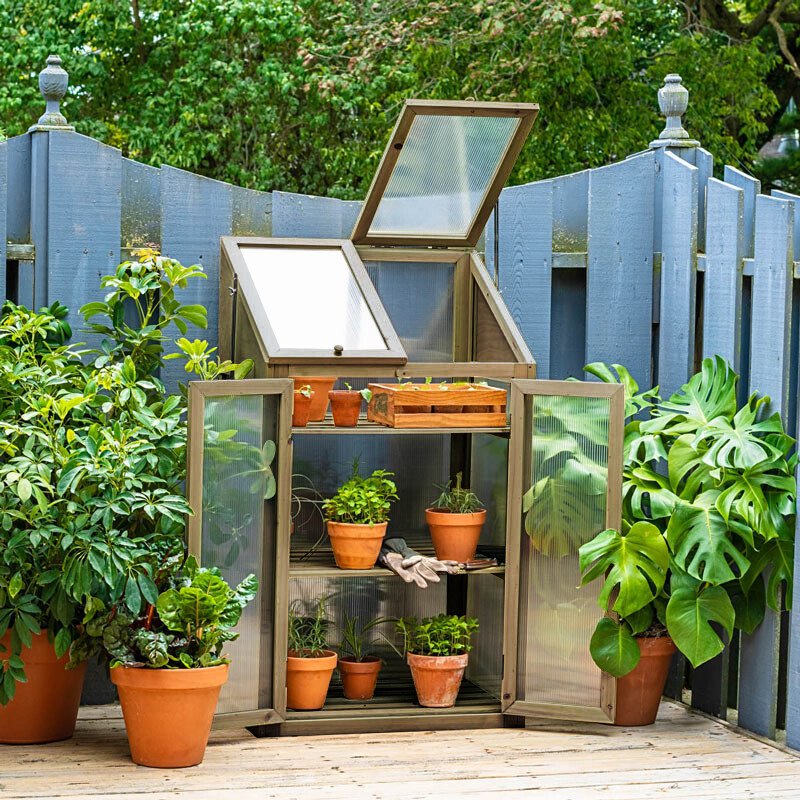
Mini greenhouses are small, enclosed structures designed to protect plants and enhance growth conditions. Benefits include:
- Optimal Growth Conditions: Maintains stable temperature and humidity for seedlings, herbs, and vegetables.
- Extended Growing Season: Allows plants to thrive year-round, even in cooler months.
- Protection: Shields plants from indoor drafts, dust, and temperature fluctuations.
- Space Efficiency: Perfect for small apartments, studios, or homes with limited outdoor space.
- Sustainability: Encourages home-grown, chemical-free produce, reducing reliance on store-bought items.
Mini greenhouses can be built from simple, inexpensive materials and customized to fit windowsills of all sizes.
Essential Components of a Windowsill Mini Greenhouse
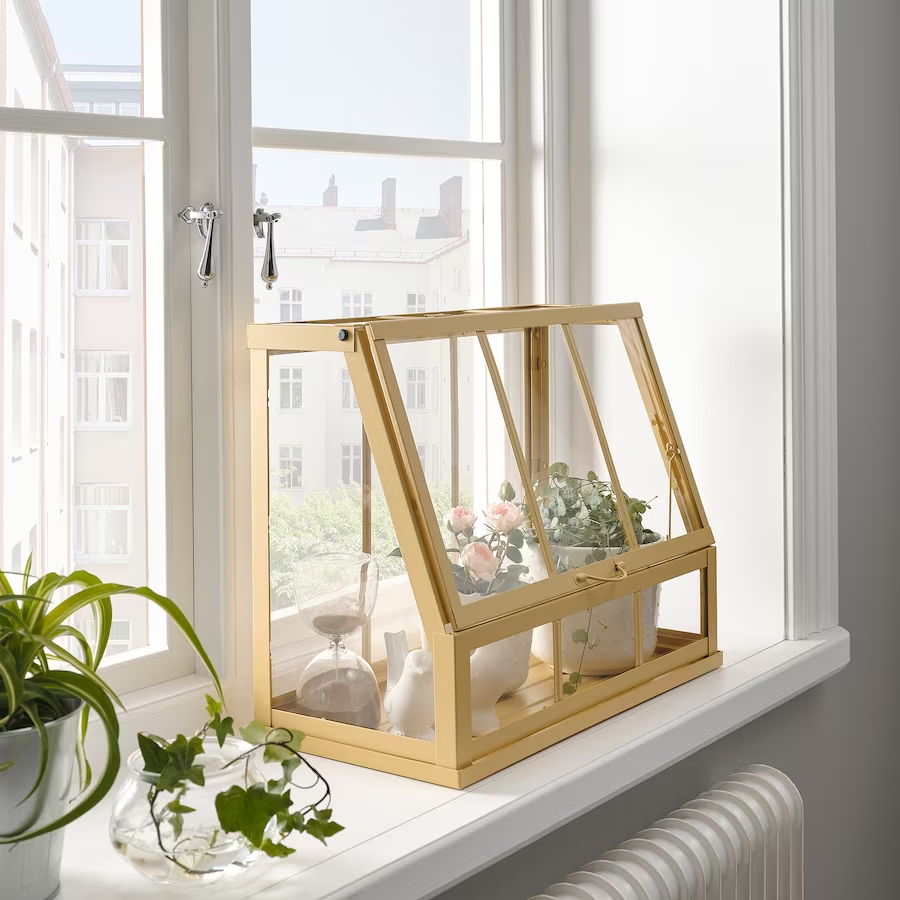
Creating a productive mini greenhouse requires attention to several key elements: light, containers, soil, water, and ventilation.
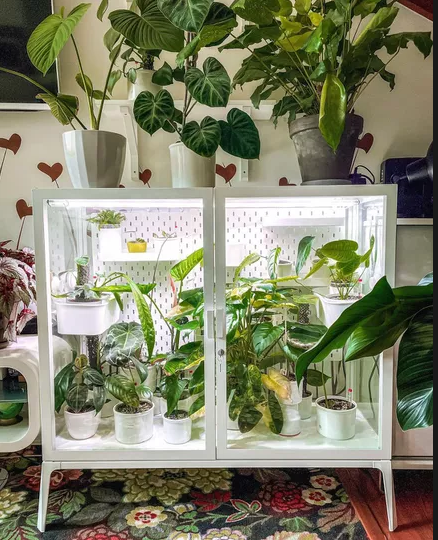
1. Light
- Most plants require 4–6 hours of sunlight daily.
- South-facing windows provide ideal natural light.
- In low-light conditions, supplement with LED or fluorescent grow lights to ensure robust growth.
2. Containers
- Use small pots, seed trays, or recycled containers with drainage holes.
- Shallow containers work for leafy greens and herbs; deeper ones are ideal for small root vegetables.
- Lightweight materials like plastic, ceramic, or terracotta are suitable for easy handling.
3. Soil and Substrate
- A well-draining potting mix enriched with organic compost is essential.
- Avoid garden soil that may compact and impede root growth.
- Soil can be further improved with plant-based fertilizers such as compost tea or seaweed extract.
4. Watering
- Keep soil consistently moist but avoid waterlogging, which can lead to root rot.
- Use spray bottles, small watering cans, or self-watering trays for controlled hydration.
- Misting can help maintain humidity inside the greenhouse.
5. Ventilation
- Mini greenhouses must allow airflow to prevent mold, fungal growth, and overheating.
- Include adjustable vents or removable covers to regulate humidity and temperature.
Choosing Plants for a Windowsill Mini Greenhouse
Certain plants thrive in the controlled environment of a mini greenhouse. Beginners should select fast-growing, compact, and low-maintenance varieties.
1. Leafy Greens
Examples: Lettuce, spinach, arugula, kale
Growth Time: 25–45 days
Tips:
- Use shallow containers for optimal growth.
- Harvest outer leaves first to allow continuous regrowth.
- Requires bright, indirect sunlight or supplemental grow lights.
2. Herbs
Examples: Basil, cilantro, parsley, mint, dill, chives
Growth Time: 20–40 days
Tips:
- Ideal for small pots or seed trays.
- Regular trimming promotes bushy growth and stronger flavor.
- Perfect for daily cooking and garnishes.
3. Microgreens
Examples: Broccoli sprouts, radish sprouts, mustard greens
Growth Time: 7–14 days
Tips:
- Use shallow trays for easy harvesting.
- Maintain consistent moisture and indirect light.
- Harvest when seedlings develop the first true leaves.
4. Edible Flowers
Examples: Nasturtium, pansy, calendula
Growth Time: 40–60 days
Tips:
- Adds color and flavor to salads, teas, and desserts.
- Trim regularly and remove spent blooms to encourage continuous flowering.
Step-by-Step Guide to Building a DIY Mini Greenhouse
Step 1: Selecting the Frame
- Use lightweight wood, plastic, or repurposed materials for the frame.
- Size should fit your windowsill comfortably, allowing room for plant containers.
Step 2: Covering Material
- Transparent materials like clear plastic sheets, acrylic panels, or recycled plastic bottles allow light penetration.
- Ensure the cover is removable or has adjustable flaps for ventilation.
Step 3: Container Arrangement
- Arrange containers inside the greenhouse to maximize space and sunlight exposure.
- Place taller plants at the back and shorter ones in front.
Step 4: Ventilation Setup
- Include small vents or gaps at the top or sides to allow airflow.
- Open vents on hot days to prevent overheating; close them on cooler days to retain warmth.
Step 5: Watering System
- Use a spray bottle, drip trays, or self-watering containers for efficient irrigation.
- Avoid waterlogging to prevent root rot.
Step 6: Lighting
- Ensure all plants receive adequate light; rotate containers periodically.
- In low-light conditions, position LED grow lights above the greenhouse for 6–8 hours daily.
Maintenance Tips for Mini Greenhouses
- Regular Watering: Maintain consistent moisture without overwatering.
- Fertilization: Apply plant-based, organic fertilizers every 2–3 weeks.
- Pruning: Trim herbs, leafy greens, and flowering plants to encourage growth.
- Pest Monitoring: Inspect plants regularly and use organic methods like neem oil or manual removal if pests appear.
- Cleaning: Wipe down greenhouse panels to maintain light penetration and prevent algae or mold buildup.
Harvesting Tips
- Leafy Greens: Use the cut-and-come-again method to maintain continuous production.
- Herbs: Snip leaves frequently; avoid removing more than one-third at a time.
- Microgreens: Harvest when seedlings are 2–3 inches tall.
- Edible Flowers: Pick blossoms early in the day for maximum flavor and freshness.
Frequent harvesting encourages new growth and maintains plant health.
Common Challenges and Solutions
| Challenge | Cause | Solution |
|---|---|---|
| Leggy seedlings | Insufficient light | Supplement with LED grow lights and rotate containers |
| Mold or fungal growth | Excess moisture or poor airflow | Open vents, reduce watering, and improve ventilation |
| Slow growth | Nutrient deficiency | Apply plant-based fertilizers and compost |
| Overheating | Sunlight intensity | Adjust cover or open vents to regulate temperature |
| Pest infestation | Aphids or mites | Use neem oil spray or manual removal |
Sustainability Practices for Mini Greenhouses
- Organic Fertilizers: Use compost, compost tea, or seaweed extract.
- Water Recycling: Reuse kitchen water or collect rainwater for irrigation.
- Upcycling Materials: Repurpose jars, bottles, and trays for containers and covers.
- Plant-Based Gardening: Avoid synthetic fertilizers and chemical pesticides entirely.
Benefits of a Windowsill Mini Greenhouse
- Year-Round Growth: Allows plants to thrive regardless of seasonal changes.
- Space Efficiency: Perfect for apartments and small homes.
- Fresh Ingredients: Continuous access to herbs, greens, and microgreens for daily cooking.
- Therapeutic Value: Gardening indoors reduces stress and promotes mindfulness.
- Sustainability: Encourages chemical-free, eco-friendly food production.
Conclusion
A DIY mini greenhouse for windowsill plants is an innovative and effective solution for urban gardening. By providing a controlled environment with stable temperature, humidity, and light, a mini greenhouse ensures healthy, fast-growing plants. Leafy greens, herbs, microgreens, and edible flowers flourish in these conditions, offering fresh, plant-based ingredients for daily meals.
With simple materials, plant-based fertilizers, and regular care, even small apartments can host thriving mini greenhouses that enhance interiors, support sustainable living, and provide therapeutic benefits. Creating your own windowsill greenhouse allows urban dwellers to experience the joy of gardening from seed to harvest, all within the comfort of home.