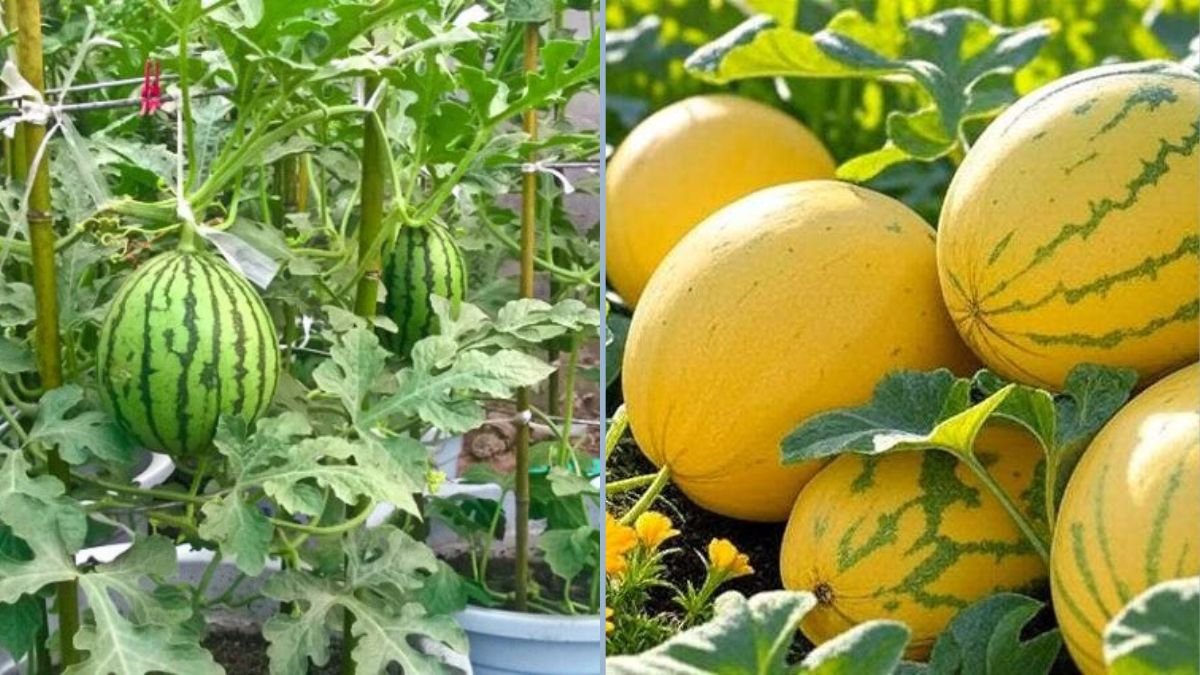
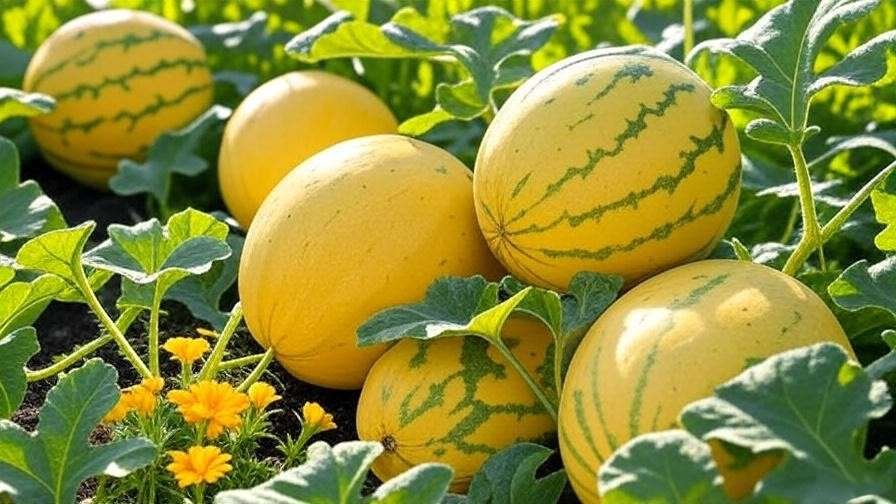
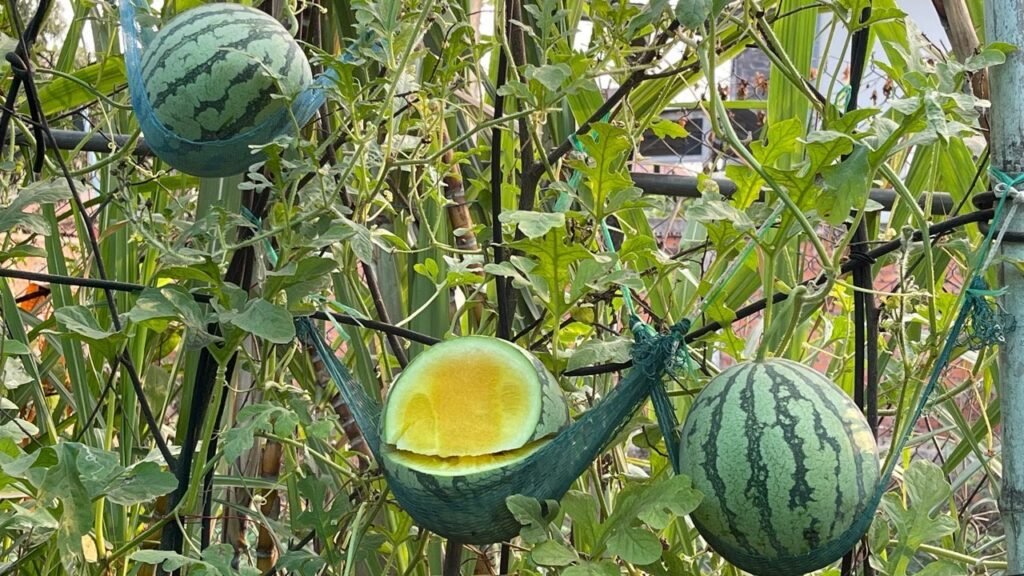
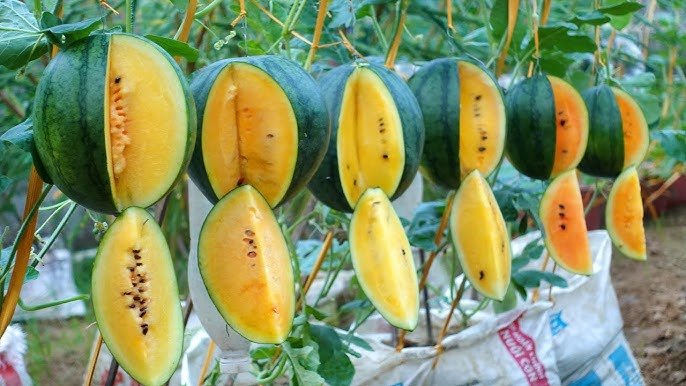
Yellow watermelon is a stunning twist on the classic red variety, offering vibrant yellow flesh, sweet flavor, and a striking visual appeal. With its crisp texture and tropical sweetness, yellow watermelon has become a favorite among gardeners and home growers. But did you know that with careful planning and care, you can grow a full harvest from seed to fruit in just 73 days?
In this guide, we’ll walk you through the entire process of growing yellow watermelons, from selecting seeds to harvesting your juicy, sun-ripened fruits. Whether you’re a beginner or an experienced gardener, this post will help you achieve a productive and flavorful harvest in a short growing season.
Why Grow Yellow Watermelon?
Yellow watermelon isn’t just visually striking — it offers several benefits that make it worth growing in your garden:
- Unique Flavor: Yellow watermelons are often sweeter and less watery than red varieties, with a tropical, honey-like taste.
- Nutritional Value: Like traditional watermelon, yellow varieties are rich in vitamins A and C, antioxidants, and hydration.
- Aesthetic Appeal: The bright yellow flesh adds color and interest to fruit platters, salads, and desserts.
- Quick Growth: Some yellow watermelon varieties can be harvested in as little as 70–80 days, making them suitable for short growing seasons.
- Garden Diversity: Growing yellow watermelon adds variety to your home garden, delighting both family and friends.
With proper care, yellow watermelon can thrive in many climates and provide a bountiful harvest in a relatively short time.
Choosing the Right Variety
To grow yellow watermelon in 73 days, it’s crucial to select a fast-maturing variety. Popular options include:
- Yellow Doll: Small to medium-sized fruit, ripens quickly, ideal for beginner gardeners.
- Sunshine: Medium-sized, bright yellow flesh, sweet flavor, and early harvest.
- Yellow Crimson: Slightly larger, crisp texture, perfect for family gatherings.
- Golden Midget: Compact, early-maturing variety for limited garden space.
When choosing a variety, consider your climate, space, and desired harvest size. Early-maturing varieties are essential for achieving a seed-to-harvest cycle in just over two months.
Starting Seeds Indoors
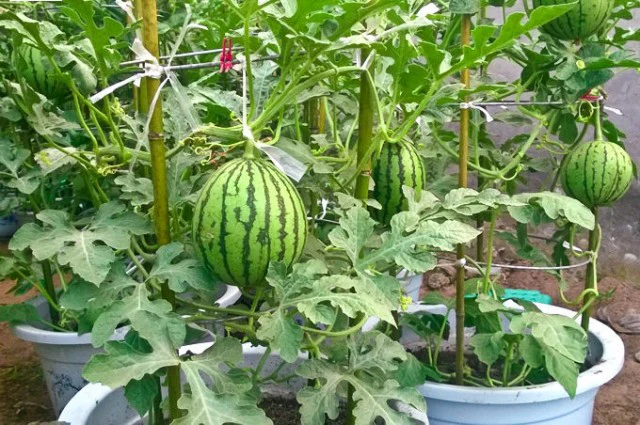
For a 73-day harvest, it’s recommended to start seeds indoors before transplanting them to your garden. This gives seedlings a head start and ensures a faster growing season.
Steps for Indoor Seed Starting
- Choose Quality Seeds: Select healthy, fresh seeds from a reliable source.
- Planting Medium: Use a seed-starting mix that drains well but retains moisture.
- Seed Depth: Plant seeds 1 inch deep in small pots or trays.
- Temperature: Keep soil warm, around 70–85°F (21–29°C), to encourage germination.
- Watering: Maintain consistent moisture, but avoid waterlogging.
- Light: Provide 12–16 hours of light per day using a sunny window or grow lights.
- Transplanting: Once seedlings develop 2–3 true leaves and outdoor temperatures are consistently warm, harden them off before planting outside.
Starting seeds indoors reduces stress on young plants and ensures a head start for the 73-day growing timeline.
Preparing Your Garden
Yellow watermelons are vigorous plants that require space, nutrients, and sunlight to grow successfully.
1. Sunlight
Watermelons thrive in full sun, requiring at least 6–8 hours of direct sunlight per day. Sunlight promotes flowering, fruit set, and sugar accumulation in the fruit.
2. Soil
- Ideal soil is loamy, well-draining, and rich in organic matter.
- Aim for a pH between 6.0 and 7.0.
- Amend soil with compost or well-rotted manure before planting to provide nutrients for rapid growth.
3. Space
- Watermelon vines are sprawling; provide 4–6 feet between plants and 6–8 feet between rows.
- For compact varieties, spacing can be slightly reduced, but ensure adequate airflow to prevent disease.
4. Mulching
- Apply mulch around plants to retain moisture, suppress weeds, and maintain consistent soil temperature.
- Black plastic mulch can also warm soil faster, promoting faster growth.
Planting Outdoors
Once seedlings are ready and outdoor temperatures are warm enough, transplant them to the garden:
- Dig a hole slightly larger than the root ball.
- Place the seedling in the hole and cover roots with soil.
- Water thoroughly to settle the soil and reduce transplant shock.
- Space plants according to the variety’s requirements.
- Optionally, add a fertilizer high in phosphorus to promote root development and flowering.
Planting outdoors after the soil has warmed ensures the vines grow quickly and produce fruit within 73 days.
Care During Growth
1. Watering
- Keep soil consistently moist, especially during flowering and fruit development.
- Avoid wetting leaves, which can lead to fungal disease; drip irrigation or soaker hoses are ideal.
2. Fertilizing
- Early growth benefits from a balanced fertilizer (NPK 10-10-10).
- During flowering and fruiting, switch to a fertilizer higher in phosphorus and potassium to support flower set and fruit sweetness.
3. Pollination
- Watermelon flowers are pollinated by bees and other insects.
- Encourage pollinators by planting flowering plants nearby.
- Hand-pollination can be done with a small brush to transfer pollen from male to female flowers if pollinators are scarce.
4. Pruning
- Remove damaged leaves and weak vines to focus energy on fruit development.
- Train vines to grow outward and prevent overcrowding.
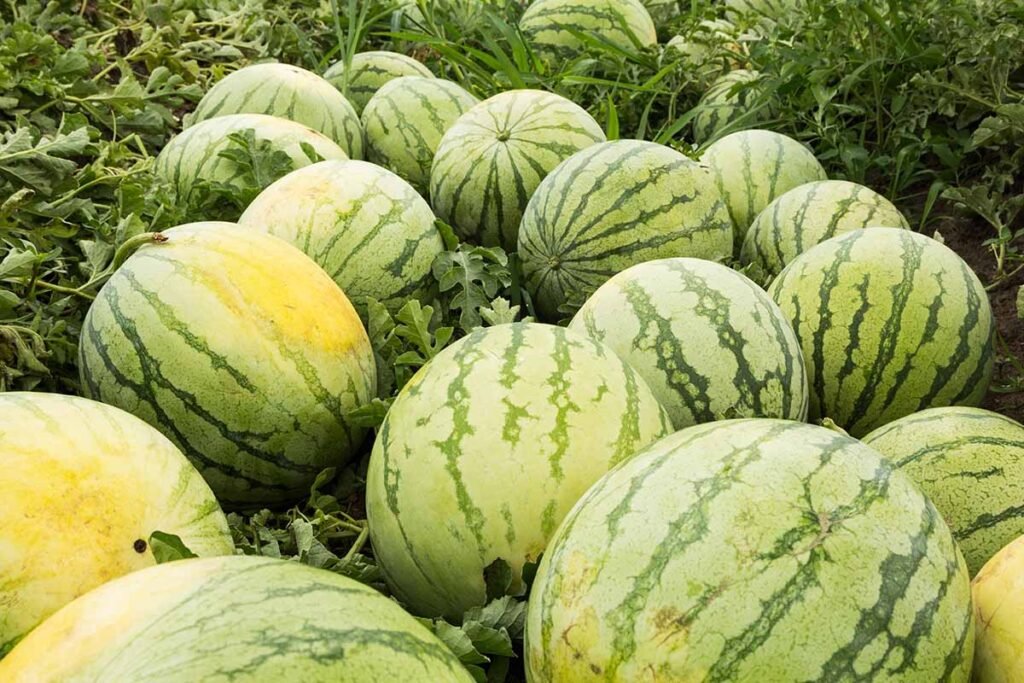
Harvesting Yellow Watermelon in 73 Days
Yellow watermelons ripen fully in approximately 70–75 days, depending on variety and growing conditions. Signs your fruit is ready include:
- Ground Spot: The underside of the melon touching the soil turns creamy yellow.
- Tendril Drying: The tendril nearest the fruit dries and turns brown.
- Skin Color: The outer rind changes from glossy to slightly dull, indicating maturity.
- Sound Test: Tap the melon — ripe fruit produces a deep, hollow sound.
Proper timing ensures the melons are sweet, juicy, and full of flavor. Once harvested, store in a cool, dry place or refrigerate to maintain freshness.
Enjoying Your Yellow Watermelon
Yellow watermelon can be enjoyed in multiple ways:
- Fresh Eating: Slice and serve chilled for a refreshing summer treat.
- Fruit Salads: Add vibrant color and sweetness to fruit salads.
- Smoothies and Juices: Blend for a tropical, hydrating beverage.
- Desserts: Use in sorbets, popsicles, or fruit tarts.
With its unique color and sweet taste, yellow watermelon is sure to impress family and friends at picnics, parties, or garden gatherings.
Tips for Maximum Success
- Choose Early-Maturing Varieties: Essential for completing a harvest in 73 days.
- Start Seeds Indoors: Gives seedlings a head start on the growing season.
- Provide Adequate Sunlight: Sun is crucial for sweetness and fruit development.
- Keep Soil Fertile and Moist: Regular watering and fertilization promote rapid growth.
- Encourage Pollinators: Bees ensure successful fruit set.
- Protect Fruit: Use mulch or boards under melons to prevent rot and pest damage.
By following these strategies, you can maximize your yield and fruit quality in a short growing window.
Conclusion
Growing yellow watermelon in 73 days is achievable with the right planning, care, and attention. From starting seeds indoors to transplanting, watering, fertilizing, and monitoring fruit development, each step contributes to a successful, sweet, and colorful harvest.
Yellow watermelon offers a unique addition to your garden, providing vibrant color, tropical sweetness, and a rewarding gardening experience. Whether enjoyed fresh, in salads, or as part of creative summer recipes, these melons are a testament to the joy of growing your own food.
With patience, sunlight, and proper care, you can watch your tiny seeds transform into lush vines and bright, juicy yellow watermelons in just 73 days — proving that gardening can be both fast-paced and highly rewarding.