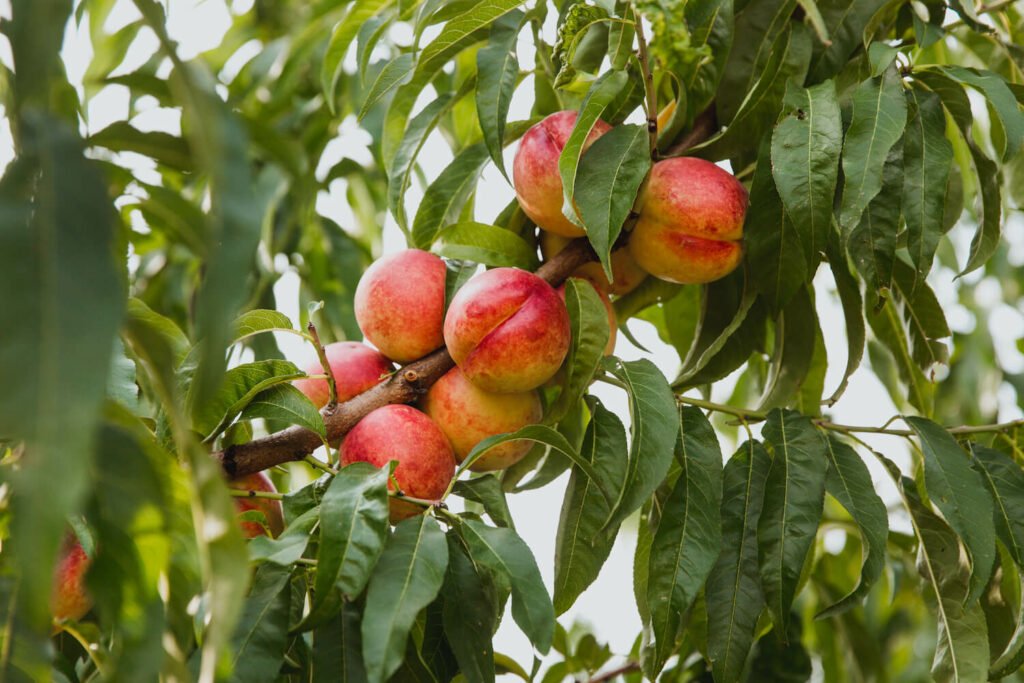
Nectarines are not just delicious; they are also visually appealing, with smooth, vibrant skin and succulent, sweet flesh. Growing a nectarine tree at home can be both rewarding and fun, especially when you start from seed. While many gardeners rely on nursery saplings, growing a nectarine tree from seed is possible with the right steps, and it gives a unique sense of accomplishment.
This guide will take you through everything you need to know about nectarine seed germination, planting, and nurturing your tree for healthy growth and future fruit production.
1. Why Grow a Nectarine Tree from Seed?
Growing nectarine trees from seeds comes with multiple advantages:
- Cost-effective: No need to buy expensive saplings.
- Satisfaction: Watching a seed develop into a fruit-bearing tree is immensely rewarding.
- Control: You choose the soil, location, and care practices.
- Experimentation: Learn natural propagation methods without chemicals.
Using proper germination techniques ensures higher success rates and faster growth, making it an excellent project for beginner and experienced gardeners alike.
2. Selecting the Right Nectarine Fruit
Choosing the right fruit is crucial for successful germination. The seed inside the nectarine, often called the pit, must be healthy and viable.
Tips for selecting fruit:
- Pick ripe, unbruised nectarines. Avoid damaged or overripe fruits.
- Prefer organic or homegrown nectarines for better germination potential.
- Choose fruits with large pits; larger seeds often have a better chance of sprouting.
- Remove the seed carefully, taking care not to damage it.
Once extracted, the seed will require preparation for germination.
3. Preparing Nectarine Seeds for Germination
Nectarine seeds have a hard shell that prevents water absorption. To germinate successfully, seeds must undergo a process called stratification, which simulates winter conditions.
Steps to prepare nectarine seeds:
- Clean the pit thoroughly to remove all fruit residue.
- Allow the seed to dry for a few days.
- Lightly sand or nick the outer shell without damaging the inner seed. This helps water absorption.
- Soak the seed in water for 24 hours to soften it.
- Optionally, dip the seed in natural rooting hormones like aloe vera gel or willow water to promote root growth.
Proper seed preparation increases the likelihood of germination and faster seedling development.
4. Creating the Right Germination Environment
Seeds require specific conditions to sprout successfully.
Key factors for germination:
- Temperature: Maintain 18–24°C (65–75°F).
- Moisture: Keep the soil damp but not waterlogged to prevent rot.
- Humidity: Cover the container with a clear plastic wrap or lid to maintain humidity.
- Light: Indirect sunlight works best during early germination.
Most nectarine seeds will begin sprouting within 2–4 weeks if given the right environment.
5. Choosing a Container for Germination
A proper container ensures healthy root growth and makes monitoring easier.
Container guidelines:
- Start with small pots or seed trays with drainage holes.
- Use lightweight, well-draining soil to prevent seed rot.
- Avoid deep or heavy containers that retain excess water.
Small pots allow careful monitoring and make transplanting easier once the seedling grows strong.
6. Preparing the Soil Mix
A proper soil mix is critical for root development. Nectarine seeds thrive in soil that is nutrient-rich and well-draining.
Recommended soil mix:
- 40% coco peat or peat moss for moisture retention.
- 30% garden soil, sifted to remove large particles.
- 20% compost for nutrients.
- 10% perlite or coarse sand for aeration and drainage.
💡 Tip: Avoid clay-heavy soil, which can suffocate roots and hinder germination.
7. Planting the Nectarine Seed
Now that the seed is prepared, it’s time to plant.
Step-by-step planting:
- Fill the pot with the soil mix, leaving 1 inch from the top.
- Create a hole about 1–2 inches deep.
- Place the seed with the pointed end facing downward.
- Cover lightly with soil and press gently to remove air pockets.
- Water thoroughly to moisten the soil.
Keep the soil consistently moist but avoid overwatering.
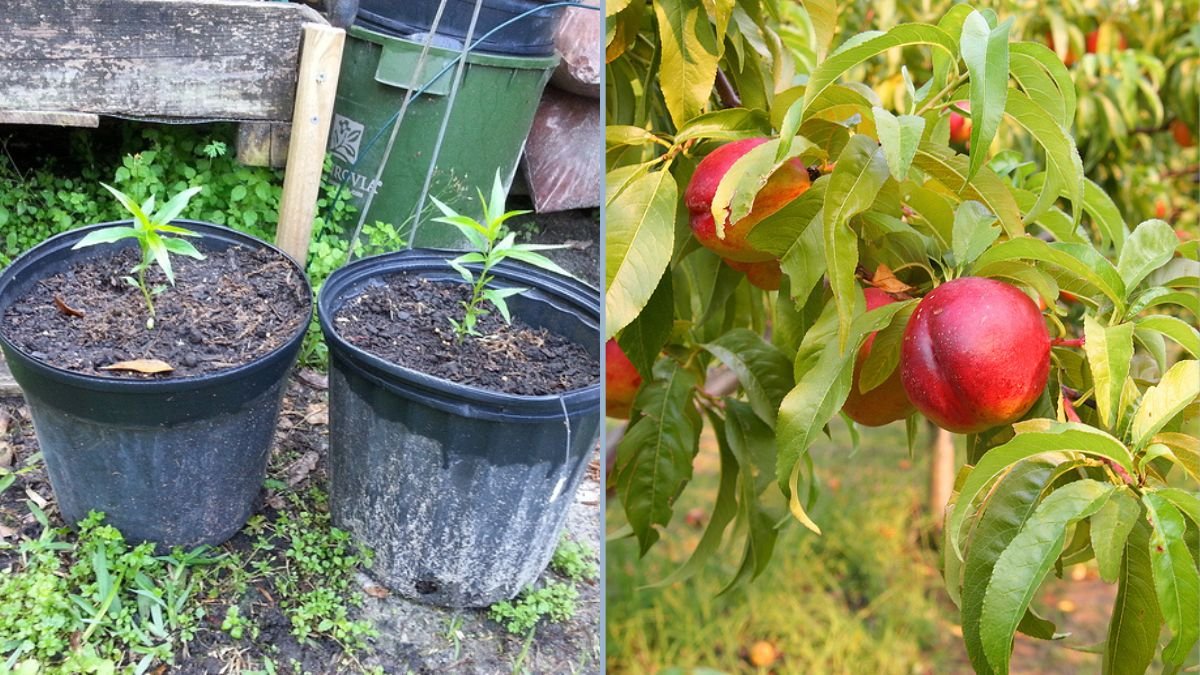
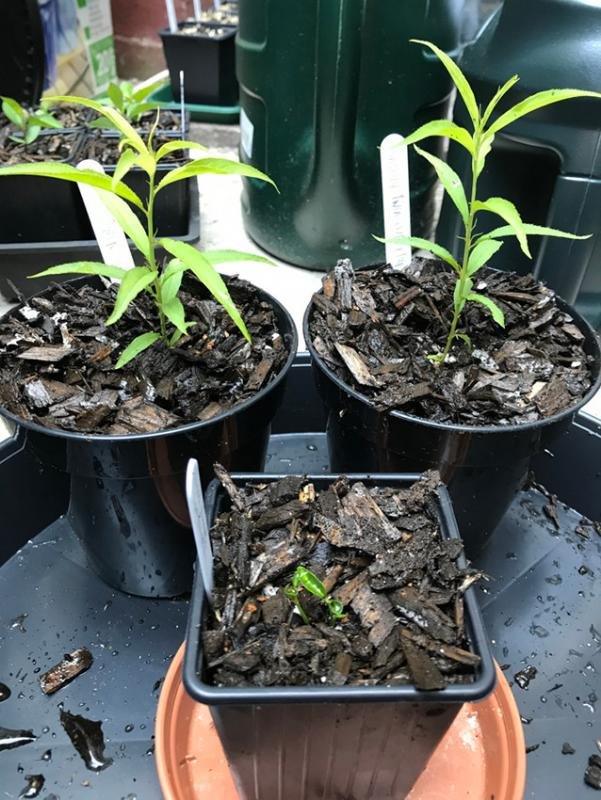
8. Caring for the Seedling
Once the seed germinates, it develops into a small seedling. Proper care during this stage ensures strong growth.
Seedling care tips:
- Maintain even soil moisture; avoid letting it dry out.
- Gradually expose seedlings to more sunlight as they grow.
- Wait until the seedling develops 2–3 true leaves before fertilizing.
- Monitor for pests and fungal issues, treating naturally with neem oil if needed.
Healthy seedlings are the foundation of a strong fruit-bearing tree.
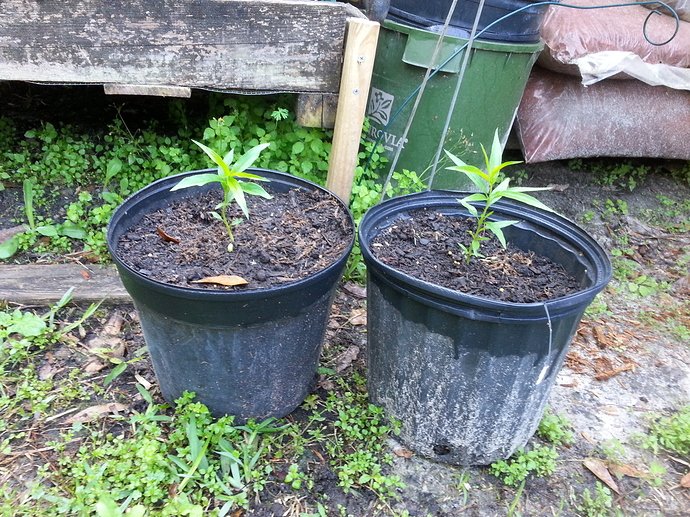
9. Transplanting to a Larger Pot
As the seedling grows, it will outgrow its initial container. Transplanting ensures root expansion and better growth.
Transplanting steps:
- Choose a larger pot with good drainage.
- Carefully remove the seedling, keeping the root ball intact.
- Plant at the same depth as before.
- Water thoroughly and add a thin layer of mulch.
- Shade the seedling for a few days to reduce transplant shock.
💡 Tip: Applying natural rooting hormones during transplanting can stimulate root growth.
10. Fertilization for Growth
Peach trees in pots require regular feeding to support growth and flowering.
Fertilization tips:
- Apply organic compost or well-rotted manure in spring.
- Use balanced fertilizers once seedlings have 4–6 leaves.
- Potassium-rich organic matter (like banana peel compost) encourages flowering.
- Avoid excessive nitrogen, which can promote leafy growth at the expense of fruiting.
Balanced nutrition is key for healthy growth and future fruit production.
11. Pruning and Support
Pruning and support are essential for container-grown nectarine trees.
Tips:
- Remove weak or crowded branches to improve air circulation.
- Trim dead or damaged stems regularly.
- Use a stake or trellis to support branches as the tree grows and produces fruit.
Proper pruning improves sunlight penetration, reduces disease risk, and enhances fruit yield.
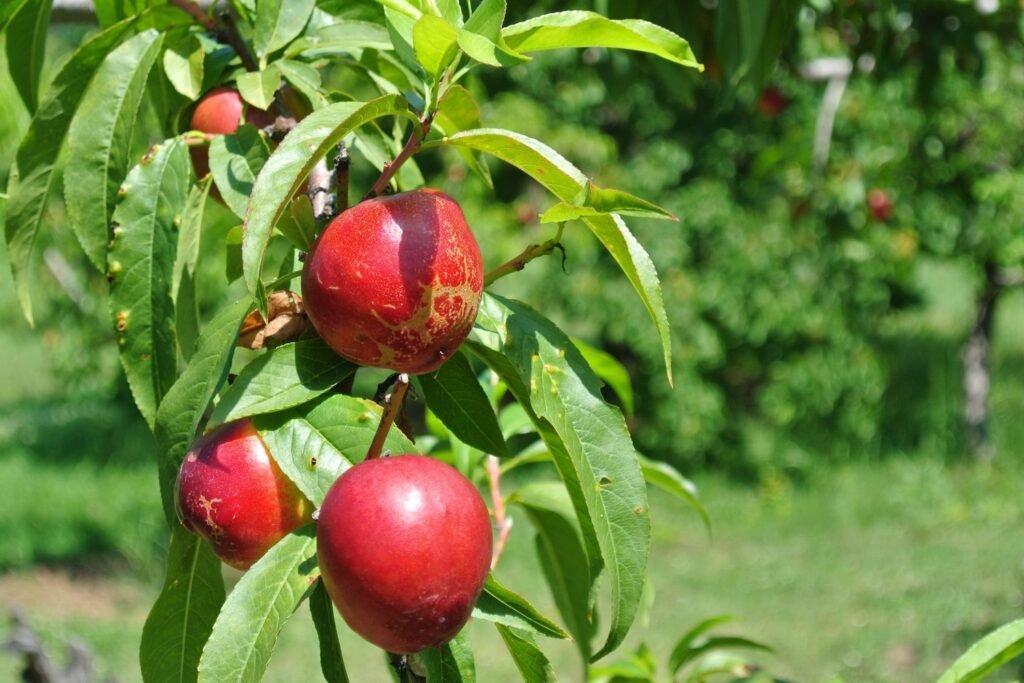
12. Pollination and Flowering
Nectarine trees are self-pollinating, but cross-pollination improves fruit size and yield.
- Encourage pollinators like bees by planting flowers nearby.
- Hand-pollinate indoors with a small brush if necessary.
- Flowering typically occurs 2–4 years after germination.
Successful pollination ensures larger, sweeter fruits.
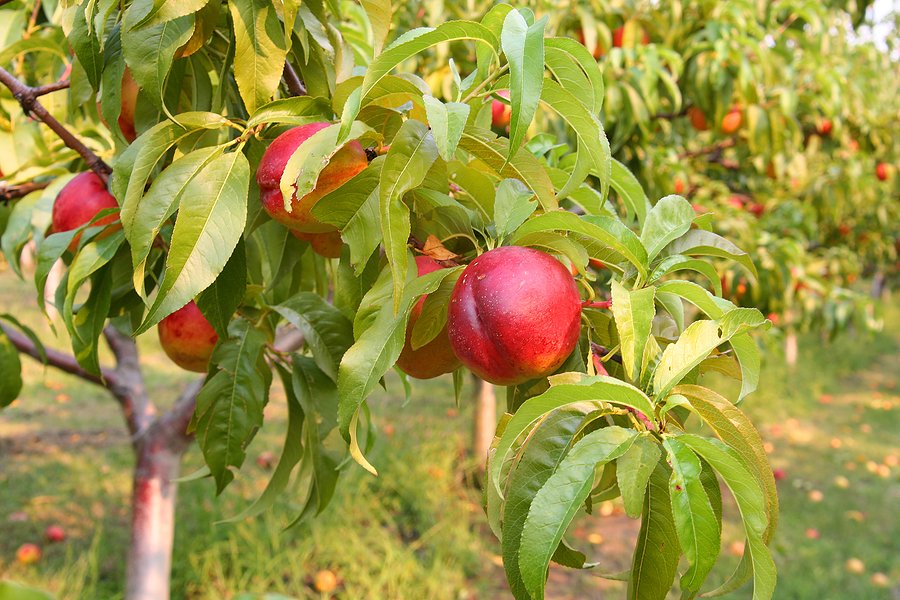
13. Harvesting Nectarines
Patience is key; nectarines grown from seed can take 3–5 years to bear fruit.
Harvesting tips:
- Fruit is ripe when it has vibrant color and slight softness.
- Taste-test to confirm sweetness.
- Harvest carefully to avoid damaging branches.
Regular harvesting encourages more flowering and fruiting.
14. Long-Term Care
Container-grown nectarine trees can thrive for years with proper care.
Tips:
- Repot every 2–3 years to refresh soil.
- Mulch to retain moisture and regulate soil temperature.
- Water consistently, especially during hot summer months.
- Prune annually to maintain shape and encourage fruiting.
With attention, your homegrown nectarine tree can provide delicious fruit for many years.
15. Final Thoughts: Growing Nectarines from Seed
Growing a nectarine tree from seed is both easy and rewarding when following the right steps. By carefully selecting fruit, preparing seeds, maintaining proper germination conditions, and nurturing seedlings, you can grow a healthy, fruit-bearing tree in a container or backyard.
Watching a seed grow into a tree that bears sweet, juicy nectarines is an incredibly satisfying experience. With patience and care, your seed-grown nectarine tree will thrive, providing beauty, shade, and delicious fruit for years to come.
Starting a nectarine tree from seed is a perfect blend of patience, nature, and gardening skill, allowing you to enjoy the full journey — from seed to fruit — right in your home garden.