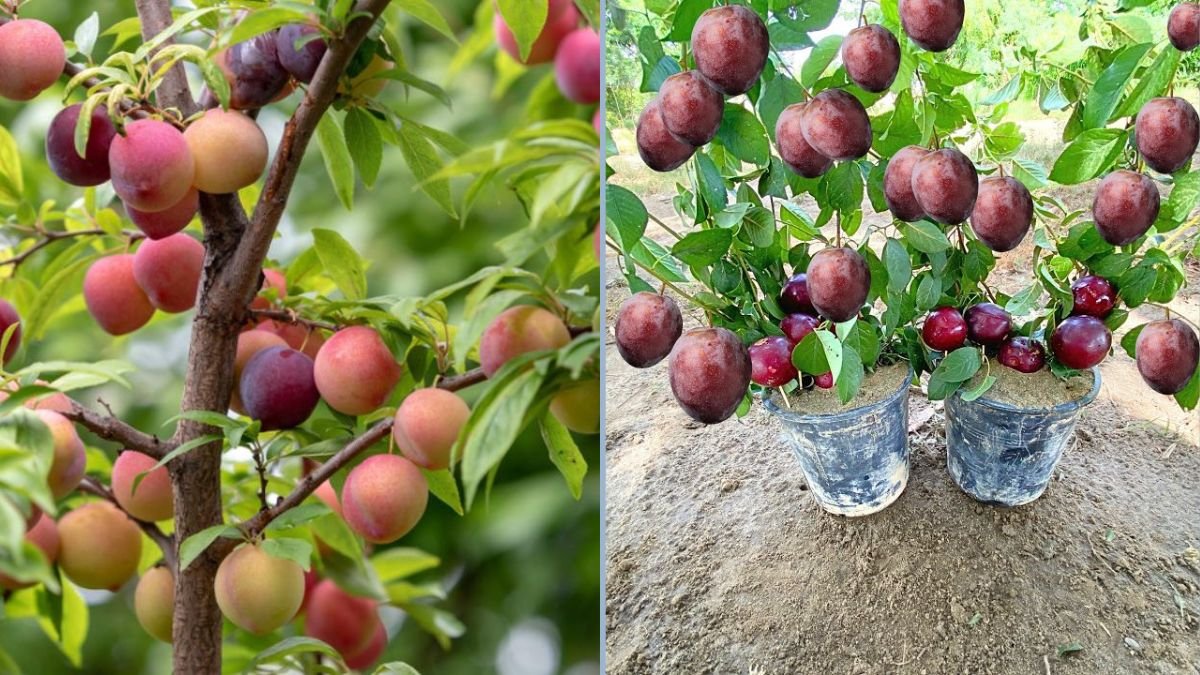
Imagine biting into a sweet, juicy plum harvested right from your own tree. It sounds dreamy, right? What if we told you that you could grow a plum tree directly from a plum fruit and achieve almost guaranteed success using a natural rooting hormone?
While traditional methods of growing plum trees involve grafting or buying nursery saplings, this innovative, natural approach allows you to propagate a plum tree easily at home. In this guide, we’ll show you step-by-step how to grow plum trees from fruit, including how to prepare the seeds, use natural rooting hormone, and ensure a healthy, fruit-bearing tree in the future.
1. Why Grow a Plum Tree from Plum Fruit?
Growing a plum tree from fruit may seem unconventional, but it has several advantages:
- Cost-effective: You don’t need to buy expensive saplings.
- Satisfying: Watching a tree grow from a seed or fruit is incredibly rewarding.
- Control over growth: You choose the location, soil, and care methods.
- Experimentation: Learn natural propagation methods using safe, eco-friendly materials.
Using a natural rooting hormone significantly improves success rates and encourages faster root development, making this method highly reliable.
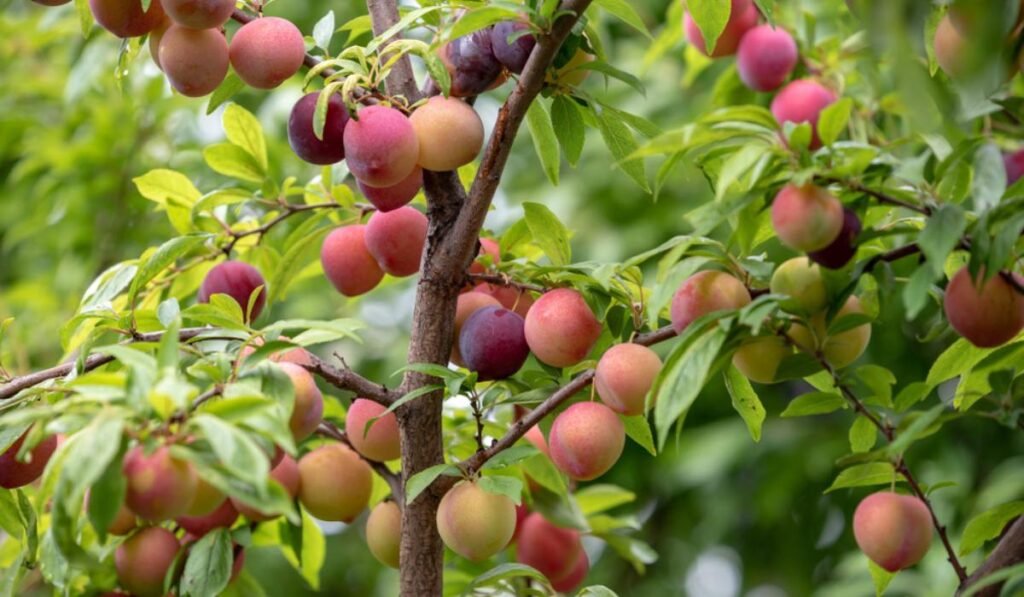
2. Selecting the Right Plum Fruit
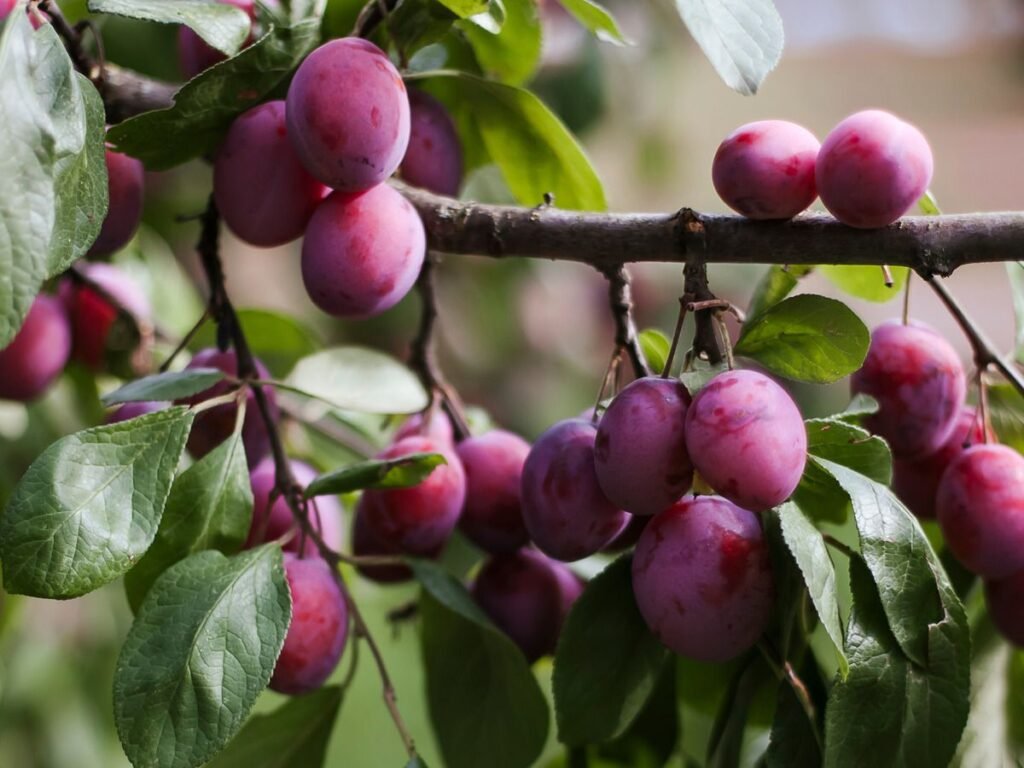
The first step is selecting healthy, ripe plums for propagation.
Tips for selecting fruit:
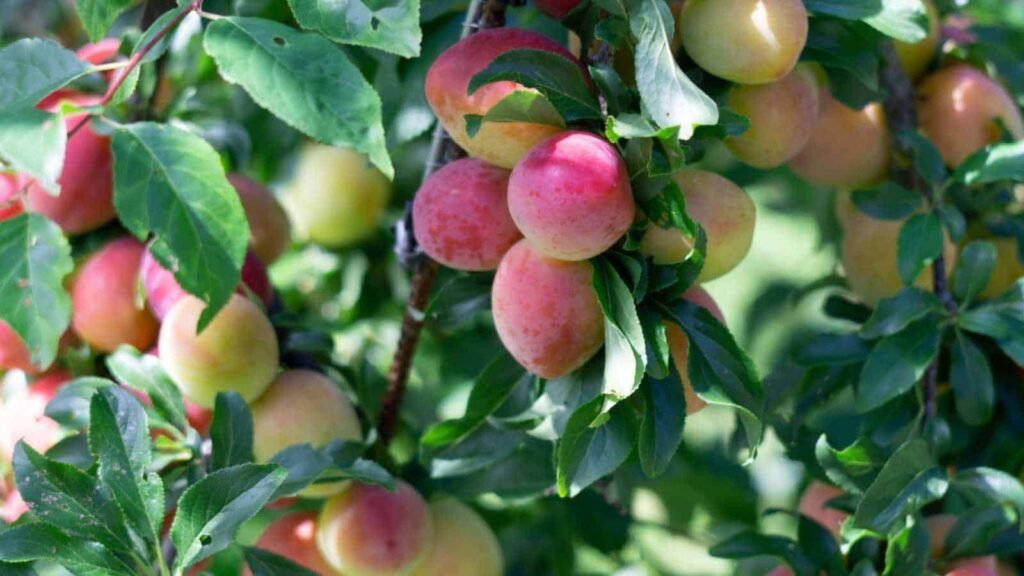
- Choose ripe, healthy, and disease-free fruits.
- Avoid plums with bruises, spots, or signs of rot.
- Ideally, pick local or homegrown varieties, as they adapt better to your climate.
- For consistent fruit quality, use fruit from a mature, productive tree.
Once you’ve chosen your plums, remove the seeds carefully. These seeds will form the foundation of your future tree.
3. Preparing Plum Seeds for Planting
Plum seeds have a hard outer shell that needs preparation to encourage germination. This process, called stratification, mimics natural winter conditions to wake the seed from dormancy.
Steps to prepare seeds:
- Remove the seed (pit) from the fruit and clean it thoroughly.
- Let the pit dry for a few days.
- Use a file or sandpaper to slightly scar the outer shell — this helps water absorption.
- Soak the seed in water for 24 hours to soften it.
- Apply your natural rooting hormone to promote root development.
4. Making a Natural Rooting Hormone
Rooting hormones stimulate root growth and increase your chances of successful propagation. You don’t need synthetic chemicals — you can make one naturally at home.
Natural rooting hormone options:
- Honey: Contains natural antibacterial and root-promoting properties.
- Willow water: Soak willow branches in water for 24–48 hours; the solution contains natural auxins that encourage rooting.
- Aloe vera gel: Contains growth hormones that boost root formation.
Application:
- Dip the prepared seed or cutting into your chosen natural hormone.
- Ensure the entire root zone is coated.
- Plant immediately for best results.
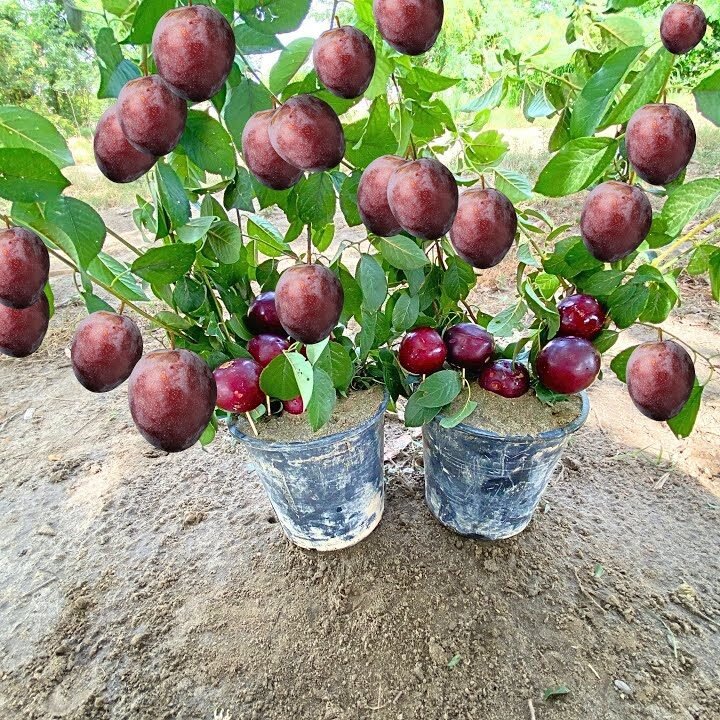
5. Choosing the Right Container
Since we are starting from a seed, it’s important to select a container with good drainage.
Container tips:
- Use small pots or seed trays initially.
- Ensure drainage holes are present to prevent waterlogging.
- Start with a lightweight, breathable potting mix to promote healthy root growth.
A small container allows you to monitor the seedling carefully and transplant later when it grows stronger.
6. Preparing the Soil Mix
The soil mix for plum seeds should be well-draining yet nutrient-rich, simulating natural conditions.
Recommended soil mix:
- 40% coco peat or peat moss for moisture retention.
- 30% garden soil (sifted to remove large particles).
- 20% compost for nutrients.
- 10% perlite or coarse sand for aeration.
💡 Tip: Keep the soil slightly acidic to neutral (pH 6–7) for optimal growth.
7. Planting the Plum Seed
Now that your seed is prepared, it’s time to plant it properly.
Step-by-step planting:
- Fill your pot with the prepared soil mix.
- Create a small hole about 1–2 inches deep.
- Place the seed pit in the hole, scarred side facing downward.
- Cover lightly with soil and press gently to remove air pockets.
- Water gently to moisten the soil.
Keep the soil evenly moist but not soggy — overwatering can rot the seed.
8. Creating the Ideal Environment for Germination
Seeds need the right temperature, light, and humidity to germinate successfully.
Environmental tips:
- Temperature: Keep the container in a warm, sunny spot (18–25°C / 65–77°F).
- Light: Indirect sunlight is sufficient during germination. Avoid harsh direct sun on delicate seedlings.
- Humidity: Cover the pot with a transparent plastic cover to maintain humidity. Remove it gradually as seedlings grow.
Germination typically takes 2–4 weeks with a healthy seed and natural rooting hormone.
9. Caring for Seedlings
Once the seed germinates, it develops into a small seedling. Proper care during this stage is critical for a strong tree.
Seedling care tips:
- Water regularly to keep soil moist.
- Gradually expose the plant to more sunlight.
- Avoid fertilizing until the seedling develops 2–3 true leaves.
- Watch for pests like aphids or fungus; treat naturally with neem oil or mild soap solutions.
A healthy seedling sets the foundation for a robust fruiting tree.
10. Transplanting to a Larger Container
After a few months, your plum seedling will outgrow its initial pot. Transplanting into a larger container encourages root expansion and better fruit production.
Steps to transplant:
- Prepare a larger pot with fresh, nutrient-rich soil.
- Gently remove the seedling from the old pot, keeping the root ball intact.
- Plant at the same depth as before.
- Water thoroughly and add a thin layer of mulch.
- Provide light shade for a few days to help it adjust.
💡 Tip: Use natural rooting hormone again during transplanting for faster root establishment.
11. Fertilization for Growth and Fruit Production
As your plum tree matures, it will need proper nutrition to produce flowers and fruits.
Fertilization tips:
- Use organic compost or well-rotted manure during spring.
- Apply banana peel or wood ash for potassium, which supports flowering.
- Avoid excessive nitrogen — it promotes leafy growth instead of fruit.
Balanced nutrition is key for healthy growth and early fruiting.
12. Supporting and Pruning Plum Trees
Container plum trees benefit from support and pruning to maintain a strong structure.
Support tips:
- Use a stake to support young trees.
- Prune weak or crossing branches to encourage upward growth.
- Trim spent branches after flowering to stimulate new shoots.
Regular pruning ensures better air circulation, reduces disease risk, and enhances fruit yield.
13. Pollination and Flowering
Plum trees are partially self-pollinating, but cross-pollination increases fruit production.
- Plant two compatible varieties nearby for best results.
- Encourage pollinators like bees by planting flowering companion plants.
- Hand-pollinate with a small brush if growing indoors or in a balcony container.
Pollination directly impacts fruit size, sweetness, and overall yield.
14. Harvesting Your First Plums
Plum trees grown from seed take 2–4 years to produce fruit, depending on the variety and growing conditions.
Harvesting tips:
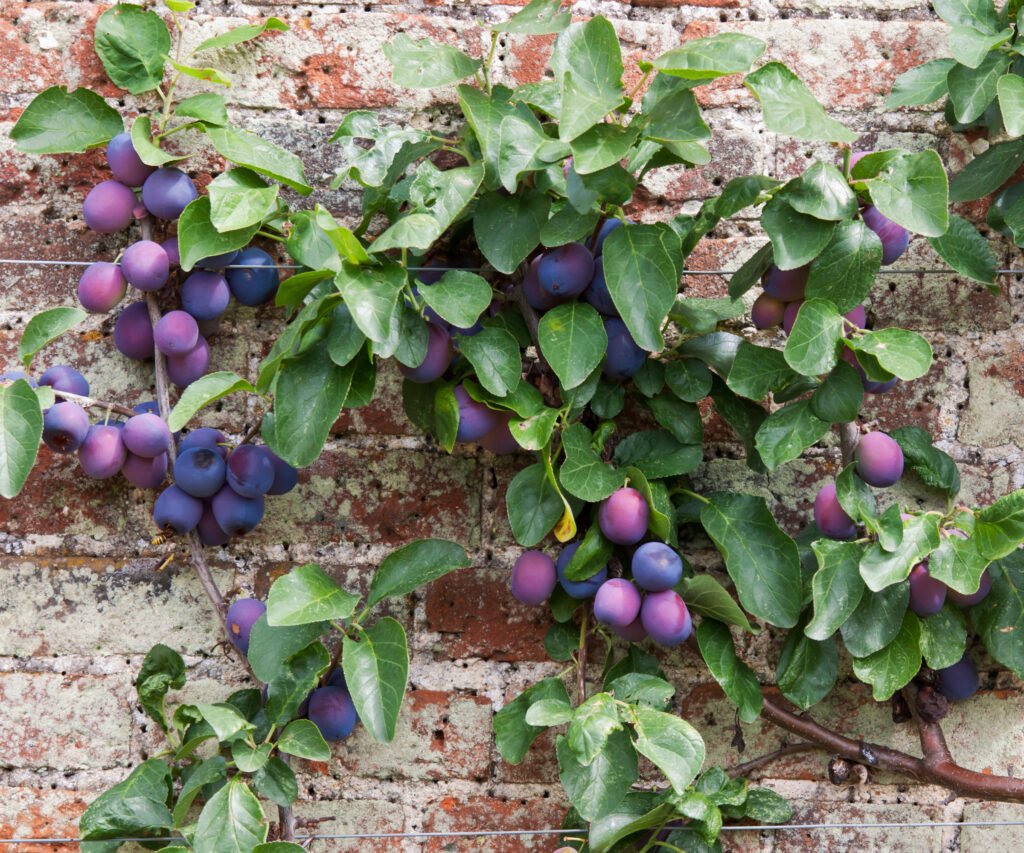
- Plums are ripe when they develop full color and a slight softness.
- Taste-test to confirm sweetness before picking.
- Pick regularly to encourage more flowering and fruiting.
With proper care, your homegrown plum tree will reward you with juicy, sweet fruits for years to come.
15. Long-Term Care and Maintenance
Once established, your plum tree in a container can thrive for many years.
Long-term tips:
- Replenish soil nutrients annually with compost.
- Maintain proper watering, especially during hot summer months.
- Protect roots during winter by moving the pot indoors or insulating with mulch.
- Regularly prune to maintain shape and encourage fruiting.
Container plum trees are versatile and can provide decades of fruit with proper care.
16. Final Thoughts: Successful Plum Propagation at Home
Growing a plum tree from plum fruit using natural rooting hormone is an innovative and rewarding approach. This method allows gardeners to propagate trees successfully without chemicals while ensuring strong root growth and high fruit production.