Shallots are a favorite in many kitchens for their delicate, slightly sweet flavor that enhances sauces, soups, salads, and roasted dishes. Unlike onions, shallots grow in clusters, making them both attractive in the garden and highly productive. Growing your own shallots not only ensures a fresh supply but also allows you to control the quality and avoid pesticides.
In this guide, we’ll walk you through how to plant shallot bulbs in your garden, share essential care tips, and explain how to maximize your harvest. Whether you’re a beginner gardener or an experienced grower, these techniques will help you grow healthy, flavorful shallots year after year.
Why Grow Shallots in Your Garden?

There are many benefits to planting shallots at home:
- Freshness: Home-grown shallots taste fresher and are more flavorful than store-bought ones.
- Cost Savings: Buying shallots from the store regularly can add up; growing your own is economical.
- Sustainable Gardening: Reduces food packaging waste and encourages local, organic produce.
- Easy to Grow: Shallots are hardy and grow well in a variety of soils.
- Continuous Supply: With proper planting and care, you can stagger planting for a longer harvest season.
Shallots are not just a culinary delight—they’re also a satisfying and easy vegetable to grow in your garden.
Materials You’ll Need
Before planting, gather the following items:
- Shallot bulbs (healthy, firm, and disease-free)
- Garden bed or container with good drainage
- Well-draining soil (loamy soil enriched with compost is ideal)
- Fertilizer or compost
- Water source
- Gardening tools: trowel, gloves, rake
Having these materials ready ensures that your shallots have the best chance of thriving.
Step-by-Step Guide to Planting Shallot Bulbs
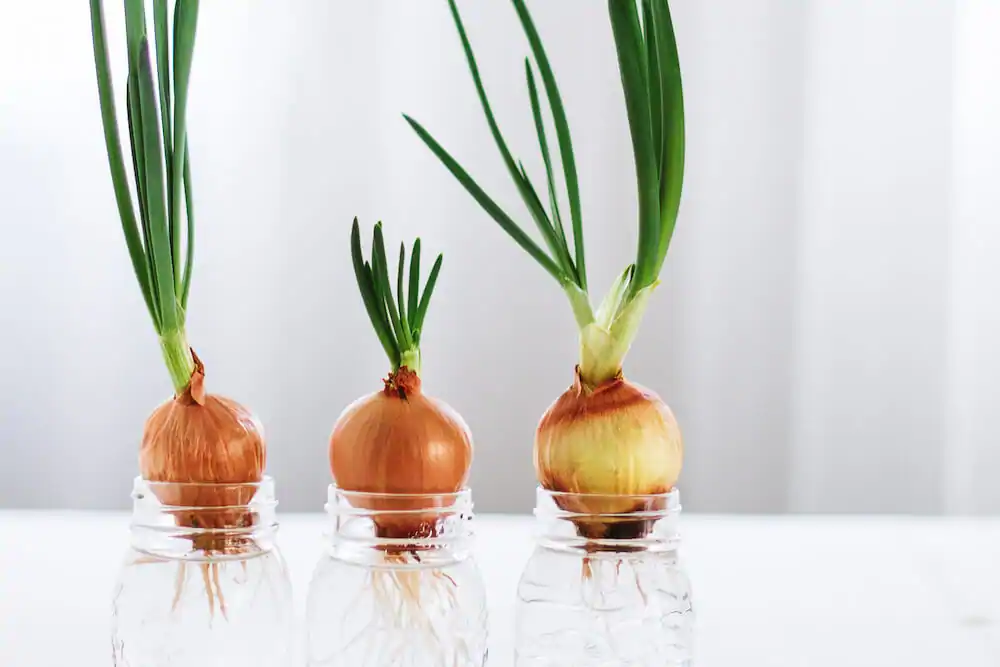
Step 1: Choose Healthy Shallot Bulbs
Select firm, disease-free bulbs for planting. Avoid bulbs that are soft, shriveled, or showing signs of mold or rot. Healthy bulbs produce stronger plants and higher yields.
Step 2: Prepare Your Garden Bed
Shallots prefer loose, fertile, and well-draining soil with a slightly acidic to neutral pH (6.0–7.0).
- Clear the garden bed of weeds and debris.
- Loosen the soil to a depth of at least 6–8 inches using a trowel or rake.
- Mix in compost or well-rotted manure to enrich the soil with nutrients.
This preparation ensures the bulbs have a nutrient-rich environment to develop strong roots and clusters.
Step 3: Plant the Bulbs
Plant shallot bulbs 1–2 inches deep with the pointed end facing up. Space each bulb 4–6 inches apart in rows that are 12–18 inches apart.
Tip: If you want to maximize yield, you can plant bulbs closer together, but make sure there’s still enough space for air circulation to prevent disease.
Step 4: Watering
Water the soil thoroughly after planting to help the bulbs establish roots. Keep the soil consistently moist, especially during the first few weeks after planting.
- Avoid overwatering, as waterlogged soil can cause rot.
- Once established, shallots are moderately drought-tolerant but perform best with consistent moisture.
Step 5: Fertilizing
Shallots benefit from nutrient-rich soil and occasional fertilization.
- Apply a balanced organic fertilizer or compost tea every 3–4 weeks.
- Nitrogen-rich fertilizers encourage leafy growth, while potassium supports bulb development.
Tip: Avoid over-fertilizing with nitrogen alone, as this can produce lush leaves but small bulbs.
Maintaining Your Shallot Garden
Once planted, proper care is essential for healthy growth and maximum yield.
- Weeding: Remove weeds regularly to reduce competition for nutrients and water.
- Mulching: Apply a thin layer of mulch to retain soil moisture and prevent weed growth.
- Pest Management: Common pests include onion flies and thrips. Use organic methods like neem oil or insecticidal soap if needed.
- Disease Prevention: Avoid overhead watering to reduce fungal diseases like downy mildew. Ensure good air circulation around plants.
Regular maintenance ensures your shallots grow strong and productive.
Pruning and Thinning
While shallots generally do not require pruning, thinning can improve bulb size:
- Thinning: If multiple shoots emerge from a single planting spot, thin to one or two strong bulbs. This directs energy to fewer plants, producing larger bulbs.
- Leaf Care: Remove yellow or damaged leaves to encourage new growth and reduce disease risk.
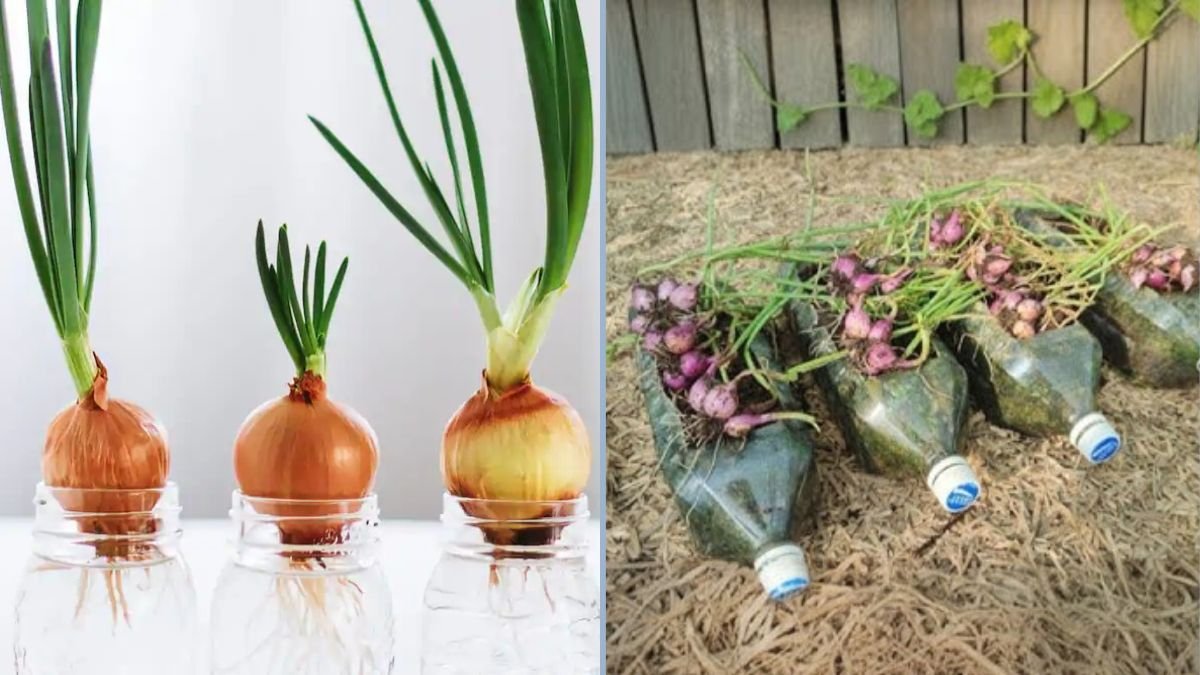
Harvesting Shallots
Shallots are ready to harvest when the leaves begin to yellow and dry out, usually 90–120 days after planting, depending on the variety.
- Loosen the Soil: Gently use a garden fork or trowel to lift the bulbs without damaging them.
- Drying: Cure shallots in a warm, dry, and well-ventilated area for 1–2 weeks to toughen the skins.
- Storage: Store cured bulbs in a cool, dark, and dry place. Properly stored shallots can last for several months.
Tip: Harvest bulbs carefully to avoid bruising, which reduces storage life.
Tips for Maximizing Shallot Growth
- Choose the Right Variety: Different varieties may have slightly different planting and harvesting times. Select one suited to your region.
- Rotate Crops: Avoid planting shallots in the same soil consecutively to prevent soil-borne diseases.
- Consistent Watering: Keep soil evenly moist for the best growth.
- Proper Spacing: Ensure adequate spacing for bulbs to develop fully.
- Regular Maintenance: Weed, mulch, and monitor for pests to support healthy plants.
Following these tips ensures a larger, healthier, and more productive shallot harvest.
Benefits of Growing Shallots at Home
- Freshness: Enjoy freshly harvested shallots with superior flavor and aroma.
- Cost Savings: Reduce grocery bills by growing your own.
- Sustainable: Reduce dependence on store-bought produce and minimize packaging waste.
- Fun and Educational: A rewarding experience for gardeners of all levels.
- Continuous Supply: With staggered planting, you can have shallots ready throughout the year.
Home-grown shallots not only improve your meals but also add value to your gardening experience.
Health Benefits of Shallots
Shallots are rich in nutrients and have numerous health benefits:
- Vitamin C: Supports immune function and skin health.
- Antioxidants: Reduce inflammation and oxidative stress.
- Sulfur Compounds: Promote heart health and may help regulate cholesterol.
- Fiber: Supports digestive health and gut function.
Growing your own shallots ensures you have fresh, pesticide-free, and nutrient-rich produce available anytime.
Conclusion
Planting shallot bulbs in your garden is an easy, rewarding way to grow fresh, flavorful, and nutritious onions at home. With proper planning, soil preparation, watering, and care, you can enjoy a bountiful harvest year after year.
Shallots are hardy, productive, and beginner-friendly, making them ideal for both small gardens and large plots. By following this step-by-step guide, you’ll be able to grow healthy bulbs, enjoy continuous harvests, and enhance your cooking with home-grown flavor.
Start planting shallots in your garden today, and in a few months, you’ll be harvesting tender, aromatic bulbs that elevate every meal.