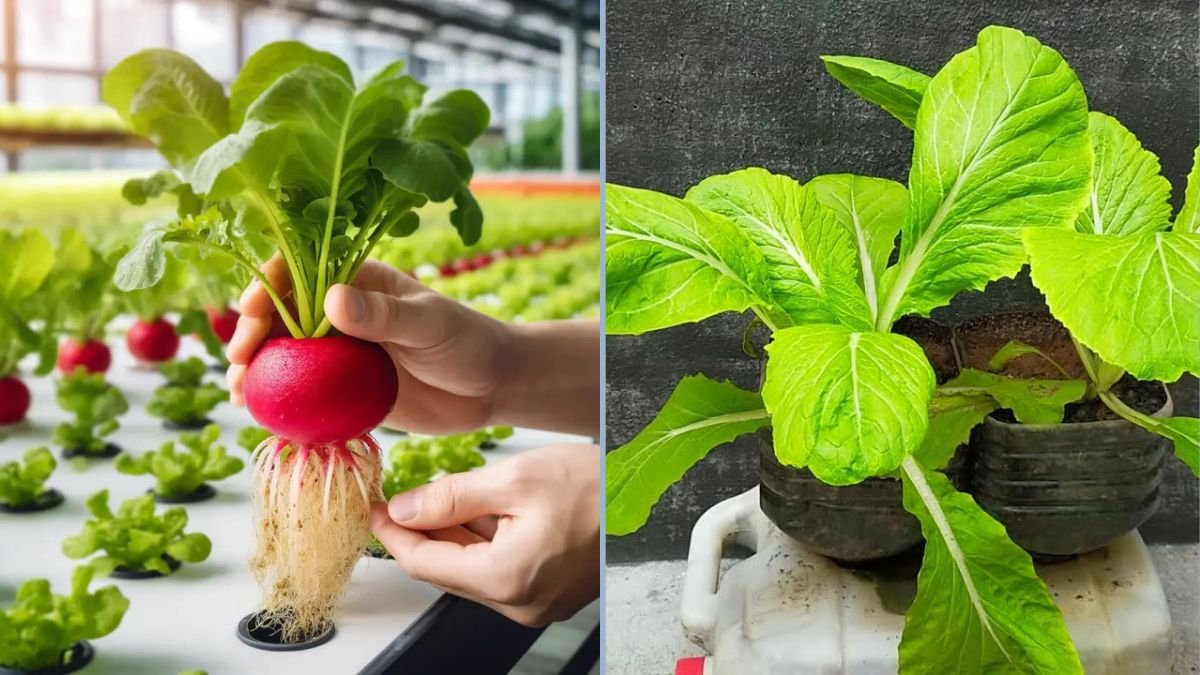
Leaf mustard, also known as mustard greens, is a nutritious, fast-growing leafy vegetable that adds flavor, texture, and health benefits to your meals. Whether you stir-fry it, use it in soups, or add it to salads, leaf mustard is a versatile vegetable packed with vitamins A, C, and K, as well as calcium and antioxidants.
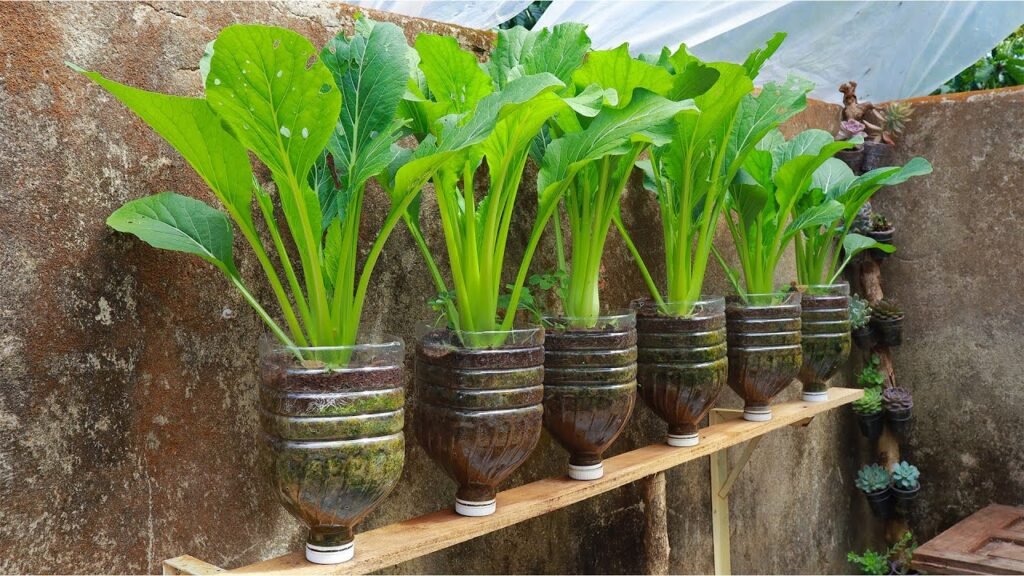
While many people think growing vegetables requires large garden plots or expensive equipment, you can actually grow leaf mustard at home using surprisingly large plastic bottles. This method is beginner-friendly, cost-effective, and perfect for urban gardeners or anyone with limited space. In this guide, we’ll show you step by step how to grow leaf mustard in plastic bottles at home for impressive results.
Why Grow Leaf Mustard in Plastic Bottles?
Using large plastic bottles as containers for leaf mustard offers several advantages:
- Space-saving: Ideal for balconies, windowsills, or small patios.
- Cost-effective: Reuses plastic bottles instead of buying pots.
- Beginner-friendly: Requires minimal gardening knowledge or experience.
- Sustainable: Reduces plastic waste and encourages eco-friendly gardening.
- High yield: Surprisingly large bottles provide ample space for healthy root and leaf growth.
This method is perfect for anyone looking to cultivate fresh, home-grown greens without investing in traditional garden beds.
Materials You’ll Need
To get started, gather the following:
- Large plastic bottles (2 liters or more; transparent bottles work best)
- Leaf mustard seeds
- Potting soil or a mixture of soil and compost
- Perlite or sand for drainage
- Sharp knife or scissors
- Water
- Fertilizer (optional, but recommended for high productivity)
- A tray or plate to catch excess water
These materials are inexpensive, easy to find, and perfect for creating a mini garden at home.
Step-by-Step Guide to Growing Leaf Mustard in Plastic Bottles
1. Prepare the Plastic Bottle
Start by thoroughly cleaning the plastic bottle to remove any residue. Remove the labels if possible to allow sunlight to penetrate and prevent algae growth.
Cut the bottle horizontally about one-third from the top. The bottom portion will hold the soil and seeds, while the top part can act as a mini-greenhouse to retain moisture.
Next, make small holes in the bottom for drainage. This ensures excess water can escape and prevents waterlogging, which could damage your leaf mustard roots.
2. Prepare the Soil
Leaf mustard grows best in nutrient-rich, well-draining soil. Fill the bottom part of the bottle with a mixture of potting soil, compost, and a small amount of perlite or sand.
- Potting soil: Provides structure and nutrients.
- Compost: Adds essential nutrients for faster growth.
- Perlite or sand: Improves drainage and prevents soil compaction.
Make sure the soil is loose and aerated, as leaf mustard roots need space to grow for healthy leaves.
3. Sow the Seeds
Leaf mustard seeds are tiny and easy to plant. Scatter them evenly over the soil surface or plant 1–2 seeds per small hole about 1 cm deep. Lightly cover the seeds with soil and gently press down to ensure contact.
For a higher yield, you can plant several seeds in each bottle, but avoid overcrowding to allow each plant to grow strong and healthy.
4. Water and Create a Mini-Greenhouse
Water the soil thoroughly after planting the seeds. The soil should be moist but not soggy.
If you use the top portion of the bottle as a cover, invert it over the bottom section to create a mini-greenhouse. This traps humidity, accelerates germination, and reduces the need for frequent watering.
Tip: Check soil moisture daily and water as needed. Leaf mustard prefers consistently moist soil, but avoid waterlogging.
5. Provide Adequate Sunlight
Leaf mustard thrives in bright, indirect sunlight. Place your bottle in a sunny location, such as near a window or balcony that receives 4–6 hours of sunlight per day.
If natural sunlight is limited, consider using an LED grow light for 12–14 hours daily. Proper light exposure ensures vibrant, healthy leaves and strong growth.
6. Maintain and Care for Your Leaf Mustard
Once your leaf mustard begins to grow, maintain healthy growth by:
- Thinning seedlings: If multiple seeds sprout in the same spot, thin them to allow one strong plant per hole.
- Fertilizing: Use organic liquid fertilizer every 2–3 weeks for faster growth and bigger leaves.
- Pruning: Remove yellowing or damaged leaves to allow new growth.
- Monitoring pests: Keep an eye out for aphids, caterpillars, or other pests. Organic neem oil can help manage infestations.
With proper care, leaf mustard grows quickly, often ready for harvest in 3–4 weeks.
Harvesting Your Leaf Mustard
Leaf mustard can be harvested using two methods:
- Cut-and-come-again: Trim outer leaves as needed, leaving the inner leaves to continue growing. This provides a continuous supply over several weeks.
- Full harvest: Harvest the entire plant when leaves are mature. You can leave part of the roots in soil to grow a second batch.
Freshly harvested leaf mustard is crisp, flavorful, and packed with nutrients, perfect for salads, soups, stir-fries, or smoothies.
Tips for Maximizing Growth in Plastic Bottles
- Choose large bottles: Bigger bottles allow deeper roots, resulting in healthier and more productive plants.
- Keep soil moist: Consistent moisture encourages rapid growth and tender leaves.
- Ensure adequate sunlight: Rotate bottles every few days to ensure even light distribution.
- Avoid overcrowding: Give each plant enough space to grow strong leaves.
- Use nutrient-rich compost: Rich soil ensures bigger, healthier leaves and faster growth.
Common Problems and How to Solve Them
Even with this beginner-friendly method, you may encounter minor challenges:
- Yellowing leaves: Often caused by overwatering or nutrient deficiency. Adjust watering and use fertilizer if needed.
- Slow growth: Ensure seeds are fresh and the plant receives enough sunlight.
- Pests: Inspect plants regularly and use organic pest control methods like neem oil if needed.
- Root rot: Make sure drainage holes are sufficient and avoid overwatering.
By monitoring your plants and adjusting care as needed, you can easily overcome these challenges.
Benefits of Growing Leaf Mustard in Plastic Bottles
- Fresh produce at home: Enjoy crisp, nutrient-packed greens anytime.
- Cost savings: Reuse a single store-bought plant or seeds multiple times.
- Space-efficient gardening: Perfect for urban settings or small apartments.
- Sustainability: Reduce plastic waste while growing your own food.
- Educational and fun: Great for teaching kids or beginners about gardening and plant growth.
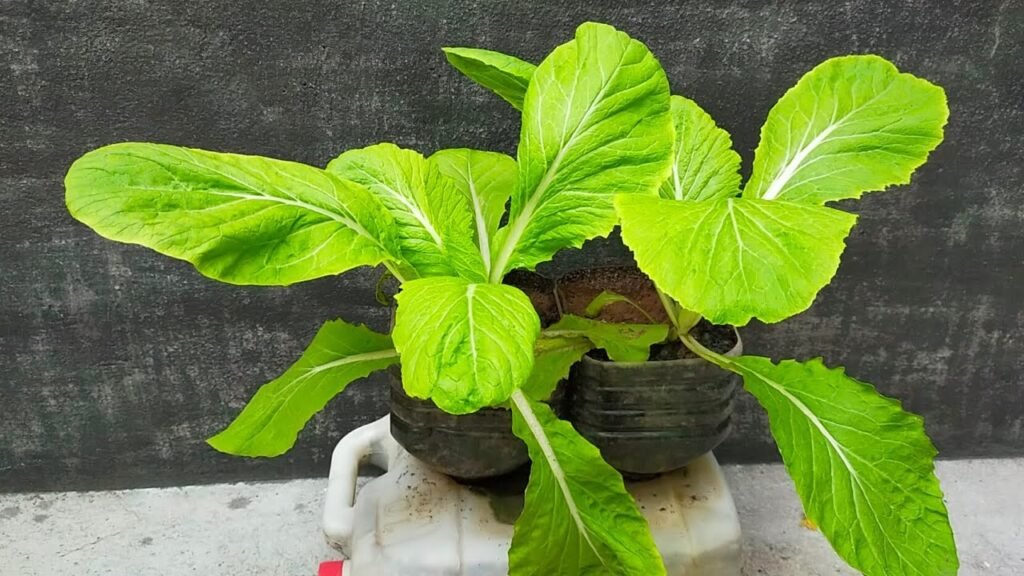
Growing leaf mustard in large plastic bottles demonstrates that even small spaces can yield surprising results. You’ll be amazed at how vibrant and productive your mini-garden can be.
Conclusion
Growing leaf mustard in surprisingly large plastic bottles is a simple, beginner-friendly, and rewarding way to cultivate fresh, home-grown greens. With minimal materials, consistent care, and a bit of patience, you can enjoy nutrient-rich mustard leaves year-round.
This method not only saves money but also reduces food waste and promotes sustainable indoor gardening. Whether you live in an apartment, have a balcony, or simply want an easy gardening project, growing leaf mustard in plastic bottles is practical, fun, and highly productive.
Start today with one large bottle and watch your leaf mustard thrive. In just a few weeks, you’ll enjoy fresh, crisp greens harvested directly from your home—a simple way to make gardening enjoyable, sustainable, and surprisingly rewarding.