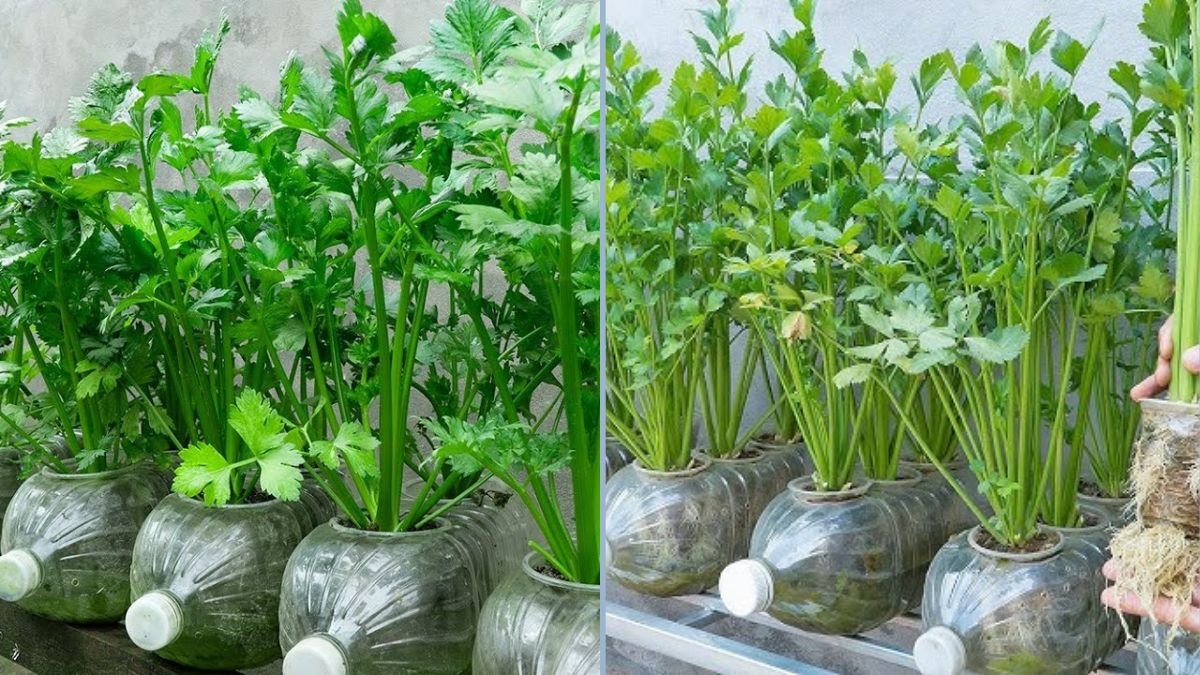
Celery is a versatile, nutrient-rich vegetable that adds crunch and flavor to salads, soups, smoothies, and stir-fries. However, buying fresh celery regularly can be expensive, and it often spoils before you can use it all. What if you could grow celery at home using simple, affordable materials—and without needing a traditional garden?
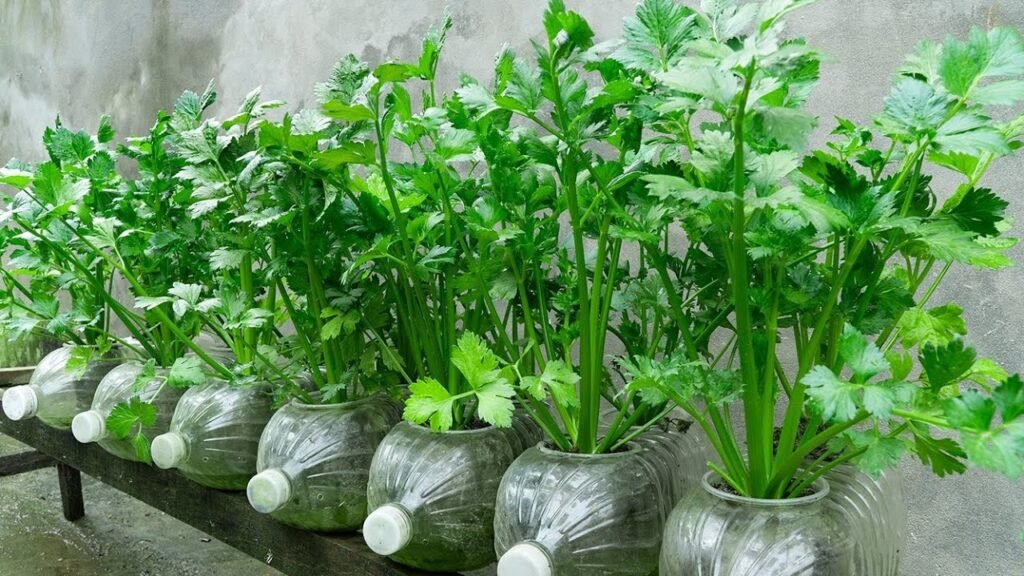
Growing celery in plastic bottles is a smart, beginner-friendly way to cultivate this healthy vegetable at home. It’s cost-effective, space-saving, and even fun! In this guide, we’ll walk you step by step on how to grow celery in plastic bottles at home, making it simple for beginners to enjoy fresh, home-grown celery all year round.
Why Grow Celery in Plastic Bottles?
Using plastic bottles to grow celery has several advantages:
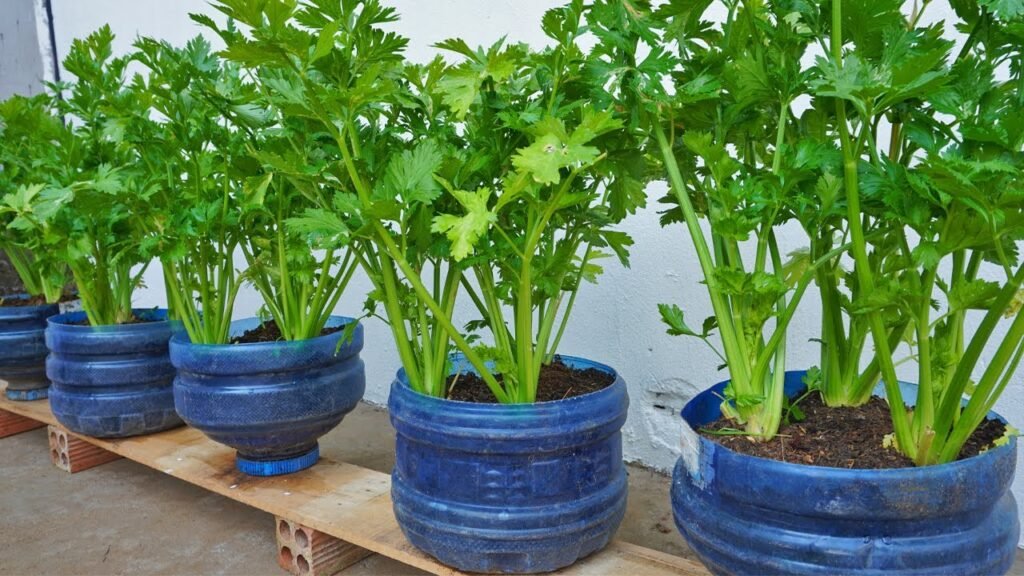
- Space-saving: Ideal for small apartments, balconies, or kitchen windowsills.
- Budget-friendly: Reuse plastic bottles instead of buying pots.
- Eco-friendly: Reduce plastic waste by repurposing bottles.
- Beginner-friendly: Requires minimal gardening experience or tools.
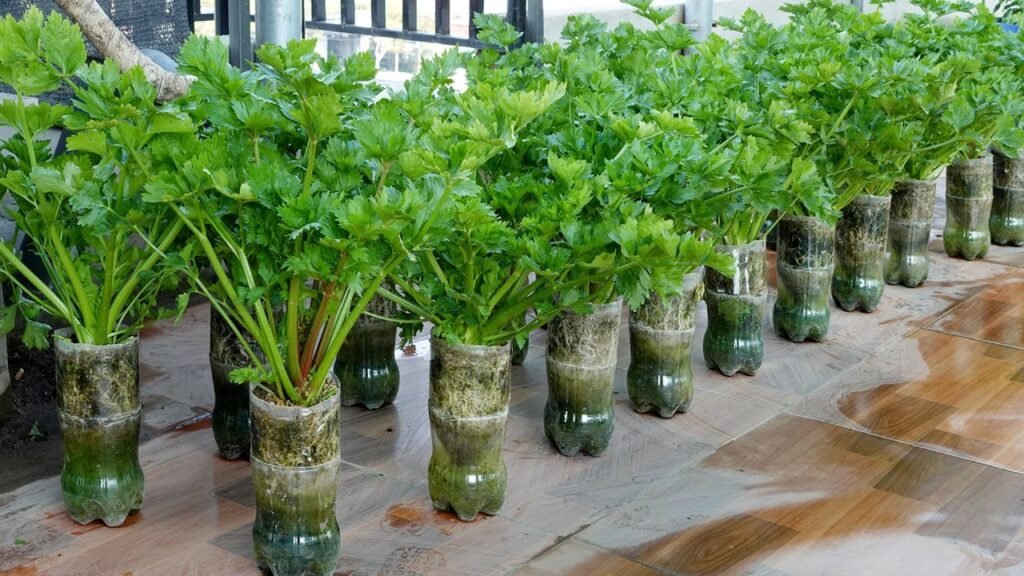
- Self-sufficient: A small indoor garden can provide a continuous supply of fresh celery.
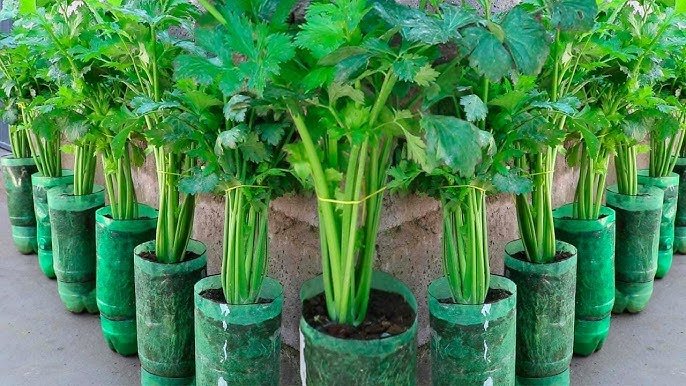
Plastic bottle gardening is a perfect solution for urban gardeners or anyone with limited outdoor space. By converting a bottle into a container for celery, you create a controlled, low-maintenance environment that encourages growth.
Materials You’ll Need
Before you start, gather these simple items:
- 1–2 liter plastic bottles (transparent bottles work best)
- Celery stalks or celery base (from store-bought celery)
- Potting soil or a mix of compost and soil
- Perlite or sand for drainage
- Sharp knife or scissors
- Water
- Optional: Fertilizer
These materials are inexpensive and easy to find, making this project highly accessible for beginners.
Step-by-Step Guide to Growing Celery in Plastic Bottles
1. Prepare the Plastic Bottle
Start by cleaning the plastic bottle thoroughly. Remove labels and residue to ensure a clear, clean surface. Then, carefully cut the bottle horizontally:
- Bottom part: This will hold the soil and celery roots.
- Top part: You can use this as a mini-greenhouse by inverting it over the bottom section to retain moisture.
Next, poke a few small holes in the bottom for drainage. Proper drainage prevents waterlogging and root rot, which are common problems in indoor container gardening.
2. Prepare the Celery
If using store-bought celery, cut the base of the stalk about 2–3 inches from the bottom. Keep the base intact, as this is what will regrow into a new celery plant. You can use the upper stalks immediately in your kitchen.
If you have seeds or seedlings, skip this step and prepare them according to package instructions.
3. Add Soil to the Bottle
Fill the bottom half of the bottle with a mixture of potting soil, compost, and perlite or sand. This combination ensures good drainage, retains enough moisture, and provides essential nutrients for the growing celery.
Avoid compacting the soil too much—celery roots need loose soil to develop properly.
4. Plant the Celery Base
Place the celery base in the soil with the cut side facing up. Make sure the roots (or base bottom) are covered, and the top leaves are above the soil. If using seedlings, plant gently, covering roots fully while leaving leaves exposed.
For best results, plant only one base per bottle to avoid overcrowding, which can lead to weak or stunted growth.
5. Create a Mini-Greenhouse (Optional but Recommended)
Place the top part of the bottle over the bottom section, inverted, to create a mini-greenhouse. This traps humidity and moisture, which helps the celery regrow faster and reduces the need for frequent watering.
You can also add a thin layer of water at the bottom of the bottle. As it evaporates, it will condense on the bottle walls and fall back into the soil, creating a self-watering effect.
6. Place in Sunlight
Celery grows best in bright, indirect sunlight. Place your bottle near a window or balcony where it gets at least 4–6 hours of sunlight daily. Avoid direct, harsh sunlight, which can scorch the plant.
If natural light is limited, consider using an LED grow light for 12–14 hours a day.
7. Water and Maintain
Even with the mini-greenhouse setup, you should monitor moisture levels. Keep the soil consistently damp but not soggy. Overwatering can cause root rot, while underwatering may slow growth.
Fertilize once every 2–3 weeks with a mild organic liquid fertilizer to encourage healthy growth.
Prune yellow or damaged leaves to allow the plant to focus energy on producing new, strong stalks.
Tips for Beginner Success
- Choose Fresh Celery: Fresher bases regrow faster and healthier.
- Keep Soil Loose: Compact soil can stunt root development.
- Maintain Humidity: A mini-greenhouse helps celery thrive indoors.
- Rotate the Bottle: Turning the bottle every few days ensures even sunlight exposure.
- Patience: Celery takes 3–4 weeks to show visible regrowth and 2–3 months for full maturity.
Harvesting Your Celery
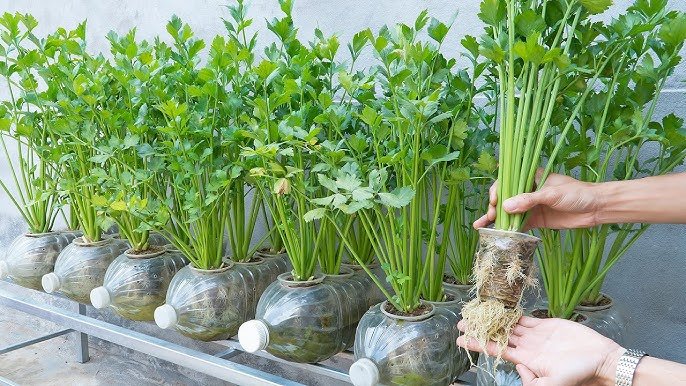
Celery is ready to harvest 2–3 months after planting. You can harvest in two ways:
- Cut-and-come-again: Trim outer stalks while leaving the inner stalks to continue growing. This method provides a continuous supply.
- Full harvest: Cut the entire plant at the base. You can leave the bottom portion in soil to regrow a second batch.
Harvested celery is crisp, fresh, and nutrient-rich, perfect for salads, juices, soups, and garnishes.
Common Problems and Solutions
Even beginner gardeners may face challenges:
- Yellow leaves: Often caused by overwatering or poor sunlight. Reduce water and adjust the bottle’s placement for more indirect light.
- Slow growth: Check for freshness of the celery base and change water regularly if regrowing before planting in soil.
- Root rot: Ensure proper drainage holes and avoid submerging the entire base in water.
Benefits of Growing Celery in Plastic Bottles
- Cost Savings: Regrow multiple plants from a single store-bought stalk.
- Freshness: Enjoy crisp, flavorful celery straight from your indoor garden.
- Eco-Friendly: Reuse plastic bottles and reduce food waste.
- Beginner-Friendly: Requires minimal effort and gardening experience.
- Educational: Great for teaching kids about plant growth and sustainability.
Conclusion
Growing celery in plastic bottles is one of the easiest and most rewarding indoor gardening projects for beginners. With minimal materials, simple care, and patience, you can turn ordinary celery scraps into a thriving mini-garden that provides fresh, home-grown celery year-round.
This method saves money, reduces waste, and brings the satisfaction of growing your own food. Whether you live in an apartment, have a small balcony, or simply want an easy indoor gardening project, regrowing celery in plastic bottles is a practical, sustainable, and enjoyable solution.
Start with one bottle today, follow these steps, and in just a few weeks, you’ll enjoy crisp, flavorful celery harvested right from your home.