
Amaranth is one of the most versatile and nutritious plants you can grow at home. Known for its vibrant leaves, edible seeds, and beautiful colors, amaranth is prized in many cuisines worldwide. From stir-fries and salads to soups and grains, this superfood plant offers both culinary and health benefits.
Inspired by the YouTube video “How To Grow Amaranth from Seeds in Containers at Home,” this blog post will guide you through a complete step-by-step method to grow amaranth in containers, whether you’re a beginner or an experienced gardener. By the end, you’ll know how to grow healthy amaranth plants from seeds and enjoy a continuous supply of leaves and seeds from the comfort of your home.
Why Grow Amaranth at Home?
Amaranth is an ancient plant with modern benefits, making it a great choice for home gardeners. Here’s why:
- Highly nutritious: Amaranth leaves are rich in vitamins A, C, and K, calcium, iron, and antioxidants. The seeds are gluten-free and packed with protein.
- Easy to grow: Perfect for container gardening, even in small spaces like balconies or windowsills.
- Fast-growing: You can harvest leaves within 3–4 weeks of planting.
- Versatile in cooking: Use the leaves like spinach or the seeds as grains in porridge, bread, or salads.
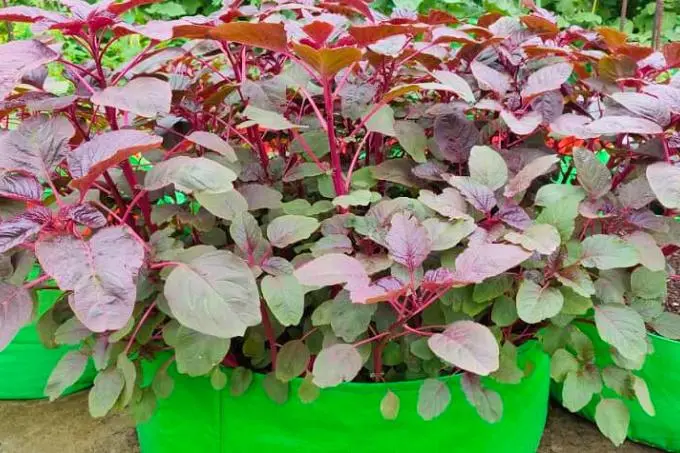
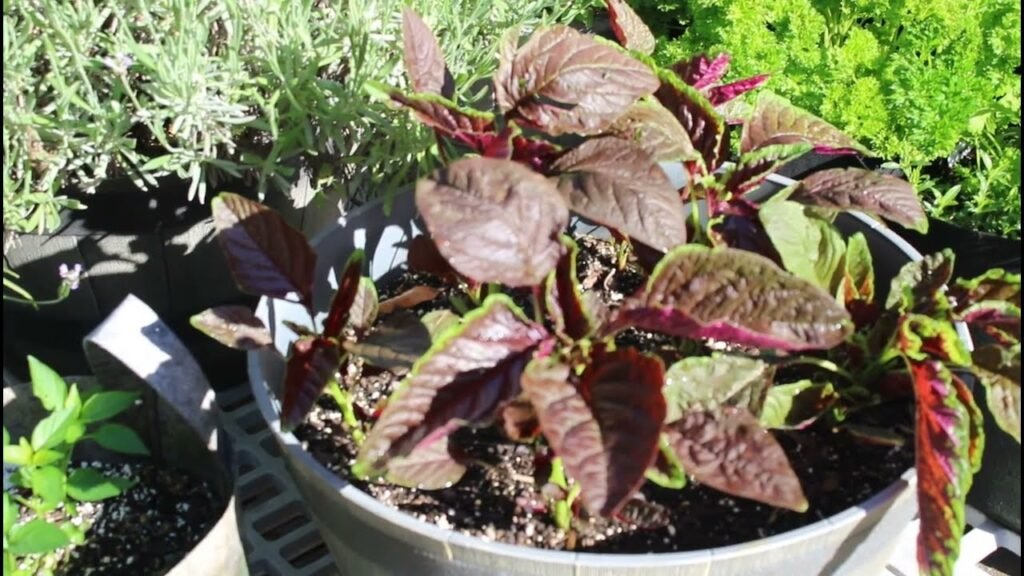
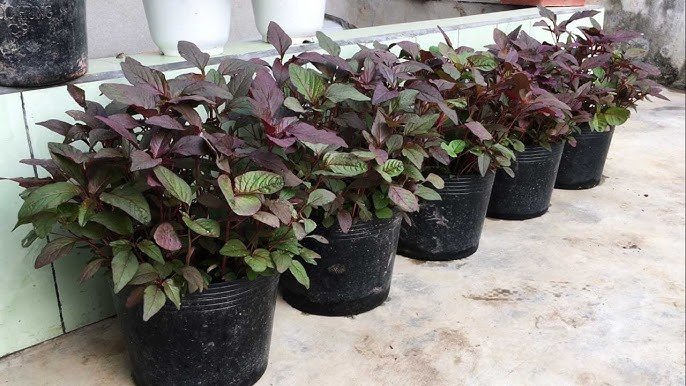
- Beautiful foliage: Many amaranth varieties have vibrant red, purple, or green leaves, adding color to your garden.
Growing amaranth at home ensures fresh, chemical-free produce year-round and reduces dependence on store-bought leaves or grains.
Understanding Amaranth
Amaranth is an annual plant that grows from seeds and belongs to the Amaranthaceae family. It has two main types:
- Leaf amaranth: Grown primarily for its tender, edible leaves.
- Grain amaranth: Cultivated for its tiny, nutritious seeds.
Some varieties, like Red Garnet amaranth, are both decorative and edible.
Key Growth Features:
- Sunlight: Full sun for at least 6 hours daily
- Soil: Well-draining, fertile, and slightly acidic to neutral (pH 6–7)
- Water: Keep soil consistently moist but not waterlogged
- Spacing: 6–12 inches between plants for optimal growth
- Harvest: Leaves in 3–4 weeks, seeds in 90–120 days
Amaranth thrives in containers and is ideal for urban gardening due to its adaptability and low maintenance needs.
Materials You’ll Need
To grow amaranth in containers, gather the following items:
- Seeds: Choose a leaf or grain amaranth variety
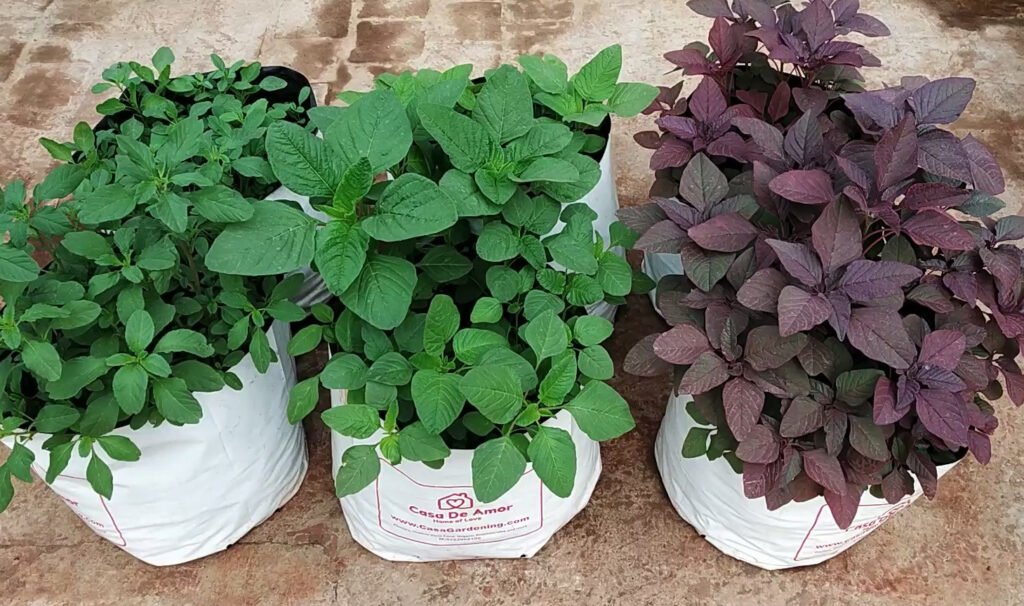
- Containers: Pots, plastic bottles, grow bags, or any container with drainage holes
- Potting soil: A mix of garden soil, compost, and sand or coco peat for good drainage
- Watering can or spray bottle
- Optional: Fertilizer (organic preferred)
That’s it! You don’t need large spaces or fancy equipment — just some soil, seeds, and containers to start your amaranth garden.
Step 1: Prepare Your Containers
- Choose the container: Any container with drainage holes works. Small pots can grow a few plants, while larger containers can hold 4–6 plants.
- Add drainage layer: Optional, but adding small stones or pebbles at the bottom prevents waterlogging.
- Fill with soil: Leave 1–2 inches from the top for watering. A light, nutrient-rich soil mix helps seedlings establish strong roots.
Proper container preparation ensures healthy root development and prevents common issues like root rot.
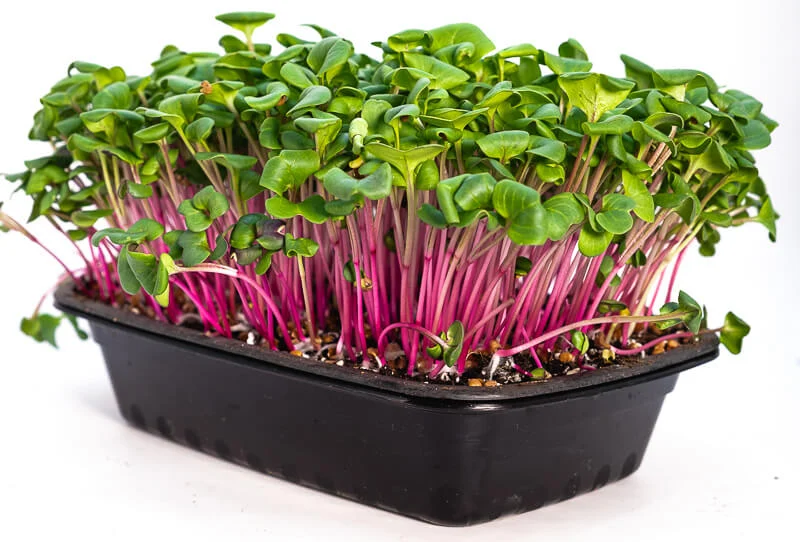
Step 2: Sow the Seeds
Amaranth seeds are tiny, so handle them carefully:
- Moisten the soil before sowing.
- Sprinkle seeds evenly on the surface.
- Cover lightly with a thin layer of soil or compost (1–2 mm) — don’t bury seeds too deep.
- Water gently using a spray bottle to avoid washing seeds away.
Seeds typically germinate in 5–10 days, depending on temperature and moisture.
Step 3: Provide Proper Sunlight
Amaranth thrives in full sunlight, which is crucial for vibrant leaves and strong stems:
- Place containers on a sunny balcony, terrace, or windowsill where they get at least 6 hours of sunlight daily.
- If growing indoors, use a grow light to supplement natural light.
Adequate sunlight ensures fast, strong growth and prevents seedlings from becoming leggy or weak.
Step 4: Watering Your Amaranth
Amaranth needs consistent moisture for optimal growth:
- Water lightly but frequently, ensuring the soil remains damp, not soggy.
- Avoid overwatering, as this can lead to root rot.
- For young seedlings, misting is effective to maintain moisture without disturbing the soil.
Tip: Water early in the morning or late in the evening to reduce evaporation and keep soil moisture steady.
Step 5: Fertilizing for Healthy Growth
While amaranth grows well in fertile soil, occasional fertilization boosts leaf production and seed yield:
- Use organic fertilizers like compost, vermicompost, or liquid seaweed extract every 2–3 weeks.
- Avoid over-fertilizing with nitrogen, which may lead to excessive leafy growth at the expense of seeds in grain varieties.
Balanced nutrition ensures tender, flavorful leaves and strong stems that resist pests.
Step 6: Thinning Seedlings
Once seedlings grow 2–3 inches tall, thin them to ensure proper spacing:
- Leave about 6–12 inches between plants, depending on variety.
- Thinning improves airflow, reduces competition for nutrients, and promotes strong, healthy plants.
Overcrowded plants may grow weak and are more susceptible to diseases.
Step 7: Harvesting Leaves
Leaf amaranth can be harvested 3–4 weeks after sowing:
- Use scissors to trim outer leaves, leaving the inner leaves intact.
- Regular harvesting encourages new leaf growth and keeps plants productive.
- Avoid removing more than one-third of the plant at a time to prevent stress.
Harvested leaves can be used in salads, stir-fries, soups, smoothies, or sautéed dishes.
Step 8: Harvesting Seeds
If growing grain amaranth:
- Allow the plant to flower and set seeds, usually 90–120 days after sowing.
- Seeds are tiny and can be harvested by cutting flower heads and drying them in a ventilated area.
- Once dry, seeds can be threshed and stored for cooking or future planting.
Grain amaranth is high in protein and gluten-free, making it a nutritious addition to your diet.
Tips for Growing Amaranth in Containers
- Rotate containers for even sunlight exposure.
- Pinch flowering stems early for leaf amaranth to encourage more leaf production.
- Mulch soil surface with straw or dried leaves to retain moisture.
- Use organic pest control if needed; amaranth is generally pest-resistant.
- Continuous sowing: Plant new seeds every 2–3 weeks for a steady supply of leaves.
Following these tips ensures healthy, productive plants throughout the growing season.
Common Problems and Solutions
| Problem | Cause | Solution |
|---|---|---|
| Slow growth | Insufficient sunlight or nutrients | Move containers to a sunnier spot, fertilize lightly |
| Yellowing leaves | Overwatering or poor soil | Adjust watering, add compost |
| Leggy seedlings | Weak light | Provide more sunlight or a grow light |
| Pest damage | Aphids or leaf-eating insects | Use neem oil spray or remove pests manually |
Most issues are minor and easily fixed with proper care and attention.
Culinary Uses of Amaranth
Amaranth leaves and seeds are versatile in the kitchen:
- Leaves: Stir-fry with garlic, add to soups, or use in salads.
- Seeds: Cook like quinoa, add to porridge, bake in bread, or sprinkle on yogurt.
- Smoothies: Blend leaves with fruits for a nutritious green drink.
- Garnish: Red or purple varieties add color to dishes.
Homegrown amaranth ensures fresh, flavorful, and nutritious ingredients right at your fingertips.
Environmental and Health Benefits
Growing amaranth in containers is eco-friendly and healthy:
- Recycles containers, reducing plastic waste.
- Reduces food miles and supports home-grown, chemical-free produce.
- Provides nutrient-dense greens and gluten-free grains.
- Encourages urban gardening in small spaces.
This method combines sustainability, nutrition, and convenience in one easy gardening project.
Final Thoughts
Growing amaranth in containers from seeds is simple, rewarding, and productive. With minimal space and materials, you can enjoy:
- Fresh leaves for daily meals
- Nutritious, protein-rich seeds
- Beautiful, colorful plants to enhance your home garden
This method is perfect for:
- Beginners looking for easy gardening projects
- Apartment dwellers with limited outdoor space
- Health-conscious cooks wanting fresh, organic greens and grains
- Anyone interested in sustainable urban gardening
Start your amaranth container garden today and enjoy a continuous supply of vibrant, nutrient-packed greens and grains at home!