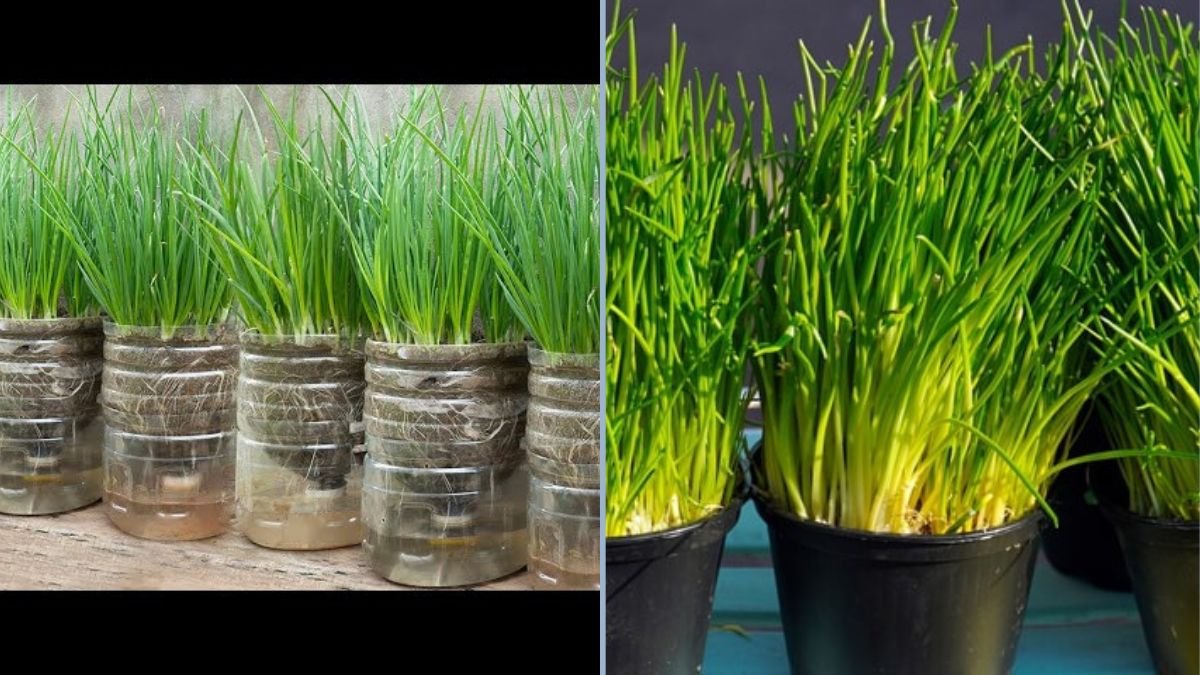
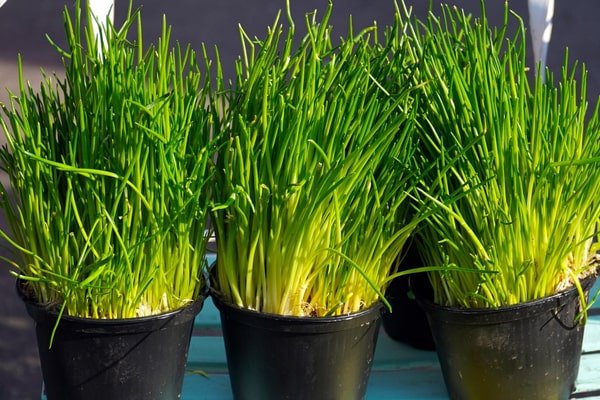
Growing fresh herbs at home is both rewarding and convenient. Among the most versatile herbs, chives stand out for their mild onion flavor and nutritional benefits. They are perfect for garnishing soups, salads, omelets, and a variety of dishes. But did you know you can grow chives easily at home using a self-watering plastic bottle system?
Inspired by the YouTube video “How to Make Self Watering Plastic Bottle – Chives,” this guide will show you how to create a self-watering planter from a simple plastic bottle, ensuring your chives grow healthy, lush, and continuously harvestable with minimal effort.
This method is eco-friendly, space-saving, and beginner-friendly, making it perfect for apartment dwellers or anyone who wants fresh herbs year-round.
Why Grow Chives at Home?
Chives are not only flavorful but also packed with nutrients. Growing them at home has several advantages:
- Freshness and flavor: Homegrown chives are more aromatic and flavorful than store-bought options.
- Cost-effective: One plant can provide fresh chives for weeks or months.
- Continuous harvest: Chives regrow after cutting, allowing multiple harvests.
- Low maintenance: Minimal watering and care are required, especially with a self-watering system.
- Sustainable: Reusing plastic bottles reduces waste while providing a functional planter.
With a self-watering system, you no longer have to worry about overwatering or forgetting to water your plants — the system takes care of moisture automatically.
Understanding Self-Watering Planters
A self-watering planter works by providing a constant supply of water to the soil through a wick or reservoir system. The key benefits of this system for growing chives include:
- Consistent moisture: Keeps the soil evenly damp, which is ideal for herb growth.
- Reduced water waste: Only the necessary amount of water is absorbed.
- Less maintenance: Perfect for busy people or forgetful gardeners.
- Prevents root rot: Avoids waterlogging by keeping roots in the right moisture balance.
By recycling a simple plastic bottle, you can create a mini self-watering garden that’s both efficient and sustainable.
Materials You’ll Need
To make a self-watering plastic bottle planter for chives, gather the following items:
- Plastic bottle (1.5–2 liters) – clean and empty
- Chive seeds or seedlings – fresh seeds work best for beginners
- Growing medium: A mix of soil, compost, and coco peat or sand
- Cotton cloth or wick – to draw water from the reservoir
- Scissors or knife – for cutting the bottle
- Water – clean, room-temperature water
- Optional: Small stones or pebbles for drainage
This setup is inexpensive, recyclable, and beginner-friendly, allowing you to grow fresh chives right in your kitchen or balcony.
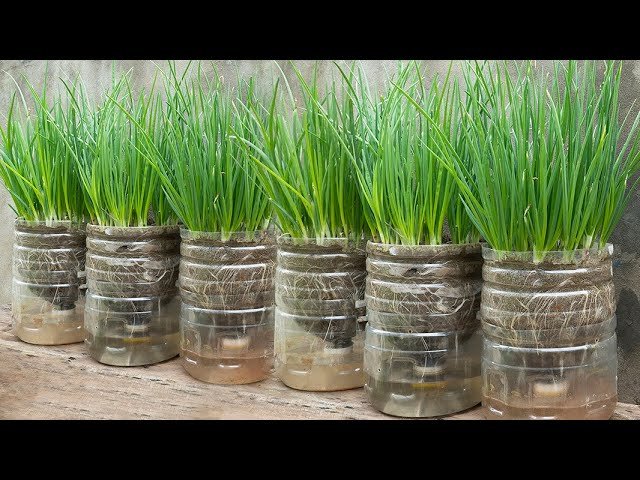
Step 1: Prepare the Plastic Bottle
- Wash the bottle thoroughly to remove any residue.
- Cut the bottle horizontally about one-third from the top.
- The top part will hold the soil and chive seeds.
- The bottom part will act as a water reservoir.
- Remove the bottle cap and insert a cotton cloth through the bottle neck, leaving a portion hanging into the bottom reservoir.
- The top part should rest inverted inside the bottom portion, allowing the wick to draw water up into the soil.
This simple setup creates a self-watering system that ensures your chives get consistent moisture without overwatering.
Step 2: Prepare the Growing Medium
Chives thrive in loose, nutrient-rich soil that drains well:
- Mix 50% garden soil, 30% compost, and 20% coco peat or sand.
- Fill the top section of the bottle (the planter) with the soil mixture up to 2–3 cm below the rim.
- Moisten the soil lightly before planting seeds or seedlings.
The combination of compost and soil ensures that chives have all the nutrients they need to grow healthy and lush.
Step 3: Plant the Chives
You can grow chives from seeds or small seedlings:
- From seeds:
- Sprinkle seeds evenly across the soil surface.
- Cover lightly with a thin layer of soil.
- Mist gently with water.
- From seedlings:
- Dig a small hole in the soil.
- Place the seedling roots into the hole.
- Cover gently with soil and water lightly.
Avoid overcrowding seeds or seedlings to allow proper air circulation and root development.
Step 4: Set Up the Self-Watering System
- Fill the bottom reservoir of the bottle with clean water.
- Ensure the cotton cloth (wick) is touching the water while also extending into the soil.
- The soil will gradually absorb water through capillary action, keeping it consistently moist.
This method eliminates the need for daily watering and reduces the risk of root rot caused by overwatering.
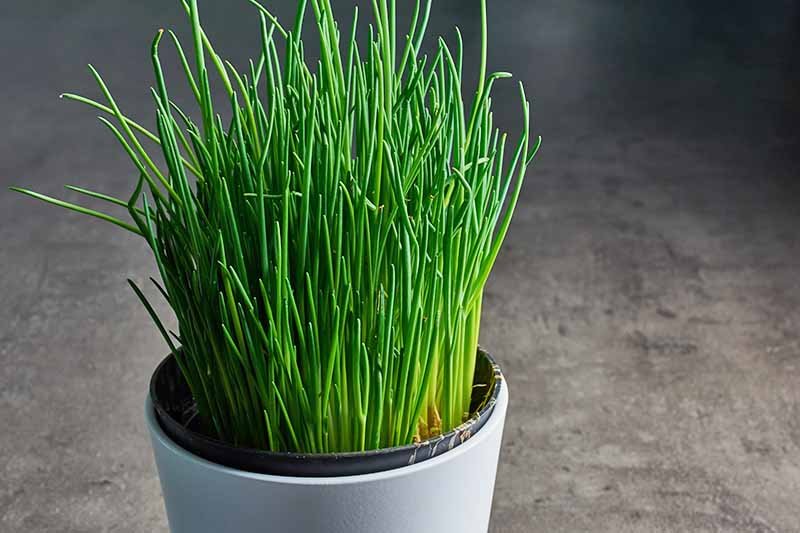
Step 5: Provide Proper Light
Chives need bright, indirect sunlight to grow well:
- Place your bottle planter on a windowsill, balcony, or kitchen counter that gets at least 4–6 hours of light daily.
- If indoors with limited sunlight, consider using a small grow light for 4–5 hours a day.
Adequate light ensures strong, healthy, and flavorful chive leaves.
Step 6: Maintaining Your Chives
Even with a self-watering system, some care is needed:
- Check the water level in the bottom reservoir once a week and refill as needed.
- Occasionally mist the leaves to keep humidity moderate.
- Trim any yellow or damaged leaves to encourage new growth.
- Rotate the bottle occasionally to ensure even light exposure.
With proper care, your chives will thrive and provide a continuous supply of fresh herbs.
Step 7: Harvesting Chives
Chives can be harvested 2–3 weeks after planting depending on growth:
- Use scissors to cut 1–2 inches above the soil line.
- Never pull the entire plant; leave the roots and lower stems intact.
- New shoots will regrow within 7–10 days, allowing multiple harvests from the same plant.
Regular harvesting stimulates new growth and keeps your chives tender and flavorful.
Tips for High Yield and Healthy Growth
- Thin overcrowded seedlings to allow more space for growth.
- Use organic fertilizers occasionally for stronger shoots.
- Keep the wick in contact with water at all times.
- Avoid direct harsh sunlight in the middle of the day to prevent drying.
- Trim regularly to promote denser, bushier chive plants.
With these tips, your self-watering chive planter will provide lush, aromatic chives all year round.
Common Problems and Solutions
| Problem | Cause | Solution |
|---|---|---|
| Yellowing leaves | Overwatering or nutrient deficiency | Check water, add compost or mild fertilizer |
| Weak growth | Insufficient light | Move the planter to a brighter location |
| Mold on soil surface | Poor airflow or overwatering | Reduce moisture, increase ventilation |
| Sparse regrowth | Over-harvesting | Leave at least 1–2 inches of stem for regrowth |
Most issues are easily resolved by monitoring water, light, and soil conditions.
Benefits of Self-Watering Plastic Bottle Planters
- Recycling: Reuses plastic bottles, reducing waste.
- Water-efficient: Supplies water gradually, reducing waste.
- Space-saving: Fits in small apartments, windowsills, or balconies.
- Low-maintenance: Ideal for busy gardeners.
- Continuous harvest: Multiple harvests from one planting.
This method proves that urban gardening can be sustainable, practical, and productive.
Culinary Uses of Chives
Chives add flavor, color, and nutrition to many dishes:
- Garnish soups and stews for a fresh onion-like taste.
- Mix into salads for crunch and flavor.
- Add to omelets or scrambled eggs for a bright, aromatic boost.
- Blend into sauces, dips, or dressings for extra taste.
- Sprinkle on baked potatoes or rice dishes for freshness.
Homegrown chives are more aromatic and flavorful than store-bought herbs, enhancing every meal.
Environmental and Health Benefits
By growing chives in a self-watering plastic bottle planter, you:
- Reduce plastic waste by repurposing bottles.
- Minimize water usage compared to traditional gardening.
- Avoid pesticides and chemicals, consuming fresh, organic herbs.
- Support sustainable urban gardening practices.
This method combines eco-conscious living with healthy eating, making it a perfect project for any home.
Final Thoughts
Creating a self-watering plastic bottle planter for chives is an easy, eco-friendly, and highly productive way to grow fresh herbs at home. With minimal materials and effort, you can enjoy continuous harvests of aromatic, tender chives throughout the year.
This method is ideal for:
- Beginners who want simple indoor gardening projects
- Apartment dwellers with limited space
- Families seeking sustainable ways to grow fresh herbs
- Anyone looking to reduce plastic waste while growing food
By reusing a plastic bottle and setting up a simple self-watering system, you can turn every bottle into a mini herb garden. Fresh, flavorful chives are now always within reach!