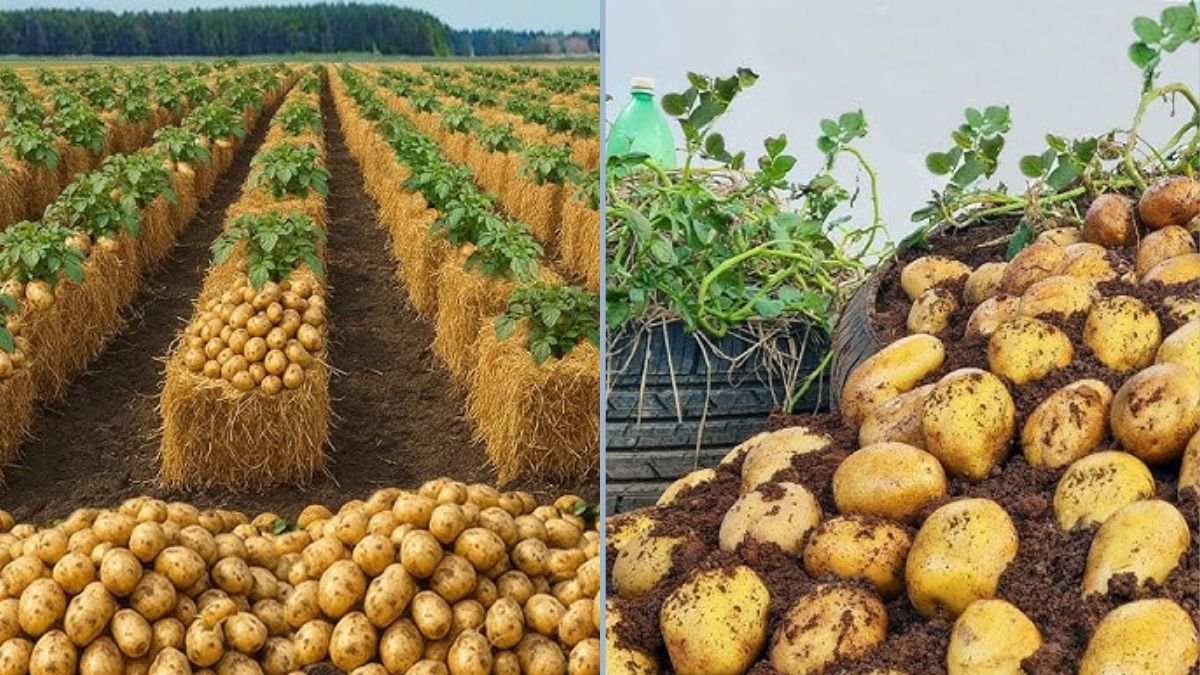
Potatoes are a staple in kitchens worldwide, and growing them at home can be both fun and rewarding. But did you know that the humble straw you might discard after gardening or farming can become an essential tool for growing potatoes? Using straw as a growing medium or mulch not only conserves soil, improves yields, and reduces weeds, but it also makes harvesting easier and cleaner. In this guide, we’ll show you how to grow potatoes using straw, maximizing both space and productivity while keeping your garden eco-friendly.
Why Use Straw for Growing Potatoes?
Straw has been used in gardening for centuries, but its benefits in potato cultivation are particularly remarkable:
- Weed suppression: Straw blocks sunlight, reducing weed growth around potato plants.
- Moisture retention: Straw acts as a natural mulch, preventing soil from drying out quickly and keeping potatoes hydrated.
- Improved soil structure: As straw decomposes, it adds organic matter to the soil, enriching it over time.
- Easier harvesting: Straw-covered potatoes are cleaner and easier to harvest because the tubers aren’t buried deep in the soil.
- Temperature regulation: Straw insulates the soil, keeping it cooler during hot days and warmer during cold nights, which is ideal for consistent tuber growth.
By using straw, gardeners can save time, effort, and resources, all while producing healthy, high-quality potatoes.
Step 1: Choosing the Right Potatoes
The first step in successful straw potato cultivation is selecting the right seed potatoes. Seed potatoes are specially grown tubers that are disease-free and suitable for planting:
- Certified seed potatoes: Avoid using supermarket potatoes that may be treated to prevent sprouting or could carry diseases.
- Healthy tubers: Choose firm, unblemished potatoes with no signs of rot or disease.
- Cutting large tubers: If your seed potato is larger than 50 grams, cut it into pieces with at least one “eye” or bud per piece. Allow the cut pieces to dry for 1–2 days to reduce the risk of rot before planting.
Proper seed selection ensures strong growth and maximizes tuber production.
Step 2: Preparing the Straw Bed
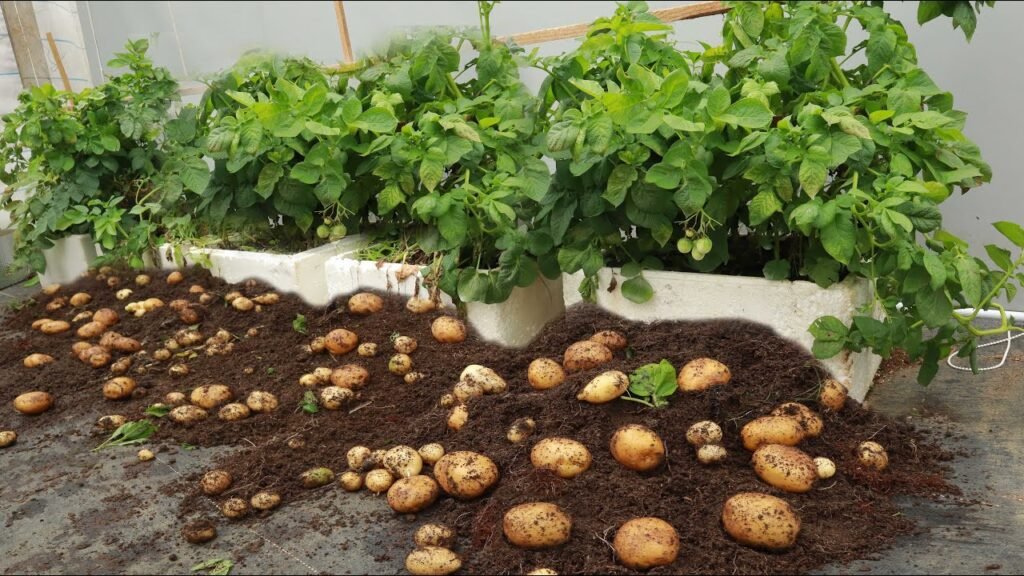
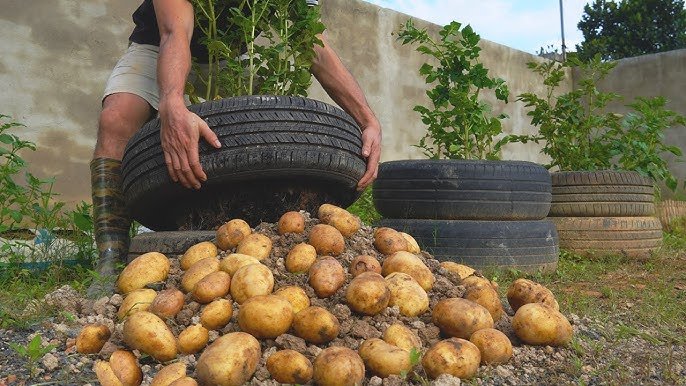
Straw potatoes can be grown in the ground, raised beds, or even large containers. Here’s how to prepare your straw bed:
- Choose a sunny location: Potatoes need at least 6–8 hours of sunlight daily.
- Prepare the soil: Loosen the soil and remove large rocks or debris. A sandy-loam soil enriched with compost or organic matter works best.
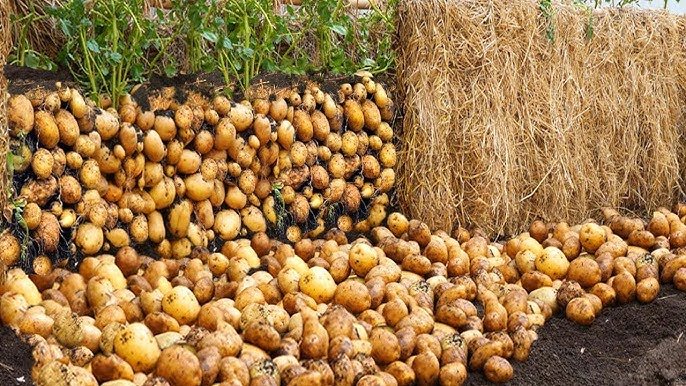
- Layer straw: Place a 5–10 cm thick layer of straw on the soil. This will serve as the base for planting and improve moisture retention.
Some gardeners prefer the “straw tower” method, where potatoes are planted at the base and straw is gradually added as the plants grow. This method reduces soil use and maximizes vertical space.
Step 3: Planting Potatoes in Straw
Planting potatoes in straw is simple but requires attention to spacing and layering:
- Plant the seed potatoes: Place seed potatoes directly on top of the base straw layer or slightly in the soil.
- Spacing: Keep 30–40 cm between seed potatoes to allow tubers to grow freely. Space rows 50–60 cm apart if planting multiple rows.
- Cover with straw: Add a 10–15 cm layer of straw on top of the seed potatoes. As the plants grow, continue adding straw to cover the stems, keeping the developing tubers protected from sunlight.
The straw not only supports plant growth but also creates an airy environment around the tubers, reducing the risk of disease and encouraging multiple tubers per plant.
Step 4: Caring for Straw-Grown Potatoes
Potatoes in straw require slightly different care than traditional in-ground potatoes, but the process is manageable:
- Watering: Keep the straw moist, especially during flowering and tuber formation. Straw retains water well, so you may need to water less frequently than traditional soil planting.
- Fertilizing: Apply a balanced organic fertilizer or compost tea every 3–4 weeks to promote healthy growth. Avoid excessive nitrogen, which can lead to lush foliage but fewer tubers.
- Pest management: Watch for common pests like potato beetles, aphids, and slugs. Straw can harbor pests, so inspect plants regularly. Organic pest control methods, such as neem oil or diatomaceous earth, work well.
- Layering straw: As the potato plants grow taller, continue adding straw around the stems to prevent tubers from being exposed to sunlight, which can cause greening and bitterness.
Step 5: Encouraging Maximum Tuber Growth

One of the advantages of growing potatoes in straw is that you can easily encourage tuber formation:
- Hilling with straw: Traditional hilling uses soil to cover tubers, but straw is lighter, easier to manage, and decomposes over time. Add fresh straw around the stems as the plants grow to increase tuber yield.
- Air circulation: Straw improves air circulation around the stems and tubers, reducing fungal infections.
- Moisture consistency: Straw keeps the environment around tubers evenly moist, preventing tuber cracking and promoting even growth.
With these techniques, a single potato plant can produce more tubers than traditional soil planting methods.
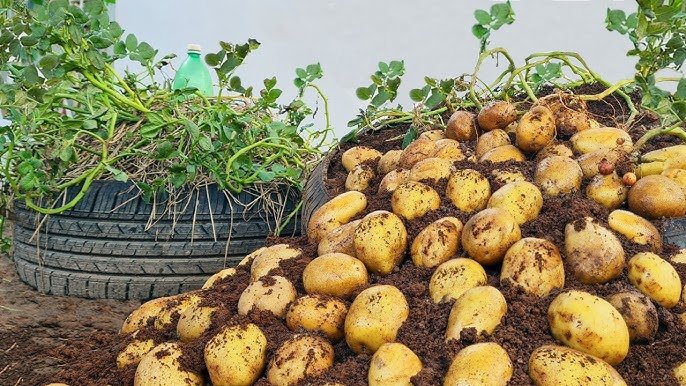
Step 6: Harvesting Straw-Grown Potatoes
Harvesting potatoes grown in straw is straightforward and less labor-intensive than traditional digging:
- Wait for maturity: Potatoes are usually ready to harvest 10–14 weeks after planting for early varieties, and 16–20 weeks for maincrop varieties. Signs of maturity include yellowing and dying foliage.
- Remove straw layers: Gently pull back straw to reveal the tubers.
- Harvest tubers: Pick the potatoes by hand, taking care not to bruise them. You may leave smaller tubers to grow further if the season allows.
- Storage: Cure potatoes in a cool, dry, and dark location for 1–2 weeks to enhance sweetness and storage life.
The straw method produces cleaner potatoes, reduces bruising, and allows for easy access without heavy digging.
Benefits of Growing Potatoes Using Straw
- Increased yield: Straw improves moisture retention, aeration, and temperature regulation, leading to more tubers per plant.
- Cost-effective: Straw is often inexpensive or even free, reducing the cost of gardening supplies.
- Eco-friendly: Using straw recycles agricultural waste, reduces soil erosion, and adds organic matter as it decomposes.
- Less labor-intensive: No heavy hilling or digging required, making it ideal for home gardeners and urban setups.
- Flexible planting: Straw potatoes can be grown in small spaces, containers, raised beds, or even vertical towers.
Tips for Success
- Use dry straw: Wet or moldy straw can introduce disease.
- Check for pests regularly: Straw can provide hiding places for insects.
- Layer gradually: Add straw as plants grow rather than all at once for better air circulation.
- Rotate crops: Avoid planting potatoes in the same straw bed year after year to reduce soil-borne diseases.
Conclusion
Growing potatoes with straw is an innovative, efficient, and rewarding gardening method. By using straw as mulch or a growing medium, you can produce healthier, cleaner, and more abundant tubers with less effort. This technique saves space, conserves moisture, reduces weeds, and recycles organic waste, making it perfect for home gardeners and small-space growers.
Whether you’re a beginner looking for an easy way to grow potatoes or an experienced gardener seeking to increase yields, the straw method provides a simple and effective solution. By following the steps outlined in this guide—selecting quality seed potatoes, layering straw, providing consistent care, and harvesting carefully—you can enjoy bountiful, homegrown potatoes without wasting soil or energy.
So next time you see leftover straw from your garden or farm, don’t throw it away—use it to grow delicious, fresh potatoes right at home. With minimal effort and maximum results, this method proves that even simple gardening techniques can yield extraordinary rewards.