Cabbage is one of the most versatile and nutritious vegetables you can grow at home. Packed with vitamins, minerals, and antioxidants, cabbage is an essential addition to a healthy diet. But for many housewives or urban dwellers, space is a major limitation. Traditional gardening may seem impractical when living in apartments, condos, or houses with limited outdoor areas. Fortunately, there’s a creative solution: growing cabbage in plastic bottles.
This method not only saves space but also recycles plastic, making it both eco-friendly and cost-effective. With some simple tips and care techniques, you can have a productive cabbage garden right on your balcony, terrace, or even kitchen windowsill. In this guide, we’ll cover everything from preparing bottles to planting, nurturing, and harvesting your cabbage for a truly bountiful garden.
Why Grow Cabbage in Plastic Bottles?
Growing cabbage in plastic bottles offers multiple benefits:
- Space-Saving: Ideal for balconies, small patios, or limited indoor areas.
- Cost-Effective: Repurposes used plastic bottles, reducing the need for pots or garden beds.
- Controlled Environment: Easier to manage soil quality, water, and nutrients.
- High Yield Potential: Proper care allows even bottle-grown cabbages to produce large, healthy heads.
- Eco-Friendly: Repurposing plastic bottles contributes to sustainable gardening practices.
This method is perfect for housewives, busy families, or anyone who wants fresh, homegrown cabbage without requiring a full garden.
Choosing the Right Cabbage Variety

Selecting the right cabbage variety is crucial for container gardening:
- Green Cabbage: Classic choice, dense heads, ideal for salads, stir-fries, and soups.
- Red Cabbage: Adds color and extra antioxidants to your meals.
- Savoy Cabbage: Crinkled leaves, tender texture, perfect for steaming and wraps.
- Mini or Baby Cabbage Varieties: Compact and ideal for small containers.
For plastic bottles, compact or bush varieties work best, as they do not require as much space while still producing large, firm heads.
Preparing Plastic Bottles for Planting
Proper bottle preparation is key to successful cabbage growth:
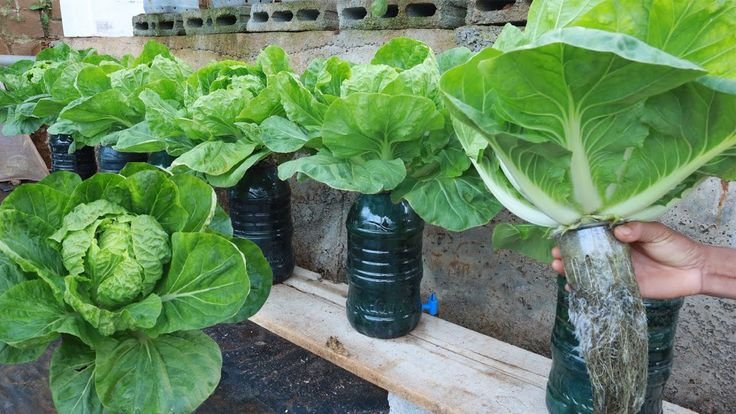
- Select Bottles: Large 2–5 liter plastic bottles work best. Choose sturdy bottles that can hold enough soil for roots to grow.
- Clean Thoroughly: Wash bottles with soap and water to remove residues and prevent contamination.
- Create Drainage Holes: Drill several small holes at the bottom to prevent waterlogging and ensure healthy root development.
- Cut the Top (Optional): You can cut the top off for easier planting and access, or keep it as a mini greenhouse to retain moisture.
Preparing Soil for Cabbage
Cabbage is a heavy feeder, so nutrient-rich soil is important:
- Soil Mix: Combine garden soil, compost, and coco peat or vermiculite for proper drainage and aeration.
- Fertilizer: Incorporate slow-release organic fertilizer or well-rotted manure for sustained nutrition.
- pH Level: Slightly acidic to neutral soil (pH 6–7) is ideal for cabbage.
Well-prepared soil ensures strong root development and healthy cabbage heads.
Planting Cabbage in Plastic Bottles
- Seed Sowing: Start seeds indoors or sow directly in bottles. Plant 2–3 seeds per bottle about ¼ inch deep.
- Watering: Lightly water the soil to settle it and provide initial moisture for germination.
- Thinning: Once seedlings sprout, thin to one strong plant per bottle to avoid overcrowding.
- Sunlight: Place bottles where they receive at least 6–8 hours of sunlight daily.
Cabbage seedlings thrive with adequate sunlight and careful thinning, ensuring strong and healthy growth.
Supporting Your Bottle-Grown Cabbage
Although cabbage is generally compact, providing support can prevent damage and encourage straight, healthy growth:
- Place bottles on a flat, stable surface to prevent tipping.
- For taller varieties or large heads, use small stakes or sticks to support the plant.
Proper support ensures your cabbages remain upright, preventing broken stems or uneven growth.
Watering and Fertilizing
Cabbage grown in bottles requires consistent care:
Watering
- Keep the soil consistently moist but avoid waterlogging.
- Water at the base of the plant to reduce the risk of fungal infections on leaves.
Fertilizing
- Use a nitrogen-rich fertilizer in early stages to encourage leafy growth.
- Switch to phosphorus and potassium-rich fertilizer when heads start forming to promote firmness and size.
- Organic alternatives like compost tea or liquid seaweed can also boost growth.
Pest and Disease Management
Even in bottles, cabbage can face common pests and diseases. Vigilance is key:
- Aphids: Small green or black insects; spray with neem oil or insecticidal soap.
- Cabbage Worms: Handpick or use organic insecticides.
- Powdery Mildew: Ensure good airflow and avoid wetting leaves during watering.
- Root Rot: Proper drainage in bottles prevents waterlogging and rot.
Regular inspection helps prevent minor issues from becoming major problems.
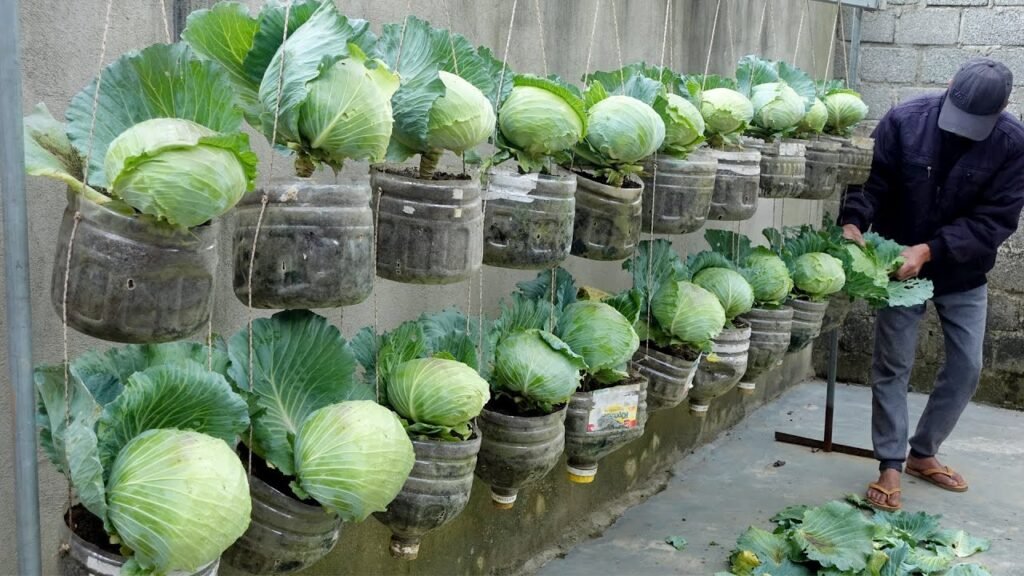
Harvesting Bottle-Grown Cabbage
Cabbage is usually ready for harvest 70–90 days after planting, depending on the variety:
- Firmness: The head should feel dense and firm.
- Size: Harvest when the head reaches its mature size for the variety.
- Technique: Use a sharp knife to cut the cabbage at the base, leaving the roots in the bottle if you want to encourage smaller secondary growth.
Harvesting at the right time ensures optimal flavor and nutrition.
Creative Tips for Housewives’ Cabbage Gardens
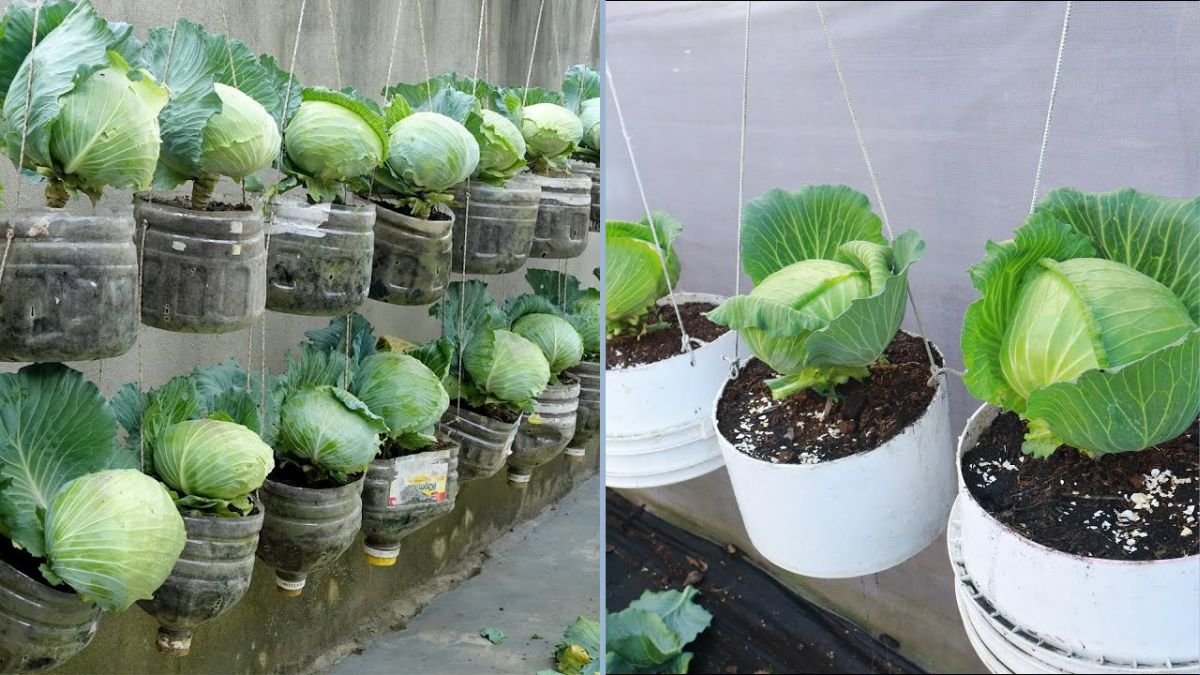
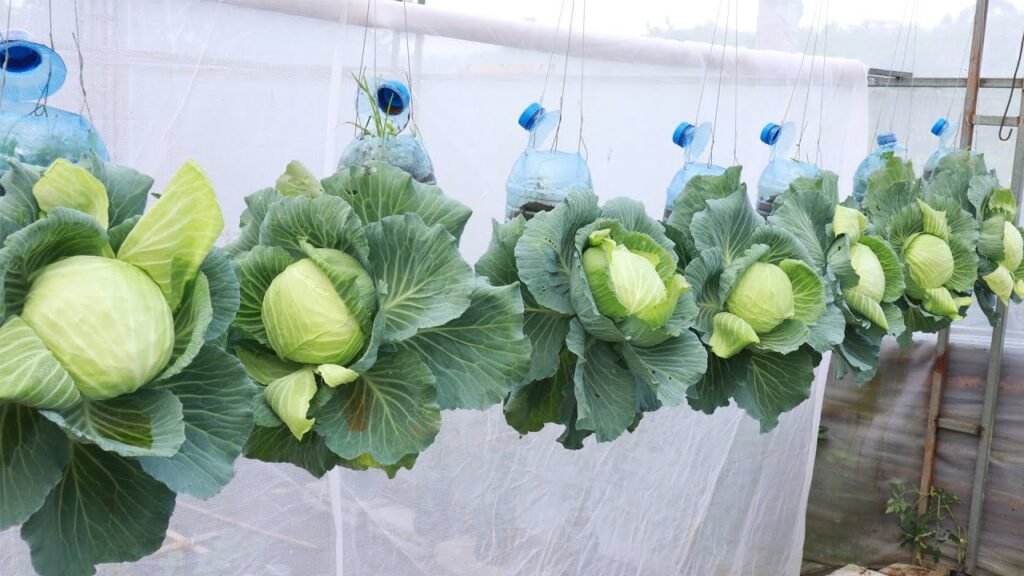
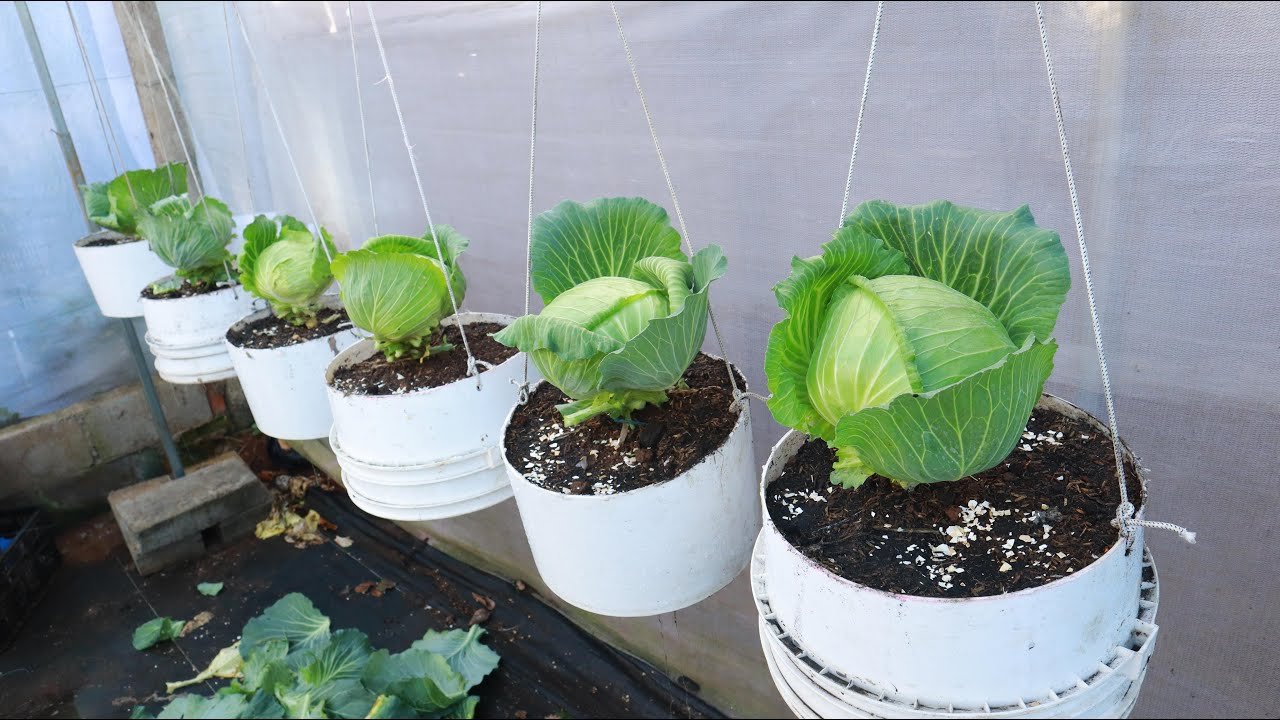
- Vertical Gardening: Stack bottles or use hanging setups to save space and create a visually appealing garden.
- Mini Greenhouse Effect: Keeping the top of the bottle can help retain moisture and warmth for faster growth.
- Companion Planting: Plant herbs like basil, dill, or marigolds nearby to deter pests naturally.
- Regular Rotation: Avoid planting cabbage in the same soil repeatedly to prevent nutrient depletion and soil-borne diseases.
These tips help maximize yield, space efficiency, and overall productivity.
Benefits of Growing Cabbage in Bottles
- Freshness: Enjoy fresh, homegrown cabbage at your fingertips.
- Health: Cabbage is low in calories, high in fiber, and packed with vitamins C and K, supporting digestion and immunity.
- Cost Savings: Reduce the need to purchase cabbage regularly.
- Eco-Friendly: Reusing plastic bottles minimizes waste.
- Convenience: Bottle gardens are easy to maintain and perfect for housewives with busy schedules.
Culinary Uses for Bottle-Grown Cabbage
Homegrown cabbage can be used in countless ways:
- Salads: Fresh leaves add crunch and nutrients.
- Stir-Fries: Sauté with garlic, onions, and other vegetables.
- Soups and Stews: Adds texture and flavor to hearty meals.
- Fermented Foods: Make sauerkraut or kimchi for gut-friendly benefits.
- Cabbage Rolls: Use leaves to wrap savory fillings.
Fresh cabbage from your bottle garden enhances both nutrition and flavor in every dish.
Final Thoughts
Creating a cabbage garden with plastic bottles is a dream solution for housewives and urban gardeners alike. With careful preparation, proper watering, sunlight, and attention to nutrition, even small spaces can produce a bountiful harvest.
This method is not only practical and cost-effective but also environmentally friendly, as it repurposes plastic bottles while providing fresh, nutrient-packed vegetables. Whether for salads, soups, or side dishes, your bottle-grown cabbages will bring health, convenience, and satisfaction to your daily meals.
So don’t overlook those empty plastic bottles—they can become the foundation of a productive, space-saving cabbage garden right at home. Your dream garden is just a bottle away!