Garlic is one of the most versatile and beneficial ingredients in the kitchen, known for its flavor, aroma, and remarkable health properties. But did you know you can grow garlic in simple water bottles at home? This innovative method allows you to cultivate garlic efficiently, save space, and enjoy a fresh, early harvest without traditional gardening tools.
Whether you live in an apartment, have limited outdoor space, or just want a fun DIY gardening project, growing garlic in water bottles is simple, cost-effective, and surprisingly productive. In this guide, we’ll cover everything from selecting garlic cloves and preparing bottles to nurturing healthy roots and harvesting for maximum yield.
Why Grow Garlic in Water Bottles?
Growing garlic in water bottles offers numerous advantages:
- Space-Saving: Ideal for small kitchens, balconies, or windowsills.
- Cost-Effective: Reuses plastic bottles that might otherwise be thrown away.
- Quick Root Growth: Water encourages strong, healthy roots before planting in soil.
- Early Harvest: Garlic grown in bottles often matures faster due to concentrated care.
- Educational and Fun: Perfect for beginners or children interested in gardening.
This method is both practical and sustainable, combining gardening with upcycling to reduce waste.
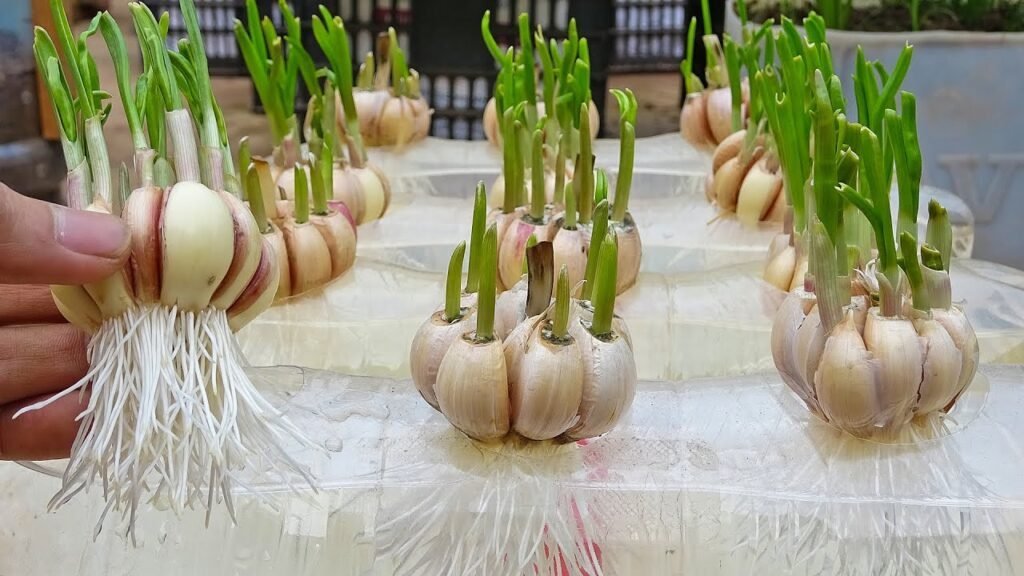
Choosing the Right Garlic Cloves
The first step in growing garlic is selecting the right cloves:
- Choose Healthy Cloves: Avoid small, soft, or damaged cloves. Large, firm cloves produce stronger roots and bigger bulbs.
- Type of Garlic: There are two main types—softneck (best for cooking and indoor growth) and hardneck (strong flavor, produces garlic scapes).
- Organic Options: Using organic garlic ensures there are no chemical treatments that may inhibit growth.
Proper selection sets the foundation for healthy growth and abundant harvests.
Preparing Water Bottles for Garlic Growth
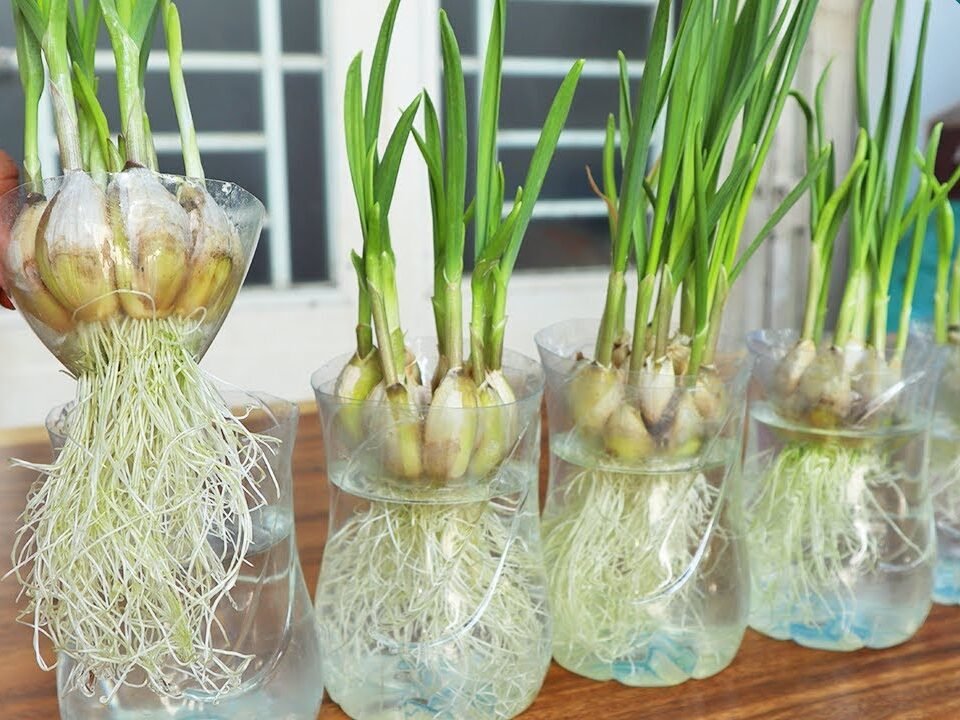
Water bottles provide an excellent mini-hydroponic environment for garlic root development. Here’s how to prepare them:
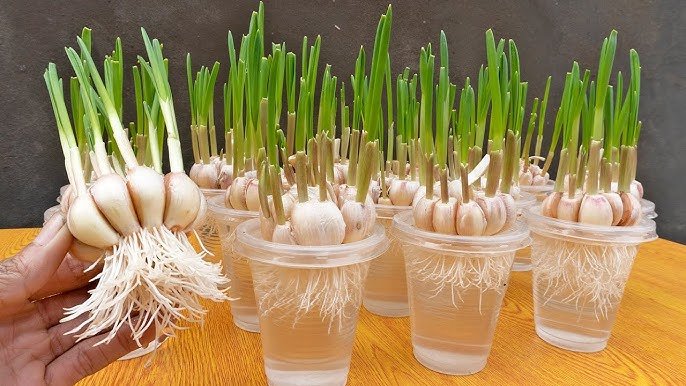
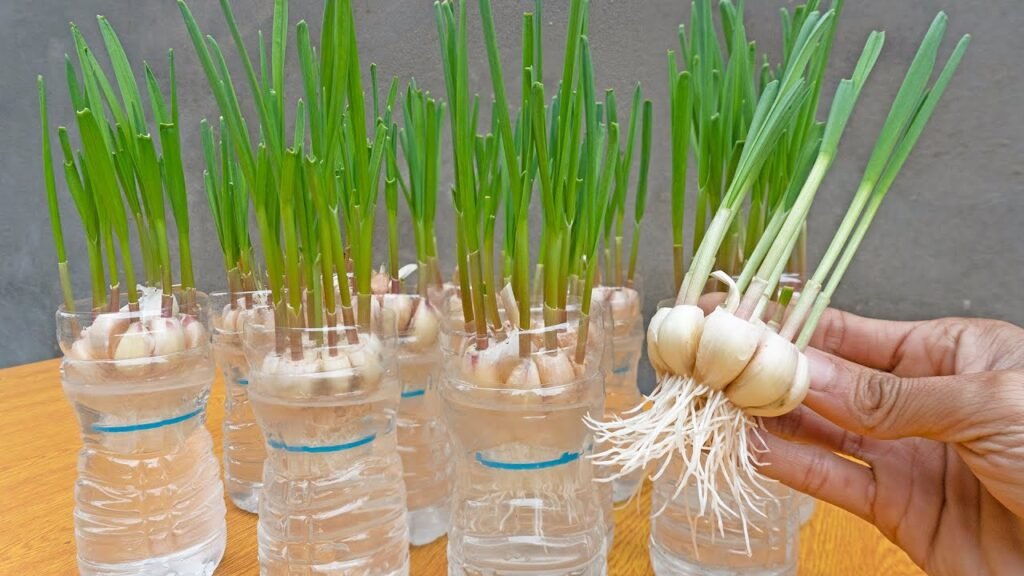
- Select Bottles: Use clean 1–2 liter plastic bottles. Larger bottles allow more space for roots to grow.
- Clean Thoroughly: Wash bottles with soap and water to remove residues and prevent contamination.
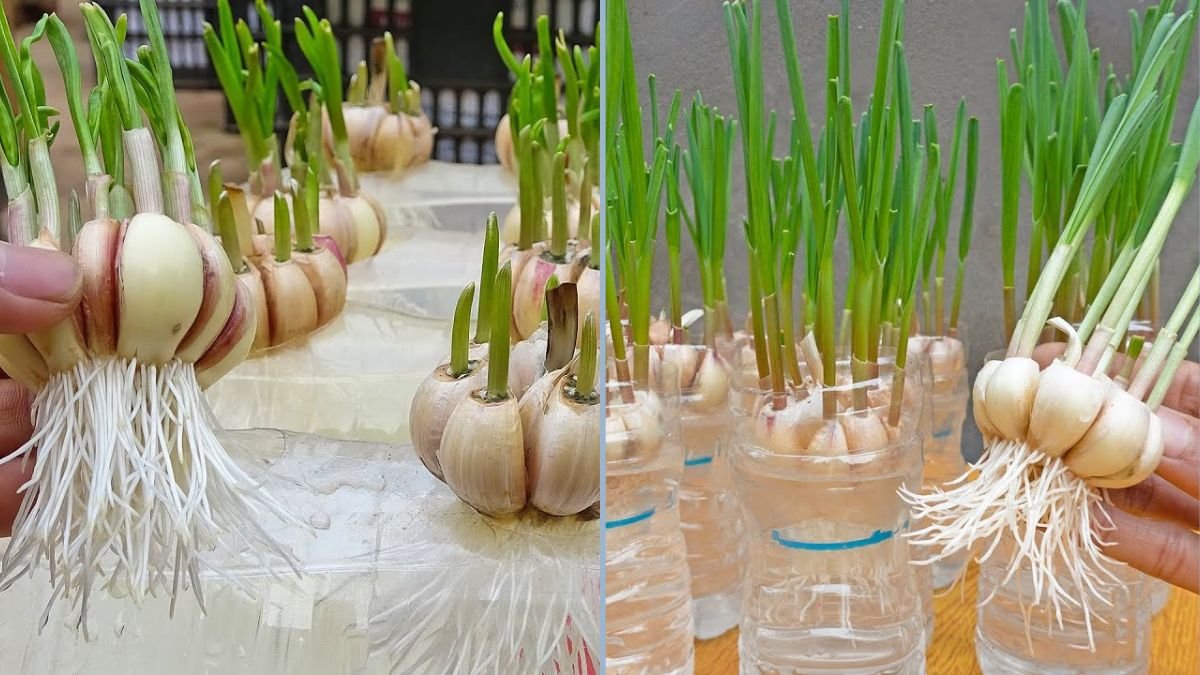
- Cut or Notch: Cut the top off for easier garlic placement, or make a notch to suspend the garlic clove with the root end dipping in water.
- Add Water: Fill the bottle with clean, filtered water, leaving enough space to hold the garlic without submerging it completely.
Planting Garlic in Water Bottles
Planting garlic in bottles is simple but requires attention to orientation and care:
- Orientation: Place the clove with the pointed tip facing upward and the root end touching the water.
- Suspension Method: Use toothpicks, wire, or a small mesh to hold the garlic in place so only the base is in contact with water.
- Water Maintenance: Change the water every 2–3 days to prevent stagnation and encourage strong root growth.
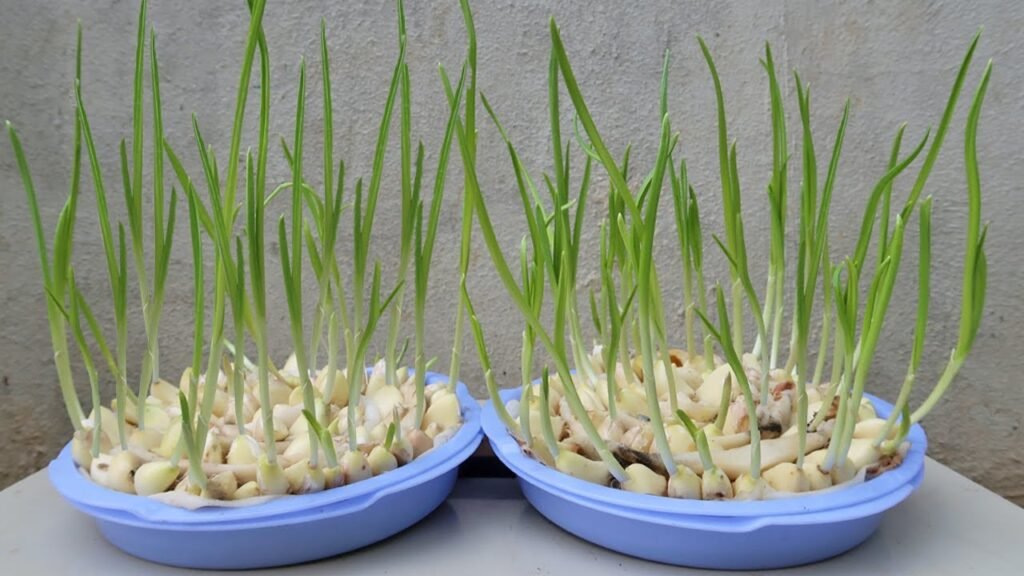
- Sunlight: Place the bottles near a sunny windowsill or under grow lights to promote healthy shoots.
Encouraging Fast Root Growth
Garlic grows quickly in water when given optimal conditions:
- Temperature: Keep the environment warm, ideally 60–75°F (15–24°C).
- Light: Garlic requires at least 6 hours of indirect sunlight daily.
- Clean Water: Fresh water prevents mold or bacterial buildup.
- Nutrition (Optional): Add a few drops of liquid organic fertilizer or compost tea to encourage faster root development.
Within 1–2 weeks, you’ll notice long, healthy roots forming, which indicates your garlic is ready for planting or further growth.
Transitioning Garlic from Bottles to Soil
While garlic can grow in water for extended periods, transplanting to soil ensures full bulb development:
- Choose Containers or Garden Beds: Garlic prefers well-draining, nutrient-rich soil. Raised beds or large pots work well.
- Prepare Soil: Mix garden soil with compost and a pinch of organic fertilizer to provide essential nutrients.
- Planting: Bury garlic cloves 1–2 inches deep with the root end down. Space cloves 4–6 inches apart for proper growth.
- Mulching: Cover with straw or organic mulch to retain moisture and regulate temperature.
Transplanting garlic after root development accelerates growth and increases the likelihood of a healthy, high-yield harvest.
Caring for Garlic
Garlic is relatively low-maintenance but requires consistent care for best results:
Watering
- Keep soil consistently moist but avoid waterlogging, which can cause root rot.
- Reduce watering as the garlic nears maturity to prevent bulbs from splitting.
Fertilizing
- Apply a nitrogen-rich fertilizer during the early growth stage to promote leaf growth.
- Switch to phosphorus and potassium-based fertilizers as bulbs form to encourage size and strength.
Sunlight
- Garlic requires at least 6–8 hours of sunlight per day.
- If growing indoors, consider supplemental LED grow lights.
Pest and Disease Management
- Watch for aphids, whiteflies, or fungal infections.
- Remove affected leaves promptly and use organic sprays like neem oil if necessary.
Harvesting Garlic
Harvesting garlic depends on the variety and growing conditions:
- Timing: Typically, garlic is ready to harvest 90–120 days after planting in soil. Signs of readiness include yellowing and drying leaves.
- Technique: Loosen the soil gently and lift the bulbs. Avoid pulling harshly to prevent damage.
- Curing: Allow garlic to cure in a dry, airy location for 2–3 weeks to enhance flavor and shelf life.
Garlic grown from water bottle roots often develops faster, allowing an earlier harvest compared to direct soil planting.
Additional Tips for Maximum Yield
- Use Large Cloves: Bigger cloves produce stronger plants and larger bulbs.
- Rotate Crops: Avoid planting garlic in the same soil consecutively to prevent soil-borne diseases.
- Companion Planting: Plant garlic alongside tomatoes, peppers, or herbs to deter pests naturally.
- Keep Bottles Clean: If reusing bottles for multiple crops, disinfect them thoroughly to prevent disease transfer.
- Regular Monitoring: Check roots and shoots frequently to catch any signs of mold or nutrient deficiency early.
Benefits of Growing Garlic at Home
- Fresh Flavor: Homegrown garlic is more aromatic and flavorful than store-bought bulbs.
- Health Benefits: Garlic supports heart health, immunity, and may help regulate blood pressure and cholesterol.
- Educational: Ideal for teaching children or beginners about plant growth and sustainable gardening.
- Cost Savings: Growing your own garlic reduces the need for purchased bulbs and provides a continuous supply.
- Eco-Friendly: Reusing water bottles helps reduce plastic waste while growing nutritious food.
Creative Uses for Homegrown Garlic
Once you’ve harvested your garlic, it can be used in countless ways:
- Cooking: Enhance soups, stir-fries, roasted vegetables, and marinades.
- Pickling: Preserve garlic in vinegar or oil for long-term use.
- Health Remedies: Garlic can support immunity and cardiovascular health when incorporated into daily meals.
- Gifting: Fresh, homegrown garlic makes a thoughtful gift for friends and family who enjoy cooking.
Final Thoughts
Growing garlic in water bottles is a simple, innovative, and eco-friendly way to cultivate this culinary and medicinal treasure at home. From selecting the right cloves to nurturing roots, transplanting to soil, and harvesting bulbs, this method allows even beginners to enjoy a productive garlic crop.
Not only does it save space and reduce plastic waste, but it also provides fresh, nutrient-rich garlic that can enhance your meals and support your health. With consistent care, proper lighting, and attention to watering, you can enjoy a quick and abundant garlic harvest right from your kitchen windowsill or balcony.
So next time you finish a bottle of water, consider turning it into a mini garlic garden—your taste buds and health will thank you!