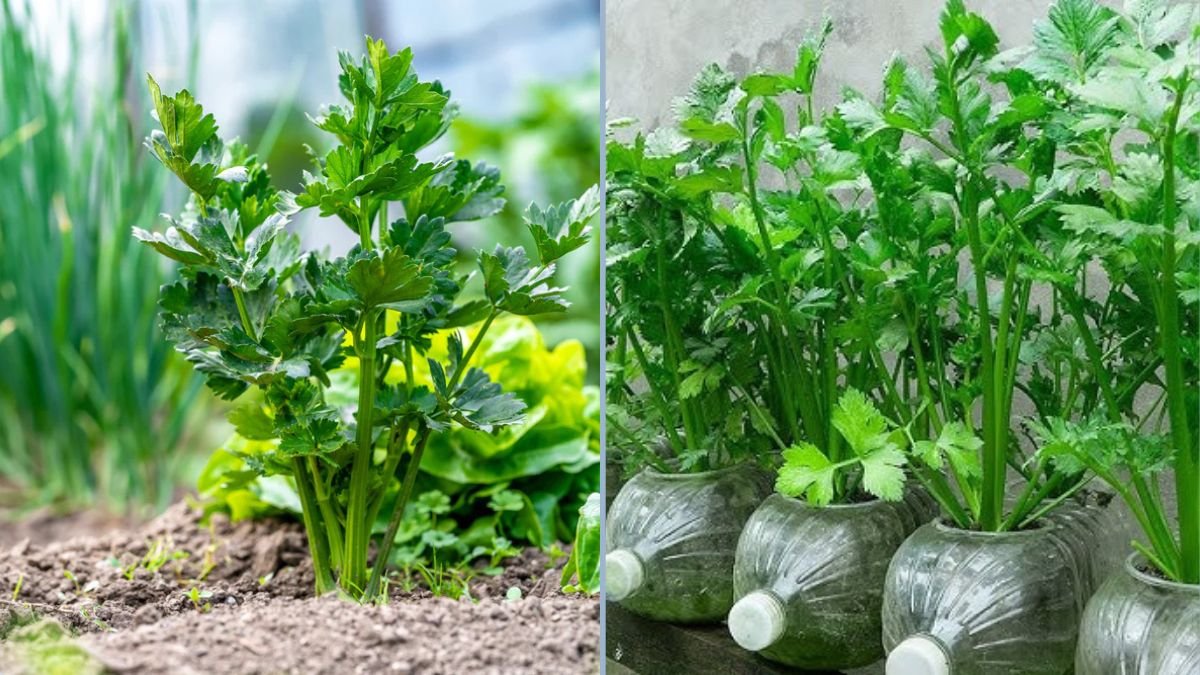
If you’ve ever tried growing celery at home, you probably know it can be a bit tricky. From inconsistent watering to poor soil, many gardeners struggle to get their celery to thrive. But here’s the good news: growing celery doesn’t have to be complicated. In fact, you can achieve lush, crisp stalks without relying on well water, plastic cans, or complicated setups. With the right method, you can turn even a small kitchen corner or terrace into a thriving celery patch. In this guide, we’ll explore a simple and practical approach to growing celery at home, step by step.

Why Celery Is Worth Growing at Home
Celery is more than just a crunchy addition to soups and salads. Growing your own has several benefits:
- Healthier Produce: Homegrown celery is free from pesticides and chemicals.
- Cost-effective: Store-bought celery can be expensive, especially organic varieties.
- Sustainable: Growing your own reduces packaging waste and transportation emissions.
- Satisfying: Watching celery grow from a tiny stalk to a full, vibrant plant is incredibly rewarding.
The best part? You don’t need a large garden or specialized equipment. Even a small balcony or terrace is enough to grow healthy celery.
Materials You’ll Need
One of the great things about this method is its simplicity. You’ll need just a few basic items:
- Celery stalks: Use fresh celery from the store or leftovers from your kitchen.
- A shallow container or pot: Celery grows best in containers that are at least 6–8 inches deep.
- Water: Tap water is perfectly fine—no need for well water or special treatment.
- Sunlight: Celery needs at least 4–6 hours of indirect sunlight per day.
- Optional fertilizer: Organic liquid fertilizer can boost growth, but it’s not mandatory.
That’s it. No plastic cans, no complex irrigation, no fancy greenhouse. Just simple tools and patience.
Step 1: Choosing the Right Celery
Not all celery is ideal for regrowing at home. Look for stalks that are fresh, firm, and free from yellowing or damage. The base of the stalk—the part that was connected to the root—is what you’ll be using to regrow new celery.
Cut the base carefully, leaving about 2–3 inches intact. You can use the remaining stalks in your kitchen while regrowing the base for a new plant.
Step 2: Regrowing Celery in Water
Many people try growing celery directly in soil, but starting it in water is easier and faster. Here’s how:
- Place the base in a shallow bowl of water: Fill the bowl with enough water to cover the bottom 1–2 inches of the celery base.
- Position it in indirect sunlight: Avoid direct harsh sunlight, which can dry out the base.
- Change the water regularly: Refresh the water every 1–2 days to prevent bacteria growth.
Within 5–7 days, you’ll notice small roots starting to develop at the base. This is a sign that your celery is ready for the next step.
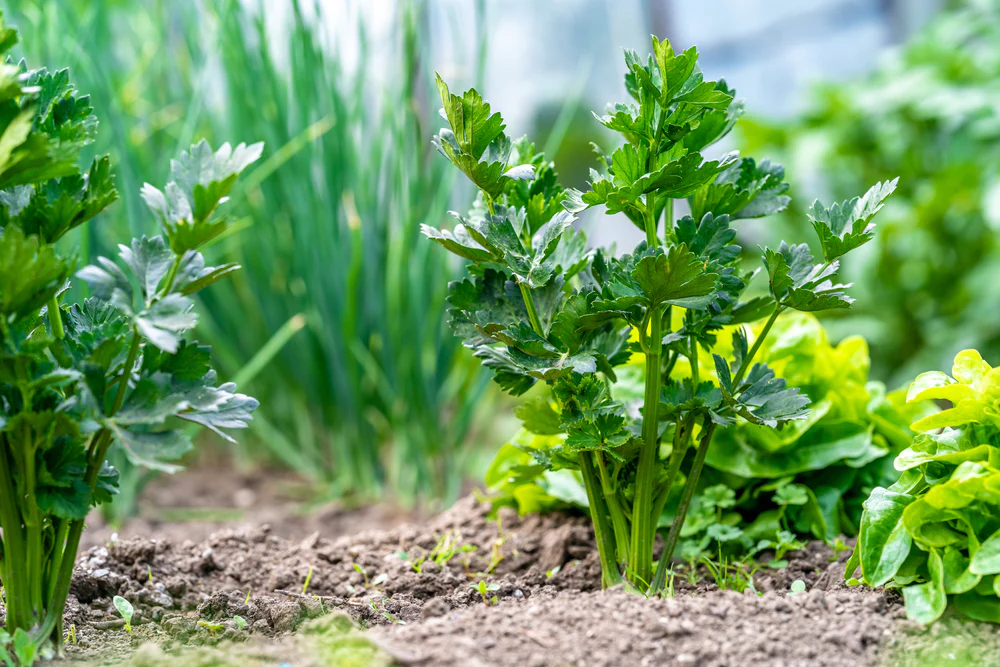
Step 3: Transplanting to Soil
Once the roots are visible and the base shows new leaf growth, it’s time to move your celery to soil. Use a pot or container filled with rich, well-draining soil. Here’s how to do it:
- Prepare the soil: Mix garden soil with compost to provide nutrients.
- Plant the celery base: Insert the rooted base into the soil, making sure the roots are fully covered.
- Water lightly: Keep the soil moist but not soggy. Celery prefers consistent moisture.
- Position in sunlight: Celery thrives in partial sunlight—about 4–6 hours daily is perfect.
Step 4: Proper Watering and Care
Watering is the key to growing healthy celery. Unlike many other plants, celery doesn’t tolerate dry soil. However, overwatering can also be harmful. Here’s a simple guide:
- Check soil daily: Keep the soil evenly moist.
- Avoid waterlogging: Make sure your pot has drainage holes to prevent root rot.
- Use mulch (optional): Mulching helps retain moisture and keeps the soil temperature stable.
Step 5: Feeding Your Celery
While celery can grow without fertilizer, a little nutrition helps it thrive. Use an organic liquid fertilizer every 2–3 weeks, or mix compost into the soil for slow-release nutrients. This ensures strong, crisp stalks and vibrant leaves.
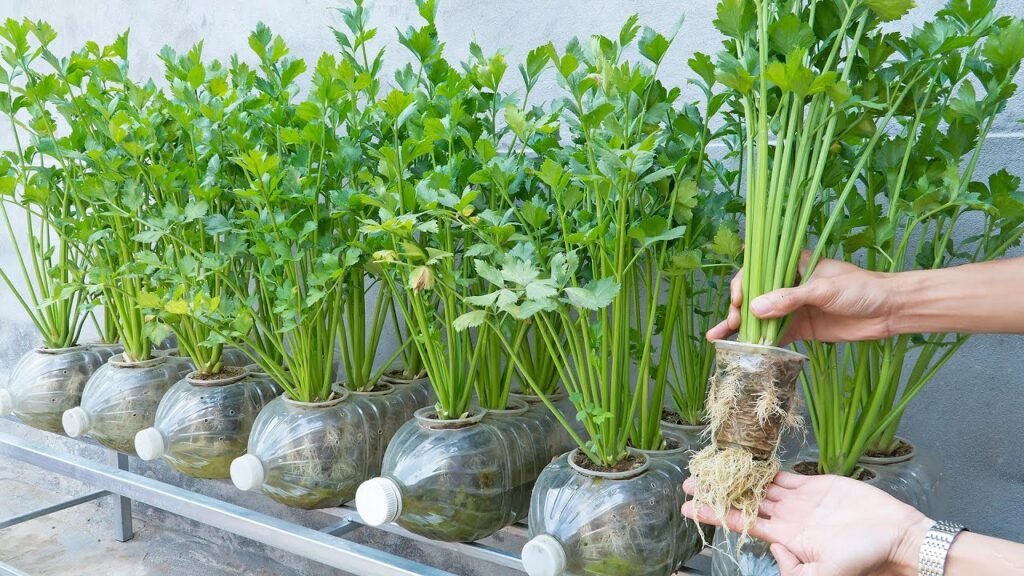
Step 6: Patience and Growth
One of the amazing things about celery is how quickly it regenerates. Once planted, you’ll see steady growth over the next few weeks. New leaves emerge from the center, and the stalks gradually thicken. With regular care, your celery will be ready to harvest in about 3–4 months.
Step 7: Harvesting Celery
Harvesting celery is simple and rewarding. Here’s how:
- Cut stalks carefully: Use a knife or scissors to cut the outer stalks first.
- Leave the center intact: This allows the plant to continue growing and producing more stalks.
- Enjoy fresh celery: Use your homegrown celery in salads, soups, or as a healthy snack.
Tips for Success
To ensure your celery grows strong and healthy, keep these tips in mind:
- Rotate the container occasionally: This ensures all sides get sunlight.
- Trim yellow leaves: Remove any damaged or yellowing leaves to maintain plant health.
- Keep pests away: Celery is generally pest-resistant, but watch for aphids or slugs.
- Harvest gradually: By picking outer stalks, you encourage continuous growth.
Common Mistakes to Avoid
Even with this simple method, beginners can make a few mistakes. Avoid these to get the best results:
- Using old or wilted celery: Only fresh stalks regrow successfully.
- Overwatering: Roots can rot if submerged for too long.
- Ignoring sunlight: Celery needs light to grow strong, even when starting in water.
- Planting too deeply: The base should be just covered; burying it too deep slows growth.
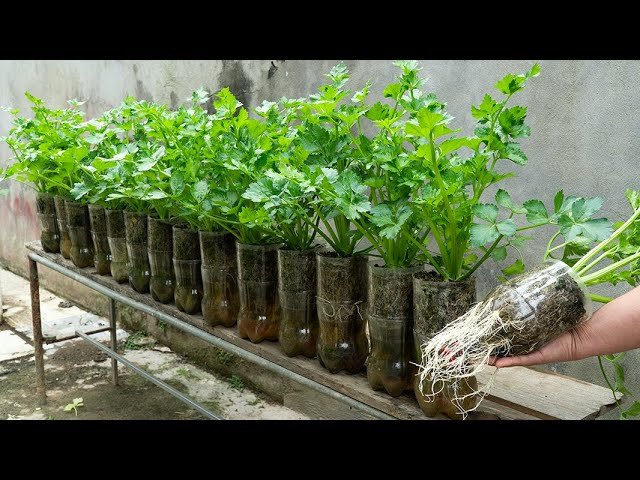
Why This Method Is Better Than Using Well Water or Plastic Cans
Many traditional gardening methods involve well water or plastic containers, but these aren’t always ideal. Well water may contain minerals that affect growth, while plastic cans can be difficult to clean and may leach chemicals over time. By regrowing celery in simple water and transferring to soil, you minimize risks, reduce waste, and make the process accessible to anyone, anywhere.
This method is not only more convenient but also faster and cleaner. It works perfectly for urban gardeners, balcony growers, or anyone with limited space.
Final Thoughts
Growing celery at home doesn’t need to be complicated or expensive. By starting with a simple base, using water to encourage roots, and transferring to soil, you can enjoy crisp, homegrown celery all year round. This method eliminates the guesswork, reduces reliance on store-bought produce, and gives you a small but satisfying gardening project.
Whether you’re a beginner or an experienced gardener, this approach makes celery cultivation simple, fun, and rewarding. Forget about well water or plastic cans—this method is all you need to grow healthy, flavorful celery right in your kitchen, balcony, or terrace.
Start today, and in a few months, you’ll have fresh, homegrown celery ready to enhance your meals and your garden. It’s easier than you think, and the results are truly amazing!