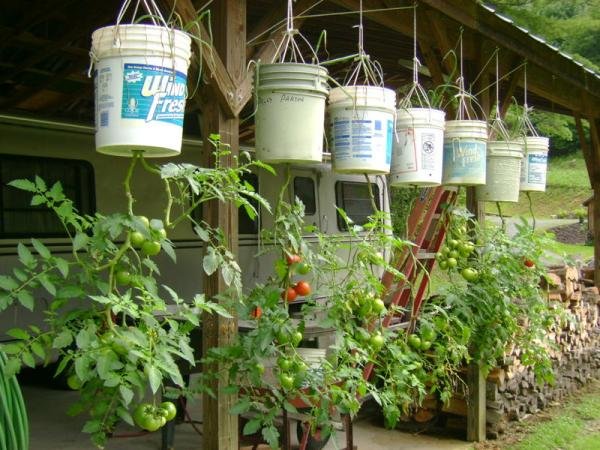
Growing your own food doesn’t always require a garden, big pots, or expensive supplies. In fact, some of the best gardening containers might already be lying around your home—unused, forgotten, or ready to be thrown away. If you have an old wooden drawer or a discarded styrofoam box, you’re already halfway to setting up a thriving tomato garden!
This guide will walk you through two easy, affordable, and eco-friendly methods to grow tomatoes at home—perfect for beginners, urban gardeners, or anyone who loves DIY gardening setups.
Why Grow Tomatoes in Recycled Containers?
Tomatoes are one of the most popular plants to grow at home because they:
- Produce high yields even in small spaces
- Grow well in containers
- Thrive with proper sunlight and drainage
- Offer better flavor than store-bought tomatoes
- Can be grown organically with ease
Using old drawers or styrofoam boxes as planters has several advantages:
- Saves money
- Reduces waste
- Ideal for balconies, patios, rooftops, and small yards
- Keeps soil temperature stable
- Allows customization for drainage and space
Now, let’s dive into the two methods!
Method 1: Growing Tomatoes in an Old Drawer
If you have an unused wooden drawer—from an old cabinet, closet, or dresser—don’t throw it out. With a little prep, it can become a rustic and functional tomato planter.
Step 1: Prepare the Drawer
Before planting, make sure the drawer:
- Is clean and dry
- Has solid sides to hold soil
- Is not rotten or moldy
Create drainage holes at the bottom using:
- A drill
- A hammer and nail
- A screwdriver
Make at least 5–8 holes to prevent waterlogging.
Optional: Line the drawer interior with plastic or landscape fabric (poke holes in it) to protect the wood and retain moisture.
Step 2: Add Base Layer for Drainage
At the bottom of the drawer, place:
- Small rocks or pebbles
- Charcoal pieces
- Broken terracotta
- Coconut husks
This ensures roots don’t sit in water.
Step 3: Fill with Planting Mixture
Fill the drawer with nutrient-rich soil up to 2–3 cm from the top. Use this ideal blend:
- 40% garden soil or topsoil
- 30% compost or aged manure
- 20% coco peat or dry leaves
- 10% sand/perlite for drainage
Mix well before filling.
Step 4: Plant Your Tomato Seedlings or Seeds
You can grow tomatoes from:
- Nursery seedlings
- Store-bought starter plants
- Seeds from fresh tomatoes you dried and prepared
For a drawer, plant 1 or 2 tomato plants, depending on the drawer size. Space seedlings 30–40 cm apart.
Plant them deep! Bury the stem up to the first leaves to help roots grow stronger.
Step 5: Water Properly
Tomato plants love moisture but not soggy soil. Follow this:
- Water daily in hot climates
- Keep soil moist, not soaked
- Use a spray bottle for young seedlings
Mulching with straw or dried leaves helps retain moisture.
Step 6: Sunlight and Placement
Tomatoes need 6–8 hours of sunlight. Place the drawer:
- Near a window
- On a balcony
- In a courtyard, patio, or rooftop
Elevate it on bricks or a stand for air circulation.
Step 7: Support the Tomato Plant
As the plant grows, it needs support:
- Use stakes or bamboo sticks
- Add a trellis or string
- Tie loosely with soft cloth or jute rope
This prevents the plant from bending and helps fruit development.
Step 8: Fertilize Every 2–3 Weeks
Use:
- Compost tea
- Banana peel water
- Fish emulsion
- Liquid organic fertilizer
Avoid too much nitrogen—it causes leaves to grow instead of fruit.
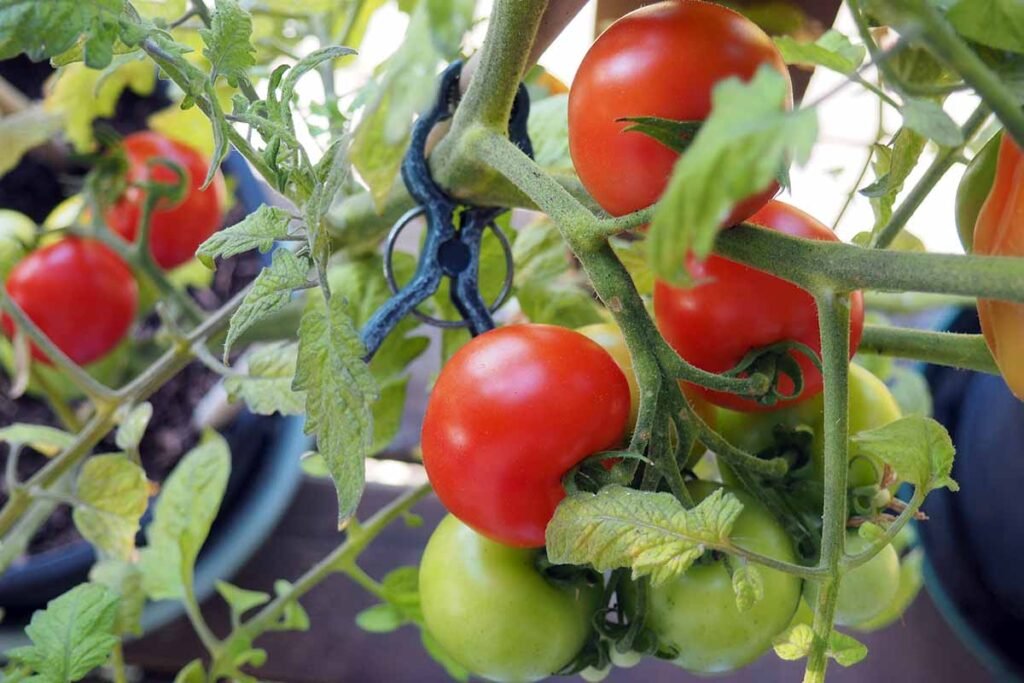
Step 9: Harvest Time!
Depending on the variety, tomatoes are ready in 60–90 days. Harvest when:
- The skin turns red, orange, or yellow
- Fruits feel firm but ripe
Use scissors to avoid damaging the stem.
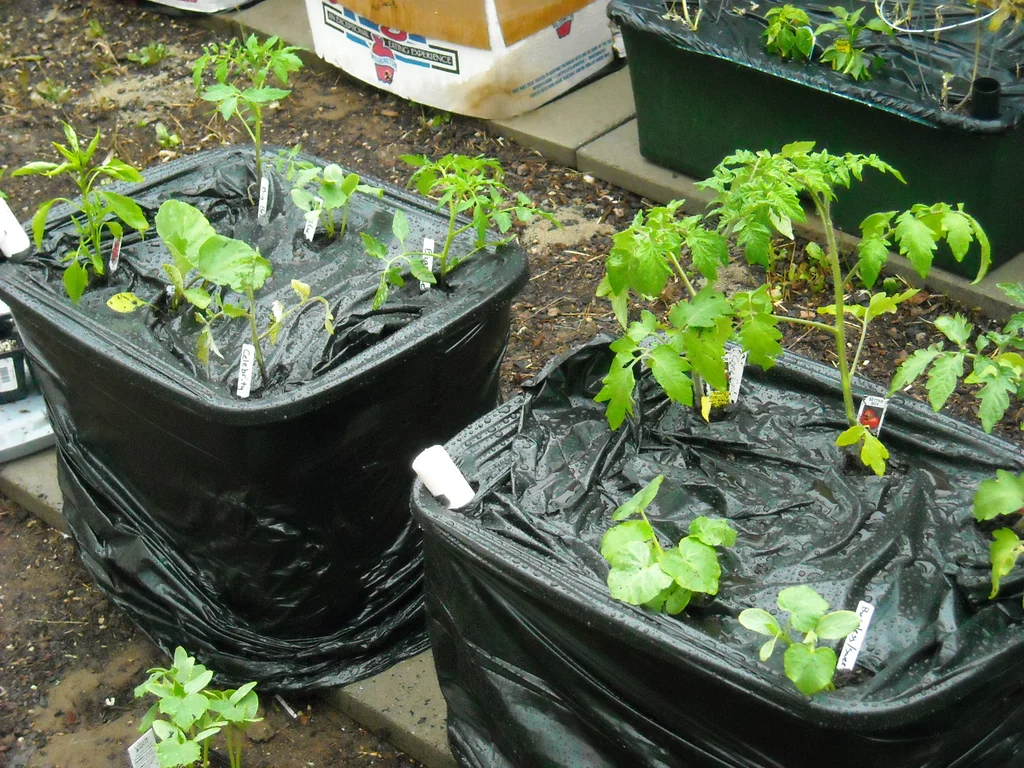
Method 2: Growing Tomatoes in a Styrofoam Box
Styrofoam boxes (like those used for packaging fish, fruits, or electronics) make perfect planters. They’re lightweight, great at retaining moisture, and naturally insulated.
Step 1: Choose and Clean the Box
Pick a box that is:
- At least 25–40 cm deep
- Free of cracks
- Sturdy and clean
Wash and dry it before use.
Step 2: Make Drainage Holes
Use a hot nail, skewer, or screwdriver to make 6–10 holes on the bottom.
You can also add 2–3 small holes on the sides (near the bottom) for drainage.
Step 3: Elevate the Box
To avoid water buildup:
- Place the box on small blocks, bricks, or wooden pieces
- Avoid placing directly on the ground or floor
Step 4: Soil Filling
Same as with the drawer method:
- Use rich, compost-filled potting mix
- Fill up to 3 cm below the rim
- Add organic matter like rice husk or coffee grounds if desired
Step 5: Plant the Tomato
You can grow:
- 1 bush tomato
- 2 dwarf tomato plants
- 3 cherry tomato plants
Plant seeds or seedlings deeply and firm the soil around the base.
Step 6: Watering Made Easy
Styrofoam boxes dry slower than regular pots—perfect for tomatoes. Water when the top soil feels dry. Avoid:
- Overwatering
- Water pooling
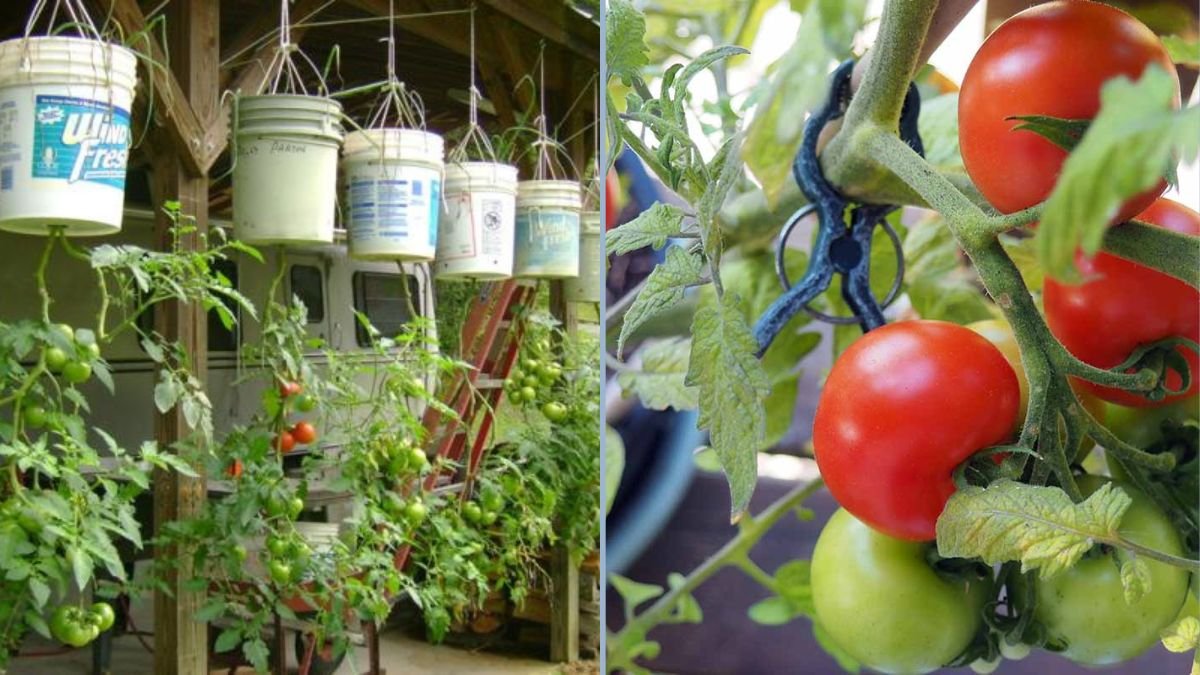
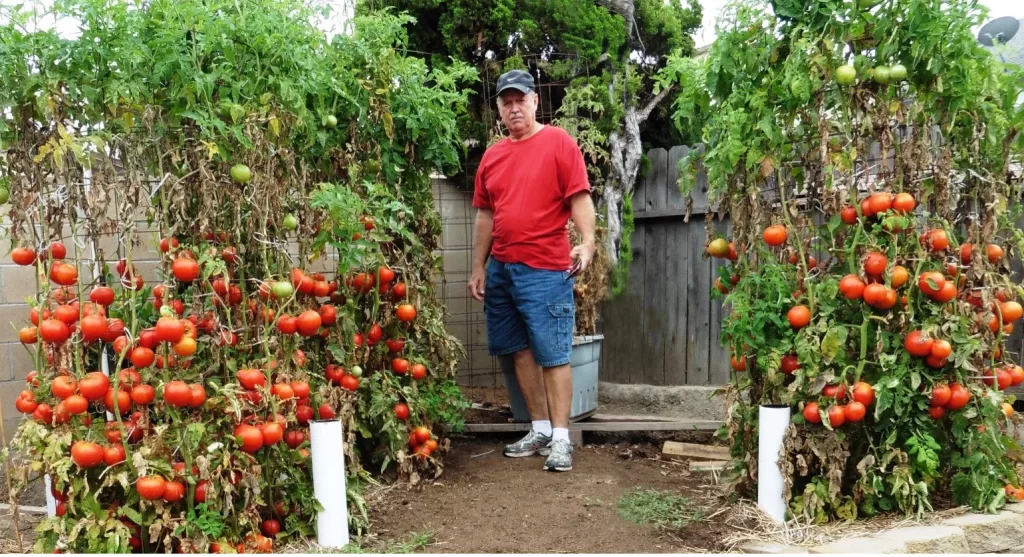
You can also place a perforated PVC pipe vertically in the soil for deep watering.
Step 7: Place in Sunny Area
Since styrofoam is lightweight, the box can be moved to:
- Windowsills
- Rooftops
- Terraces
- Porches
- Balconies
Ensure at least 6 hours of light daily.
Step 8: Support and Prune
As plants grow:
- Insert bamboo or wooden stakes
- Use trellis strings or cage
- Remove suckers (side shoots) to promote fruiting
Step 9: Fertilize Regularly
Every 2 weeks, add:
- Compost
- Seaweed extract
- Crushed eggshells
- Diluted vermicompost tea
This keeps plants blooming and fruiting.
Step 10: Harvest and Enjoy
You’ll enjoy your first homegrown tomatoes within two months. Pick them regularly to encourage more fruiting.
Extra Tips for Bigger Harvests
Use companion plants like basil or marigold to repel pests
Rotate the container occasionally for even sunlight
Add mulch to keep roots cool
Remove yellow leaves to avoid disease
Pollinate flowers manually if growing indoors
Avoid overloading the plant with too many fruits at once
Eco-Friendly and Budget-Smart Gardening
Using old drawers and styrofoam boxes offers:
Zero cost gardening
Recycling and waste reduction
Creative use of space
Beginner-friendly gardening setup
Abundant fresh produce at home
You don’t need a big yard, expensive pots, or complicated tools. With just creativity and a bit of effort, you can turn “trash” into a productive mini tomato farm.
Final Thoughts
Growing tomatoes at home using an old drawer or styrofoam box proves that gardening doesn’t have to be expensive or space-consuming. Anyone—students, apartment dwellers, urban families, or hobbyists—can do it with household leftovers.
So before throwing away that drawer or box, think again—your next tomato harvest might begin right there!
If you’d like:
- A shorter version
- A translated version
- SEO keywords or meta description
- Social media captions
Just let me know—I’m happy to help!