Garlic is a kitchen staple and a natural remedy for numerous ailments, including boosting immunity, fighting infections, and adding flavor to countless dishes. Growing garlic at home is not only cost-effective but also incredibly satisfying, especially when you can do it using simple, everyday items like water bottles. This method allows gardeners, even with limited space, to grow garlic efficiently, produce abundant roots, and achieve a quick harvest. In this blog post, we’ll explore step-by-step tips to grow garlic in water bottles, from selecting cloves to harvesting flavorful, homegrown bulbs.
Why Grow Garlic in Water Bottles?
Growing garlic in water bottles is a space-saving, innovative approach that offers several advantages:
- Compact and portable: Ideal for balconies, small patios, or indoor spaces.
- Controlled growth environment: Easy to monitor water levels and root development.
- Quick rooting: Garlic cloves sprout roots faster in a water medium.
- Recycling: Reuses plastic bottles, reducing waste.
- Educational: A fun project for beginners or kids learning about plant growth.
This method is perfect for urban gardeners who want fresh garlic without a large garden plot.
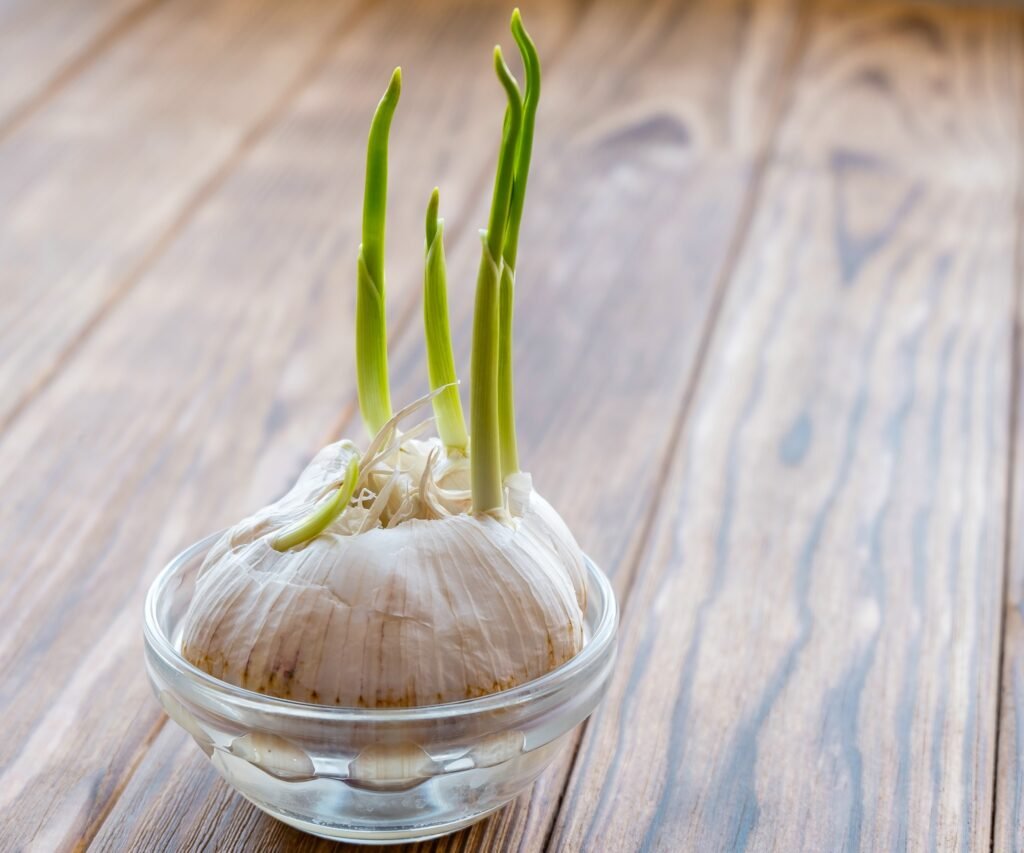
Step 1: Choosing Garlic Cloves
The foundation of a successful garlic harvest is healthy cloves.
Selection tips:
- Choose large, firm cloves without signs of mold or decay.
- Avoid soft or shriveled cloves, which may fail to sprout.
- Organic garlic is preferable, as it is less likely to be treated with growth inhibitors.
The best cloves will produce strong roots and green shoots quickly, leading to faster harvests.
Step 2: Preparing the Water Bottle
Using a standard 1–2 liter plastic bottle works perfectly for this method.
Preparation steps:
- Cut the bottle horizontally or vertically to create an opening for planting and observation.
- Poke small holes in the bottom for drainage if using soil, or leave intact if growing directly in water.
- Wash the bottle thoroughly to remove any residues.
This setup allows you to monitor root growth and ensures your garlic thrives in a controlled environment.
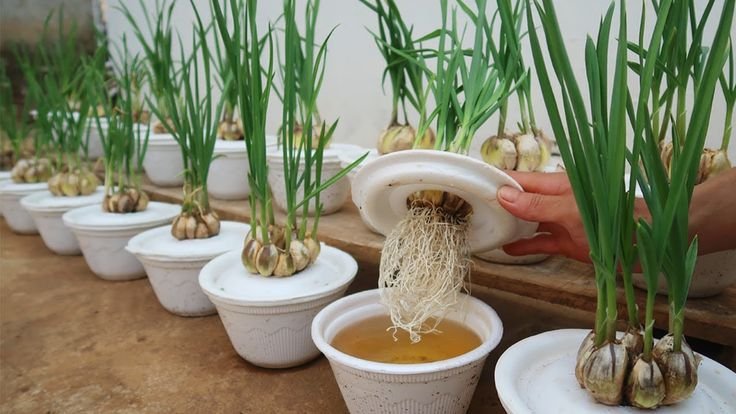
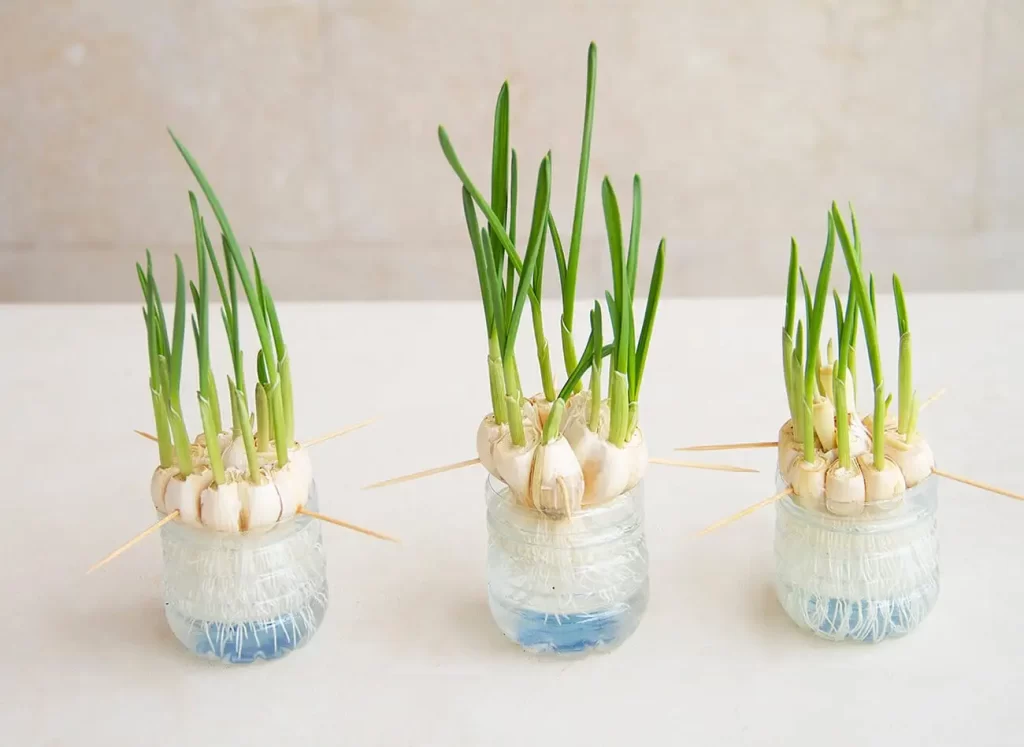
Step 3: Setting Up Garlic in Water
Garlic can grow in water alone, producing roots and shoots before transplanting or even fully maturing.
Steps for water growth:
- Fill the bottle with water, leaving about 2–3 cm from the top.
- Place the garlic clove with the pointed end facing up and the flat root end slightly submerged.
- Ensure the water covers only the bottom part of the clove to prevent rot.
Tip: Change the water every 3–4 days to prevent stagnation and fungal growth.
Step 4: Ensuring Proper Light
Garlic requires adequate light for healthy growth:
- Place the water bottle near a bright window with indirect sunlight.
- For indoor setups with limited natural light, use LED grow lights for 12–16 hours per day.
- Rotate the bottle periodically to ensure even growth.
Proper lighting promotes lush green shoots and strong roots, ensuring garlic develops quickly.
Step 5: Temperature and Humidity
Garlic grows best in moderate conditions:
- Ideal temperature: 20–25°C (68–77°F) for initial rooting.
- Avoid placing near heaters or air conditioners, which can dry out the clove.
- Maintain moderate humidity; garlic thrives in slightly humid environments.
Stable conditions accelerate rooting and green shoot development, allowing for faster harvest.
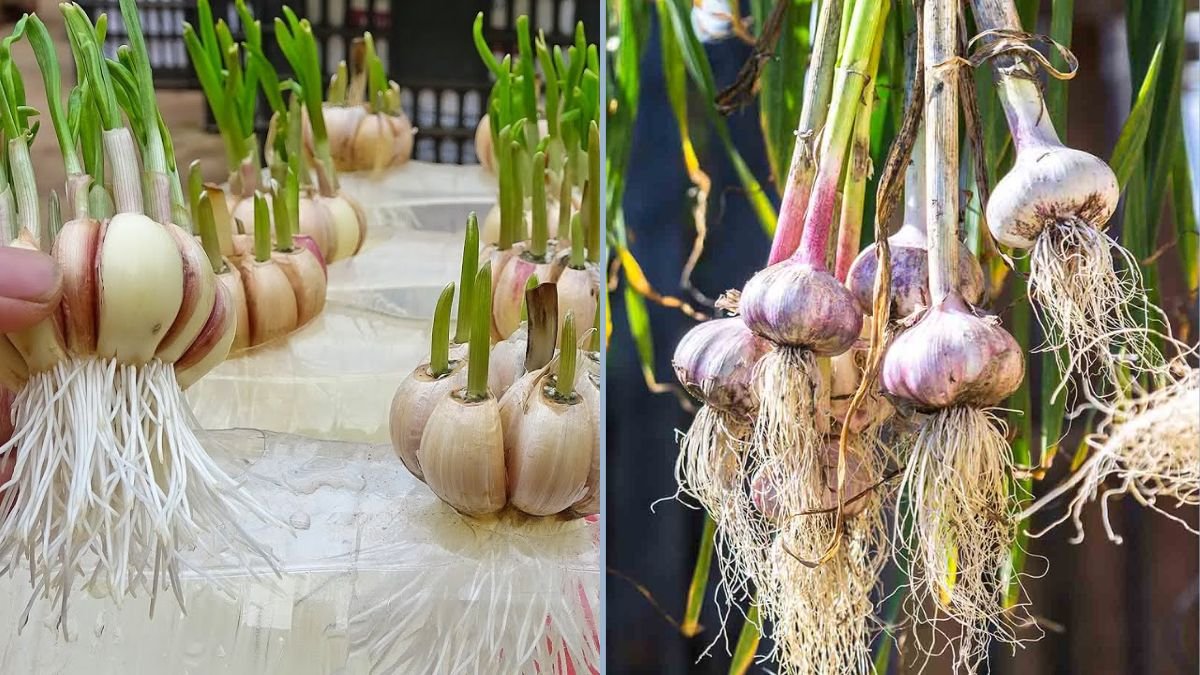
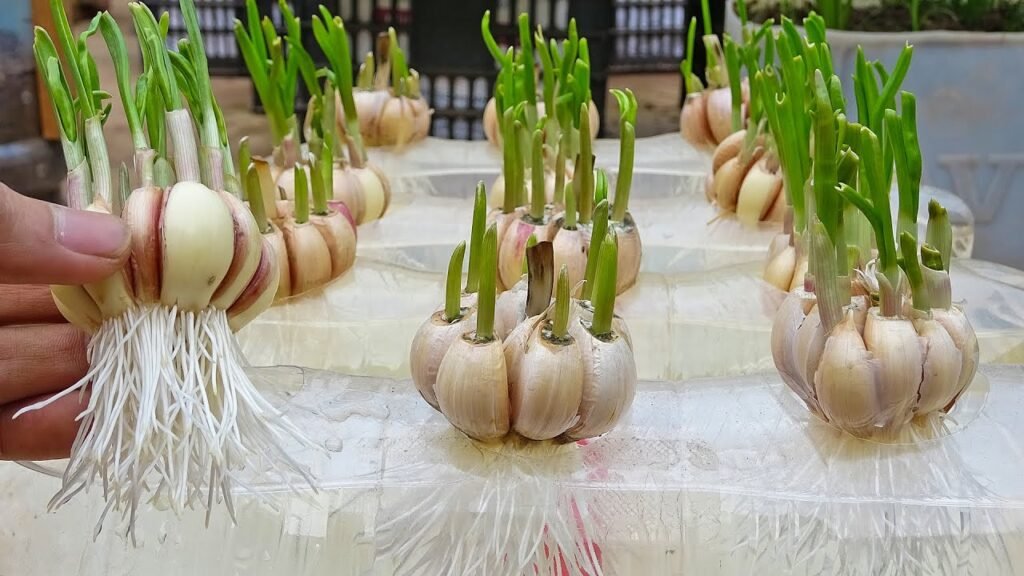
Step 6: Root Development Tips
The key to growing garlic successfully in water bottles is encouraging abundant roots.
Techniques for better roots:
- Submerge the root end just enough to contact water, preventing rotting.
- Use a narrow container or bottle to support the clove upright.
- Add a few drops of liquid fertilizer or compost tea once a week for stronger root growth.
Within 1–2 weeks, you’ll notice healthy, white roots and emerging green shoots.
Step 7: Transplanting (Optional)
While garlic can continue growing in water, transplanting to soil produces full bulbs:
- Prepare a pot with loose, well-draining soil enriched with compost.
- Carefully place the rooted clove in soil, keeping the green shoots above the surface.
- Water lightly and maintain consistent moisture.
Transplanting allows garlic to develop full, flavorful bulbs while continuing the growth cycle started in water.
Step 8: Fertilizing Garlic
Even in water, garlic benefits from nutrients for robust growth:
- Liquid fertilizers: Diluted compost tea or fish emulsion provides essential nutrients.
- Frequency: Apply once a week to support roots and shoots.
- Organic options: Seaweed extract or diluted manure solutions can enhance growth naturally.
Proper nutrition ensures your garlic develops vigorously and quickly, reducing time to harvest.
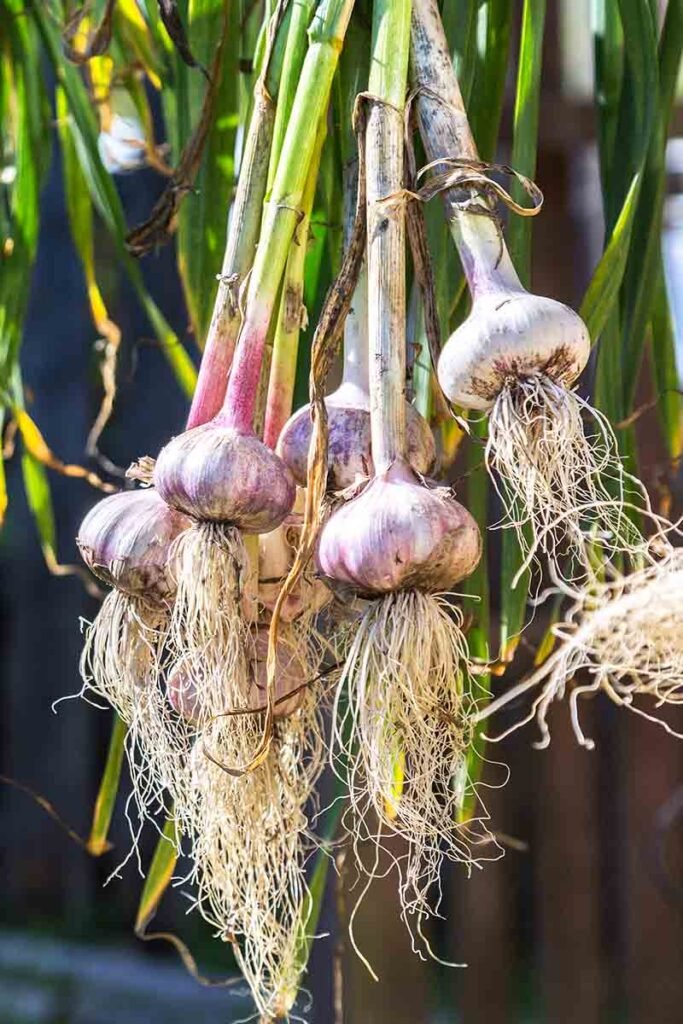
Step 9: Harvesting Garlic Shoots
Garlic can be harvested in multiple stages:
- Green shoots (scapes): Cut shoots when 6–8 inches long; they are tender, flavorful, and perfect for cooking.
- Mature bulbs: If transplanted to soil, wait 8–10 months for fully developed garlic bulbs.
Even if you don’t aim for full bulbs, harvesting green shoots provides fresh garlic flavor early and encourages further growth.
Step 10: Common Problems and Solutions
Growing garlic in water bottles is simple, but beginners may encounter a few issues:
- Rotting cloves: Usually caused by over-submersion; keep water level low.
- Yellowing leaves: Often a sign of too much sunlight or insufficient nutrients.
- Slow root growth: Ensure fresh water, proper light, and temperature.
- Fungal growth: Change water regularly and maintain cleanliness.
Addressing these problems early ensures a healthy, productive garlic crop.
Step 11: Advantages of This Method
Growing garlic in water bottles is not just convenient—it’s also effective:
- Quick results: Roots appear in 1–2 weeks, and shoots in 2–3 weeks.
- Space-efficient: Perfect for apartments or small gardens.
- Educational: Ideal for teaching kids about plant growth.
- Environmentally friendly: Reuses plastic bottles and reduces waste.
- Flexible harvesting: You can harvest shoots early or wait for mature bulbs.
This method combines simplicity, speed, and productivity in a creative gardening solution.
Step 12: Tips for Maximum Yield
To get the most out of your garlic water bottle garden:
- Use large, healthy cloves for stronger roots.
- Maintain clean, fresh water to prevent disease.
- Provide adequate light for green shoot growth.
- Fertilize occasionally with organic liquid nutrients.
- Transplant to soil if you want full-size bulbs.
- Harvest shoots regularly to encourage continuous growth.
Following these tips ensures you enjoy abundant, fast-growing garlic year-round.
Final Thoughts
Growing garlic in water bottles is an innovative, space-saving, and efficient method for gardeners of all levels. By selecting healthy cloves, maintaining proper water levels, providing light and nutrients, and monitoring root and shoot growth, you can enjoy an impressive harvest of garlic shoots or full bulbs. This method not only saves space but also accelerates rooting and reduces the wait time for fresh, homegrown garlic.
Whether you live in an apartment, have a small garden, or simply want a fun and productive gardening project, growing garlic in water bottles is a simple, practical, and rewarding approach. With patience, attention, and a few basic materials, anyone can enjoy fresh garlic, robust roots, and a quick harvest—bringing the flavor and health benefits of homegrown garlic right to your kitchen.