Ginger is more than just a common kitchen spice; it’s a powerhouse of flavor, aroma, and health benefits. With its anti-inflammatory properties, digestive aids, and immune-boosting nutrients, ginger is a staple in kitchens and herbal remedies worldwide. Growing ginger at home may seem intimidating for beginners, but it’s actually simple, rewarding, and highly impressive once you see lush green shoots emerging from the soil. In this beginner-friendly guide, we’ll explore step-by-step instructions on how to grow ginger successfully, along with tips to maximize yield and ensure a healthy, flavorful harvest.
Why Grow Ginger at Home?
Homegrown ginger offers several advantages over store-bought varieties:
- Freshness: The flavor and aroma of freshly harvested ginger far surpass supermarket options.
- Organic cultivation: Avoid chemicals, pesticides, and preservatives.
- Sustainability: Growing your own reduces dependency on packaged goods.
- Continuous supply: Once established, ginger can be harvested multiple times.
- Visual appeal: Its lush foliage adds a tropical touch to your garden or indoor space.
For beginners, the satisfaction of harvesting your own ginger is as impressive as the end product.
Understanding Ginger: The Basics
Before planting, it’s helpful to know what ginger is and how it grows:
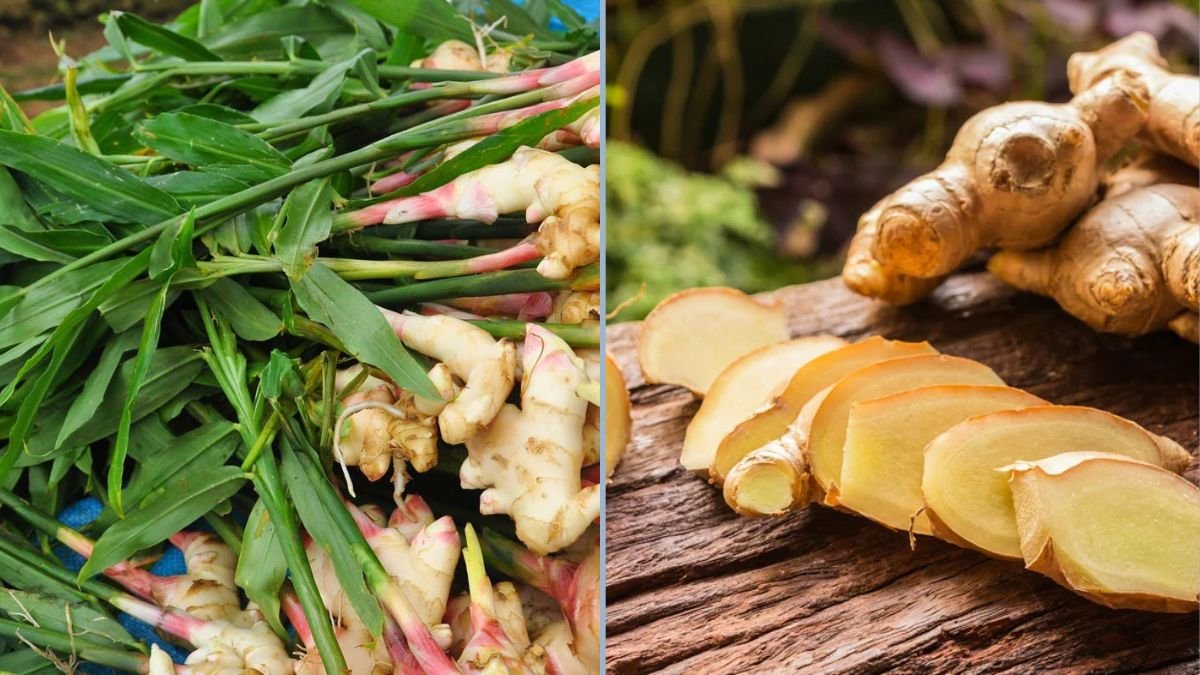
- Ginger is a rhizome: Unlike typical roots, ginger grows underground as a horizontal stem called a rhizome.
- Vegetative growth: The green shoots above ground support rhizome development below.
- Climate: Ginger thrives in warm, humid conditions but can also be grown indoors in containers.
- Time to maturity: Typically, ginger takes 8–10 months to reach full maturity, but baby ginger can be harvested earlier.
Understanding these basics helps you plan and care for your ginger plants effectively.
Step 1: Choosing the Right Ginger Rhizomes
Healthy rhizomes are the foundation of a successful ginger crop.
Selection tips:
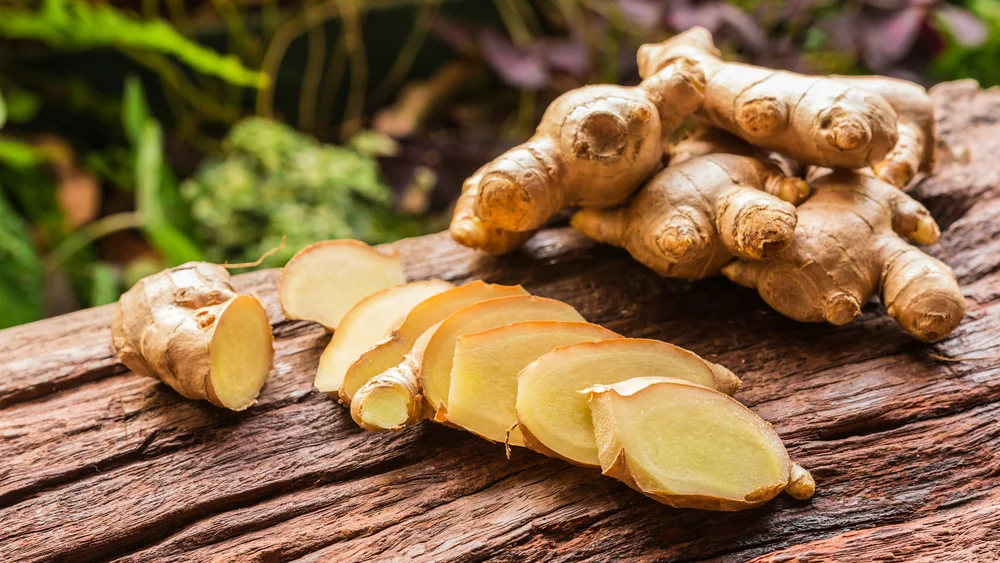
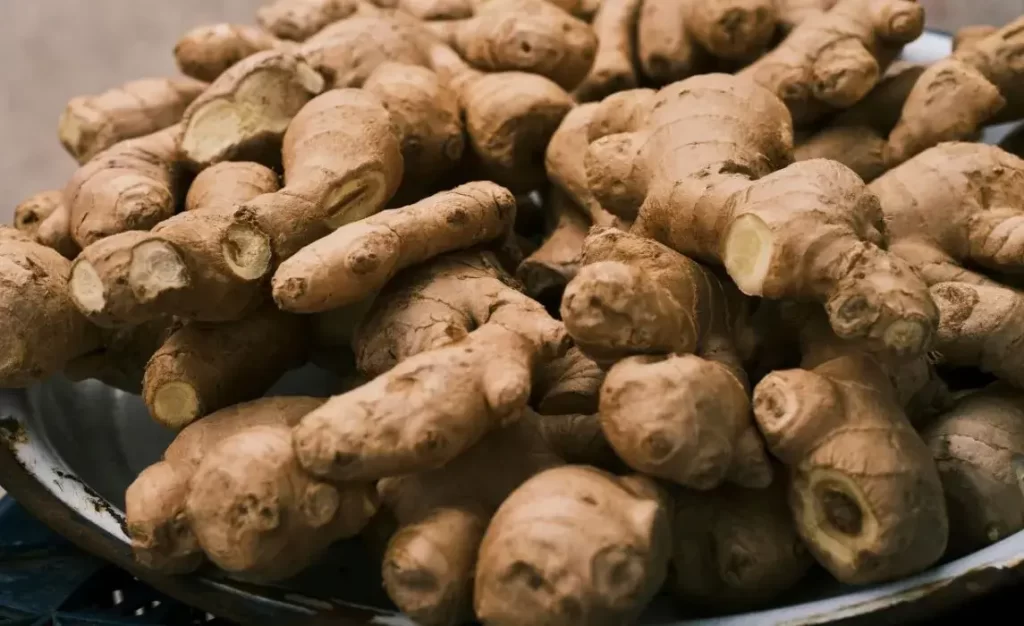
- Choose plump, firm, and disease-free rhizomes.
- Look for rhizomes with visible “eyes” or growth buds; these will sprout new shoots.
- Avoid shriveled, moldy, or soft rhizomes.
You can source ginger rhizomes from:
- Local nurseries or garden centers
- Organic grocery stores (ensure they are not treated with growth inhibitors)
- Online suppliers specializing in planting rhizomes
Selecting healthy ginger ensures faster sprouting and robust growth.
Step 2: Preparing the Rhizomes for Planting
Ginger rhizomes need minimal preparation before planting:
- Cutting: Large rhizomes can be cut into smaller pieces, each with 1–2 eyes.
- Healing: Allow cut pieces to dry for a day or two to prevent rotting.
- Optional soaking: Some gardeners soak rhizomes in water overnight or in a mild fungicide solution to boost sprouting.
Proper preparation reduces the risk of disease and promotes vigorous growth.
Step 3: Choosing the Right Planting Medium
Ginger prefers loose, well-draining, nutrient-rich soil.
Soil tips:
- Mix garden soil with compost or well-rotted manure.
- Ensure the soil is slightly acidic to neutral (pH 6.0–6.5).
- Avoid heavy clay soils, which can retain too much water and cause rhizome rot.
Containers: For indoor or small-space gardening, use wide, shallow containers, as ginger rhizomes grow horizontally.
The right soil or medium ensures healthy rhizomes and lush foliage.
Step 4: Planting Ginger
Planting ginger is straightforward:
- Place the rhizome piece 2–4 inches below the soil surface, eyes facing upward.
- Space multiple pieces 6–8 inches apart to allow room for growth.
- Water lightly after planting to settle the soil.
Tip: Ginger prefers partial shade in hot climates and filtered sunlight indoors. Too much direct sun can scorch young shoots.
Step 5: Watering and Moisture Management
Ginger requires consistent moisture without waterlogging.
- Water lightly but regularly, keeping the soil moist but not soggy.
- Mulching with straw or dried leaves helps retain soil moisture and maintain even temperature.
- Reduce watering slightly in cooler months to prevent rhizome rot.
Proper moisture management ensures fast sprouting and robust rhizome development.
Step 6: Fertilizing Ginger Naturally
Fertilization is key to vigorous growth and impressive harvests.
Natural fertilizer options:
- Compost or vermicompost: Rich in nutrients and improves soil structure.
- Organic manure: Slowly releases nitrogen, phosphorus, and potassium for healthy growth.
- Banana peels or green manure: Adds micronutrients and promotes microbial activity.
Apply organic fertilizers every 4–6 weeks to encourage thick rhizomes and lush foliage. Avoid chemical fertilizers that may affect flavor.
Step 7: Supporting Ginger Growth
Although ginger is low-maintenance, a few practices help maximize yield:
- Weeding: Remove weeds regularly to prevent nutrient competition.
- Mulching: Keeps soil moist, reduces weed growth, and stabilizes temperature.
- Pest monitoring: Watch for aphids, mites, or fungal infections. Use organic sprays if necessary.
Healthy care ensures vigorous shoots and a rich rhizome harvest.
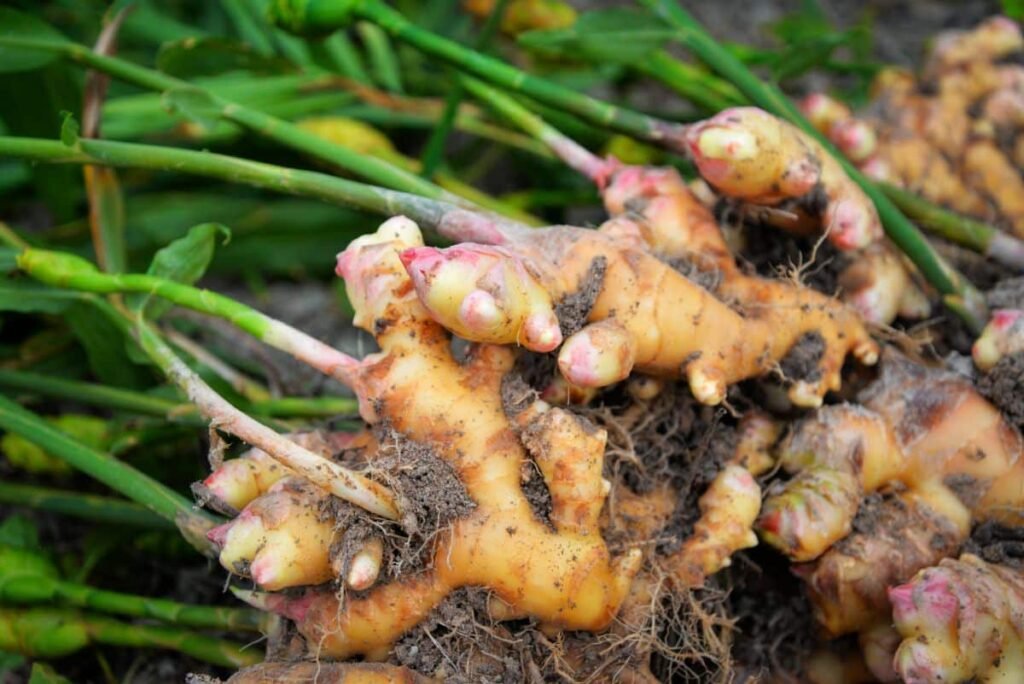
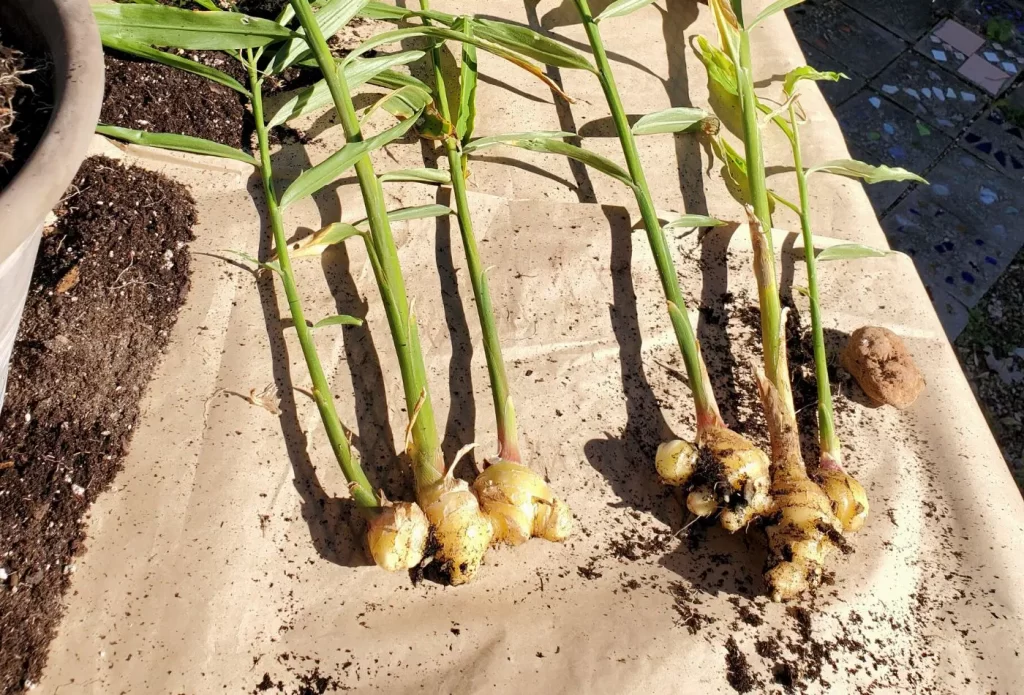
Step 8: Harvesting Ginger
Ginger can be harvested at different stages depending on use:
- Baby ginger: Harvest after 4–6 months for tender, mild-flavored rhizomes.
- Mature ginger: Wait 8–10 months for fully developed, flavorful rhizomes.
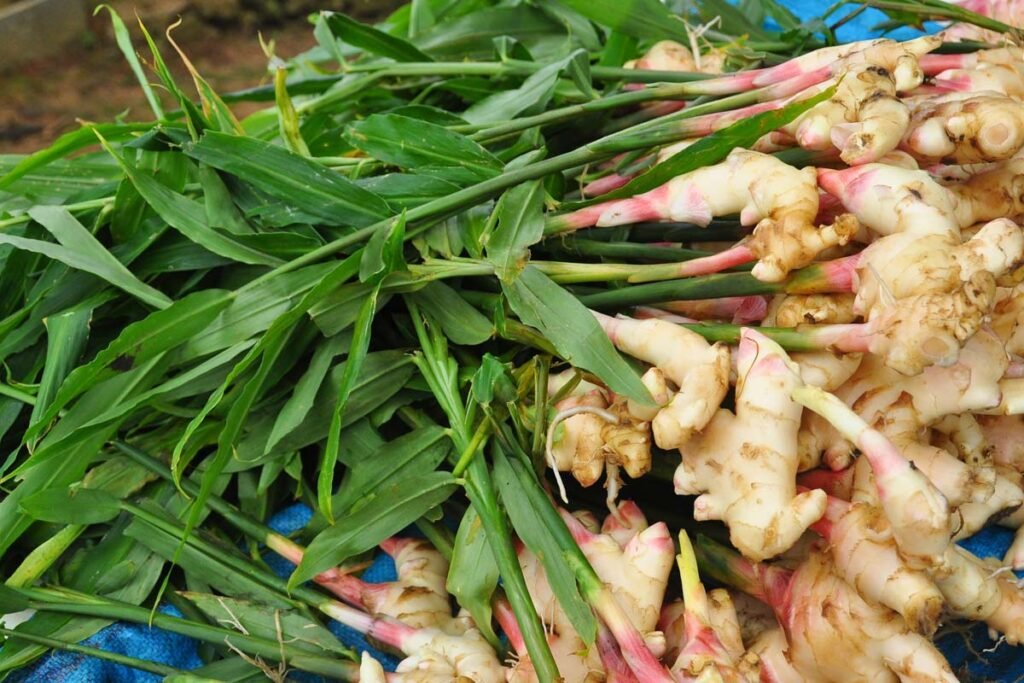
Harvesting tips:
- Carefully dig around the rhizome to avoid damage.
- Wash and dry before storing.
- Replant a few healthy rhizome pieces for continuous production.
Proper harvesting maximizes flavor, size, and overall yield.
Step 9: Storing Ginger
Ginger stores well if handled correctly:
- Keep in a cool, dry place or refrigerate for long-term storage.
- You can also freeze fresh ginger or dry it for later use.
- Avoid exposing rhizomes to direct sunlight, which can dry them out.
Good storage ensures your homegrown ginger lasts for months, ready for cooking or medicinal use.
Step 10: Tips for Beginners
To grow ginger successfully and impressively, beginners should follow these practical tips:
- Start small: Use a few rhizomes to practice before expanding.
- Choose partial shade: Protect young shoots from strong sunlight.
- Be patient: Ginger grows slowly; don’t harvest too early unless seeking baby ginger.
- Use natural fertilizers: Promotes flavor and healthy rhizomes.
- Succession planting: Stagger planting for a continuous supply.
- Protect from pests: Organic sprays and proper spacing reduce infestation risk.
Following these tips ensures healthy, impressive ginger growth with minimal complications.
Benefits of Homegrown Ginger
Growing your own ginger is not just about flavor; it offers multiple advantages:
- Health benefits: Anti-inflammatory, antioxidant, and digestive properties.
- Freshness and quality: Superior to store-bought rhizomes.
- Cost-effective: A few rhizomes produce months of harvest.
- Decorative: Adds lush, tropical greenery to gardens or indoors.
- Sustainable: Reduces packaging waste and supports organic gardening practices.
For beginners, ginger is both an educational and rewarding crop.
Final Thoughts
Ginger is a versatile, flavorful, and highly beneficial plant that any beginner can grow with minimal effort. By following this guide—selecting healthy rhizomes, preparing rich soil, planting carefully, managing water and nutrients, and harvesting at the right time—you can enjoy a simple yet impressive ginger harvest right from your home garden.
Growing ginger teaches patience, encourages natural gardening practices, and rewards you with a continuous supply of fresh, aromatic, and healthy rhizomes. Whether used in cooking, teas, or natural remedies, homegrown ginger is a valuable addition to any kitchen, and the process of growing it is as satisfying as the harvest itself.