Vinegars infused with fresh herbs have long been cherished for their ability to transform ordinary dishes into culinary delights. Beyond adding tangy flavor, herb vinegars provide aromatic complexity and subtle nuances that elevate salads, marinades, sauces, and even beverages. Making herb vinegars at home offers a cost-effective, natural, and customizable alternative to commercially flavored vinegars, allowing cooks to experiment with flavors while preserving nutritional and aromatic qualities. This article explores the art and science of creating homemade herb vinegars, detailing methods, benefits, and practical applications in vegetarian cooking.
Understanding Herb Vinegars
Herb vinegars are created by infusing fresh or dried herbs into a base vinegar, typically white vinegar, apple cider vinegar, or wine vinegar. The process extracts the essential oils, flavors, and aromas of herbs, blending them with the acidic profile of vinegar. This combination not only enhances taste but also acts as a natural preservative, extending the shelf life of the herbs’ flavors.
From a scientific perspective, vinegar’s acidity inhibits bacterial growth, ensuring that the infused flavors remain safe for consumption over time. The essential oils released from herbs during infusion are rich in volatile compounds that contribute to aroma and taste, while some compounds also offer antioxidant and antimicrobial properties.
Choosing the Right Ingredients
1. Selecting Vinegar
The choice of vinegar is fundamental to the final flavor profile:
- White Wine Vinegar: Light and mildly acidic, suitable for delicate herbs such as tarragon, chervil, or basil.
- Apple Cider Vinegar: Fruity and slightly sweet, ideal for herbs like rosemary, sage, or thyme.
- Red Wine Vinegar: Robust and tangy, pairs well with heartier herbs such as oregano, marjoram, or parsley.
- Rice Vinegar: Mild and slightly sweet, complements Asian herb infusions such as cilantro, lemongrass, or shiso.
2. Selecting Herbs
Fresh herbs are preferred for their vibrant flavor, although dried herbs can also be used for longer infusion periods. Popular herbs for infusion include:
- Basil: Sweet and aromatic, perfect for Italian-inspired dishes.
- Thyme: Earthy and robust, ideal for soups, stews, and roasted vegetables.
- Rosemary: Pine-like aroma, excellent for dressings and marinades.
- Mint: Refreshing and cooling, works well in salad dressings and beverages.
- Oregano: Strong, slightly bitter flavor, best paired with tomato-based recipes.
A combination of herbs can also be used to create unique flavor profiles. For example, basil and thyme together offer a balanced sweet and earthy infusion.
Step-by-Step Method for Making Herb Vinegars
1. Preparing the Herbs
Start by washing fresh herbs thoroughly under cold water to remove dirt and impurities. Pat dry with a clean towel to prevent excess moisture, which can dilute flavors and promote spoilage. Remove any damaged or yellowing leaves, as these can affect both taste and aesthetics.
Lightly bruising or chopping the herbs helps release essential oils, accelerating the infusion process. For delicate herbs such as basil, gently crushing leaves by hand preserves flavor without damaging cell structure excessively.
2. Selecting and Preparing the Vinegar
Choose a vinegar that complements the herb’s flavor. Pour it into a clean, sterilized glass jar or bottle, as glass prevents reactions with acidic vinegar and maintains purity. Avoid metal containers, as vinegar can corrode certain metals and impart off-flavors.
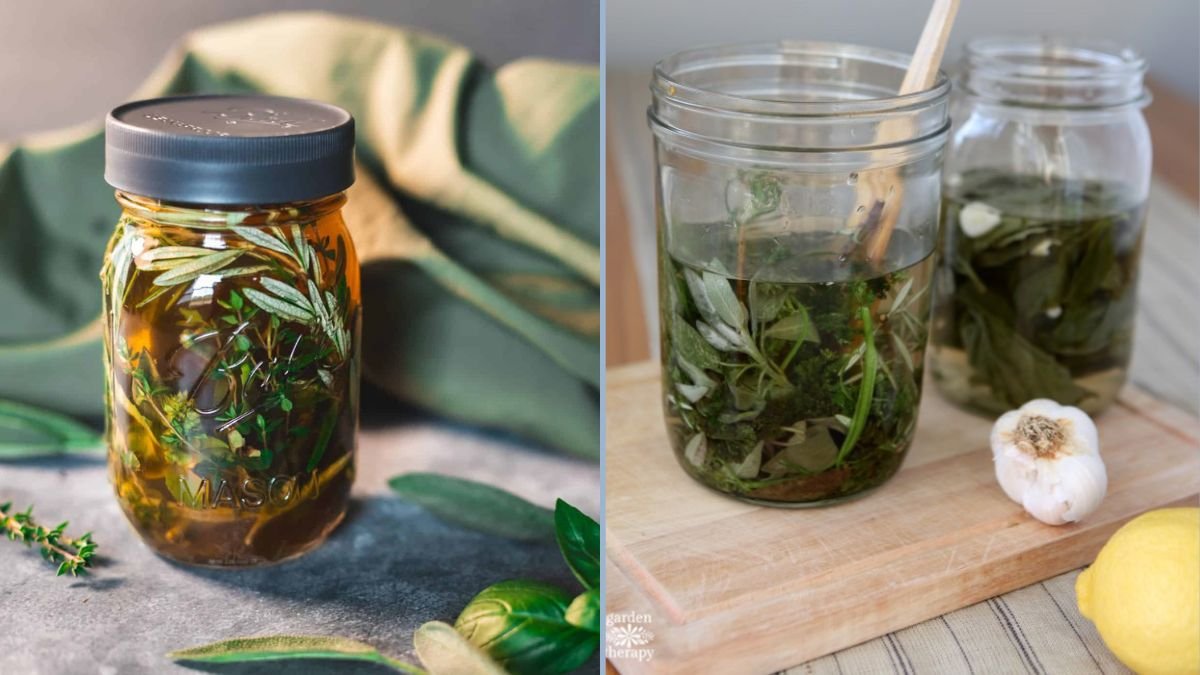
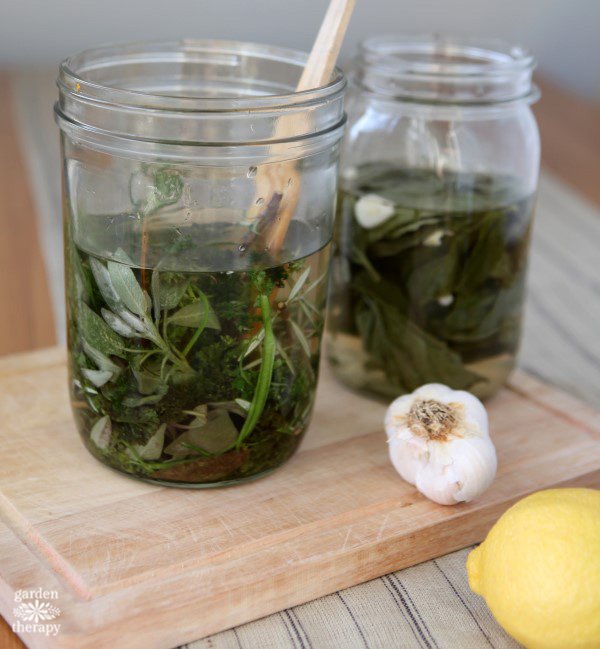
3. Combining Herbs and Vinegar
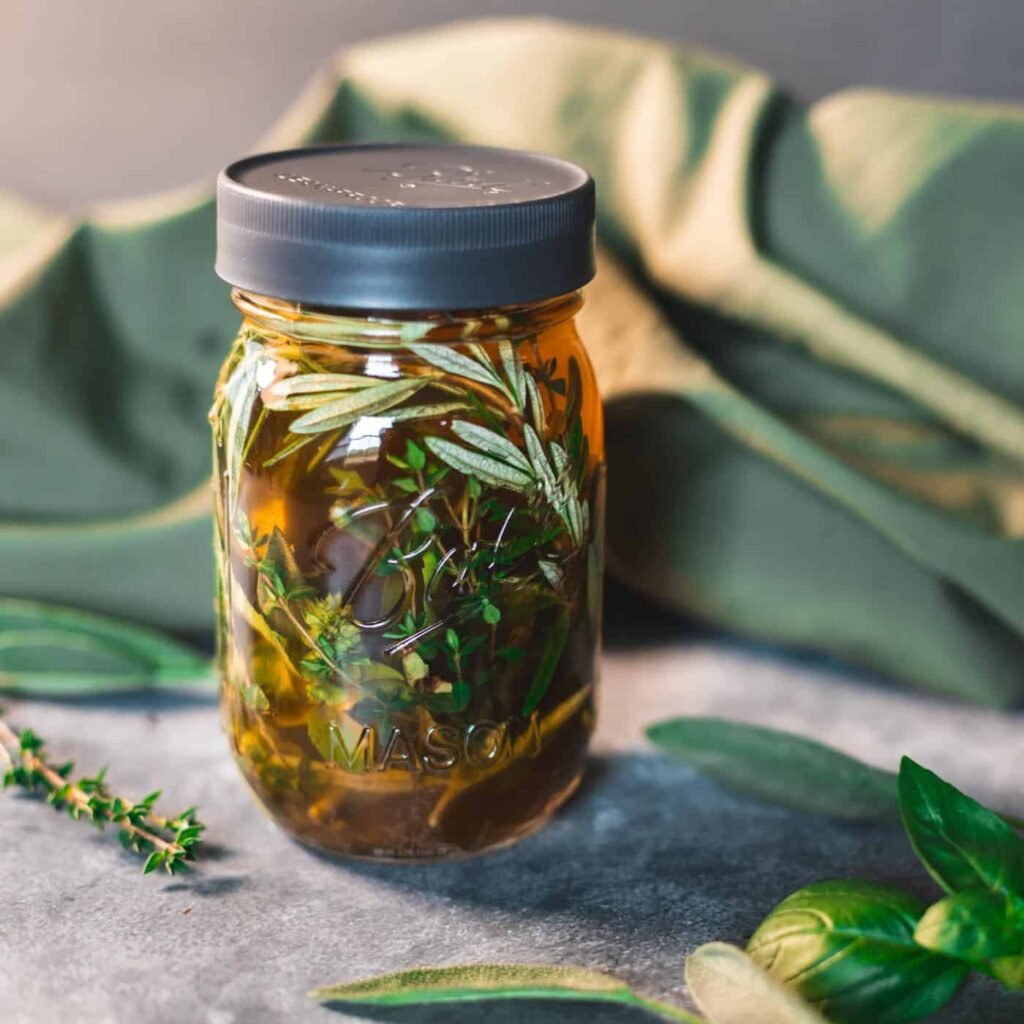
Place the prepared herbs in the sterilized container, filling it loosely to allow for adequate infusion. Pour the vinegar over the herbs, ensuring they are fully submerged. A 1:4 ratio of herbs to vinegar is typical, but adjustments can be made depending on desired intensity.
Seal the container tightly and store it in a cool, dark place. Light and heat can degrade volatile compounds in herbs, resulting in muted flavors.
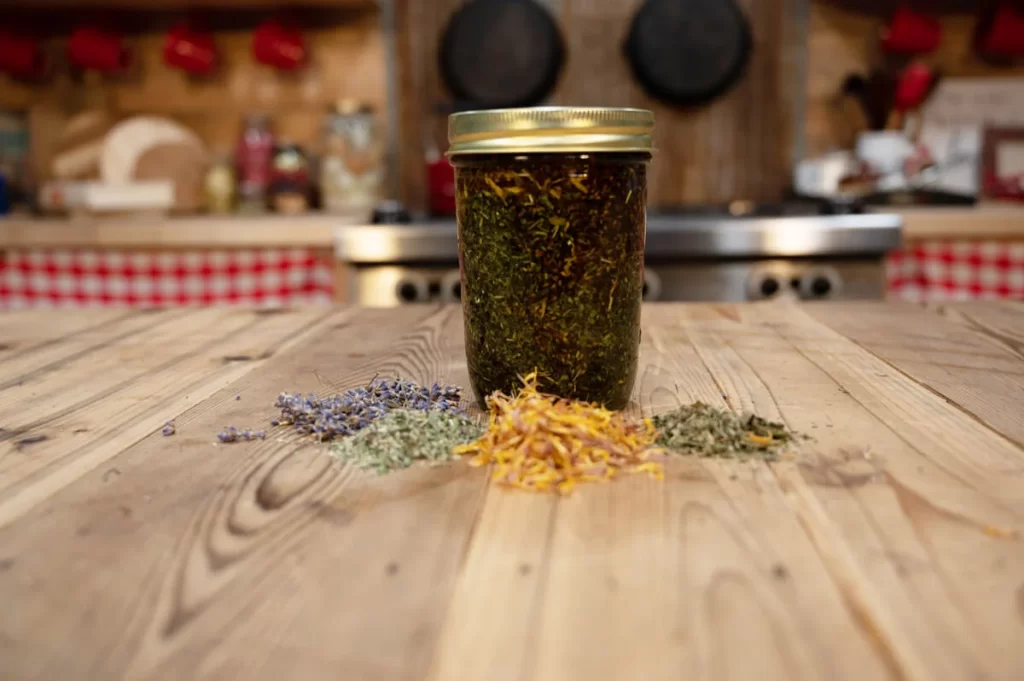
4. Infusion Period
Allow the herbs to infuse for 1 to 4 weeks, shaking the container gently every few days to redistribute the flavors. For faster infusion, slightly crush the herbs and leave the container at room temperature for 3–5 days. However, longer infusions generally result in richer and more complex flavors.
5. Straining and Storage
After the desired infusion period, strain the vinegar through a fine mesh sieve or cheesecloth to remove herb residues. Transfer the liquid to a clean, sterilized bottle and seal tightly. Properly stored herb vinegars can last up to 6 months or longer when kept in a cool, dark place. Refrigeration is optional but recommended for longer-term freshness.
Benefits of Homemade Herb Vinegars
1. Culinary Versatility
Homemade herb vinegars enhance a wide range of dishes:
- Salad Dressings: Combine herb vinegar with olive oil, mustard, or honey for a quick, flavorful dressing.
- Marinades: Tenderize vegetables, tofu, or grains while imparting aromatic flavors.
- Sauces and Soups: Add depth and acidity to vegetarian sauces, stews, and soups.
- Beverages: Diluted with water or sparkling water, herb vinegars can create refreshing, lightly acidic drinks.
2. Nutritional Advantages
Herbs are rich in vitamins, antioxidants, and phytonutrients. While some nutrient degradation occurs during infusion, many volatile compounds and antioxidants are preserved in the acidic environment of vinegar. Compounds such as polyphenols and flavonoids contribute to both flavor and potential health benefits.
3. Cost-Effectiveness and Sustainability
Homemade herb vinegars provide a sustainable way to use excess herbs before they spoil. They reduce food waste and are more economical than purchasing commercially flavored vinegars, which often contain artificial flavorings or preservatives.
Creative Variations
Herb vinegars can be customized in countless ways:
- Citrus and Herb Vinegars: Adding lemon, lime, or orange peels creates bright, zesty infusions.
- Garlic or Chili Infusions: Mild aromatics like garlic or heat from chili peppers complement herbs such as thyme, oregano, or rosemary.
- Mixed Herb Blends: Combining rosemary, sage, and thyme produces a “herbes de Provence” style vinegar perfect for Mediterranean dishes.
The possibilities are only limited by imagination, allowing chefs and home cooks to experiment with flavors that suit specific cuisines and dietary preferences.
Tips for Optimal Results
- Use Sterilized Equipment: Prevent contamination and extend shelf life.
- Freshness Matters: Use the freshest herbs possible to maximize flavor.
- Avoid Overcrowding: Overfilling the jar with herbs can inhibit proper infusion.
- Label Bottles: Note the type of herbs and infusion date to track flavor development.
- Experiment Gradually: Start with small batches to refine flavor combinations before scaling up.
Conclusion
Homemade herb vinegars represent a fusion of culinary creativity and practical preservation. By understanding the selection of vinegar and herbs, proper preparation, and careful infusion methods, cooks can create flavorful, aromatic, and versatile vinegars that elevate vegetarian cuisine. Beyond their culinary utility, herb vinegars offer nutritional benefits, reduce food waste, and provide a sustainable, cost-effective alternative to store-bought flavored vinegars.
With patience and experimentation, homemade herb vinegars become a pantry staple, offering a ready source of flavor for salads, sauces, marinades, and beverages. By integrating these practices into daily cooking routines, both professional chefs and home cooks can enjoy the full sensory and nutritional benefits of fresh herbs year-round, ensuring every dish is vibrant, aromatic, and delicious.