
Starting a kitchen garden from seeds is a rewarding and cost-effective way to cultivate fresh vegetables, herbs, and leafy greens right at home. For plant-based households, a kitchen garden ensures a continuous supply of nutritious, flavorful ingredients while promoting sustainable and eco-friendly living. Growing from seeds allows gardeners to select a variety of plants suited to their tastes, space, and climate, giving full control over the quality and type of produce.
This article provides a comprehensive guide on starting a kitchen garden with seeds, including planning, seed selection, soil preparation, sowing, care, and harvesting.
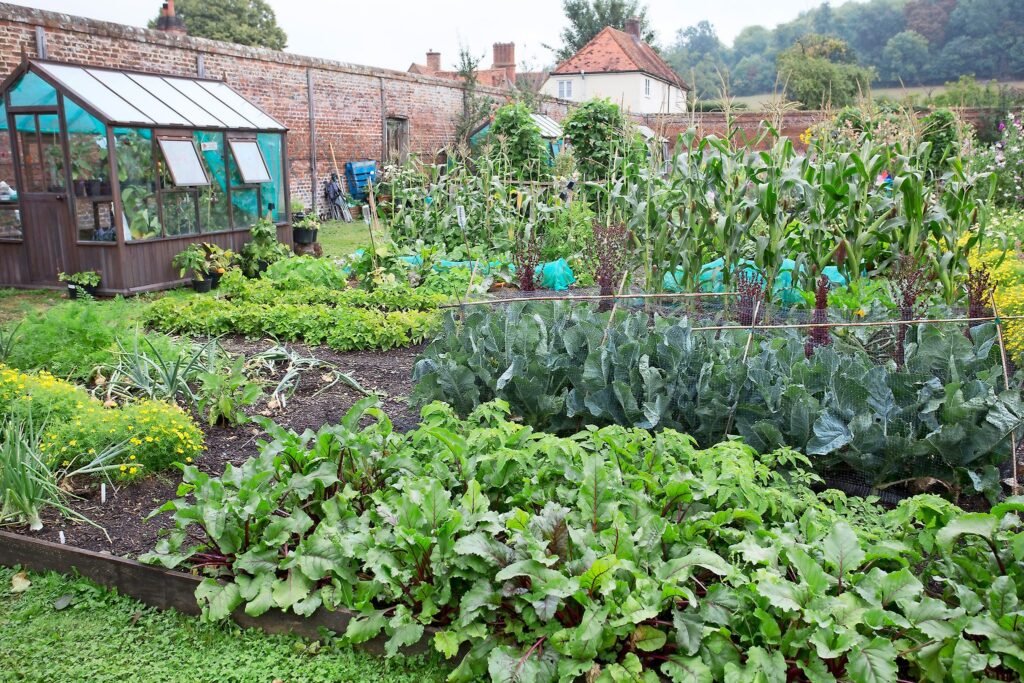
Step 1: Planning Your Kitchen Garden
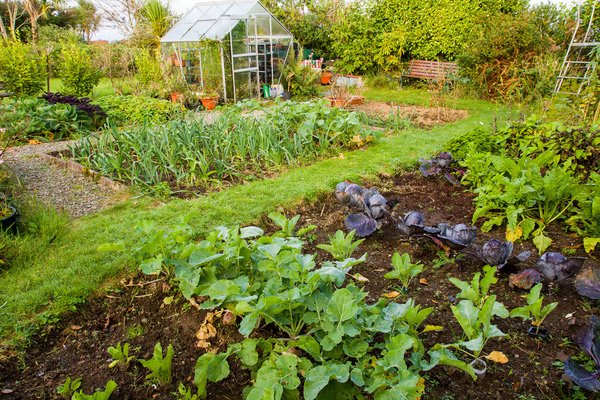
Before sowing seeds, careful planning ensures a productive and manageable garden.
Assess Available Space
- Indoor vs. Outdoor: Choose whether your garden will be indoors (windowsills, countertops, trays) or outdoors (balcony, backyard, terrace).
- Sunlight: Most vegetables need 6–8 hours of sunlight per day. Identify sunny spots for seed trays or pots.
- Accessibility: Ensure easy access for watering, harvesting, and maintenance.
Decide What to Grow
- Consider your household’s dietary needs and space constraints.
- Focus on fast-growing and easy-to-grow seeds for beginners.
- Plan for a mix of leafy greens, herbs, root vegetables, and fruiting vegetables for variety.
Pro Tip: Sketch a layout with designated areas for each type of plant to optimize space and sunlight.
Step 2: Selecting the Right Seeds
Seed selection is crucial for a successful kitchen garden.
Choose High-Quality Seeds
- Certified Organic Seeds: Free from chemical treatments and genetically modified organisms.
- Locally Adapted Varieties: Perform better in your climate and growing conditions.
- Open-Pollinated Seeds: Allow for saving seeds for the next season.
Ideal Seeds for Kitchen Gardens
- Leafy Greens: Lettuce, spinach, kale, arugula – grow quickly in shallow trays.
- Herbs: Basil, cilantro, parsley, mint, thyme – suitable for containers or pots.
- Root Vegetables: Carrots, radishes, beetroot – require deeper containers.
- Fruiting Vegetables: Tomatoes, peppers, dwarf eggplants – need larger pots or vertical supports.
- Microgreens: Radish, sunflower, broccoli – provide nutrient-dense shoots in 1–3 weeks.
Pro Tip: Start with 2–3 easy-to-grow seeds and expand as you gain confidence.
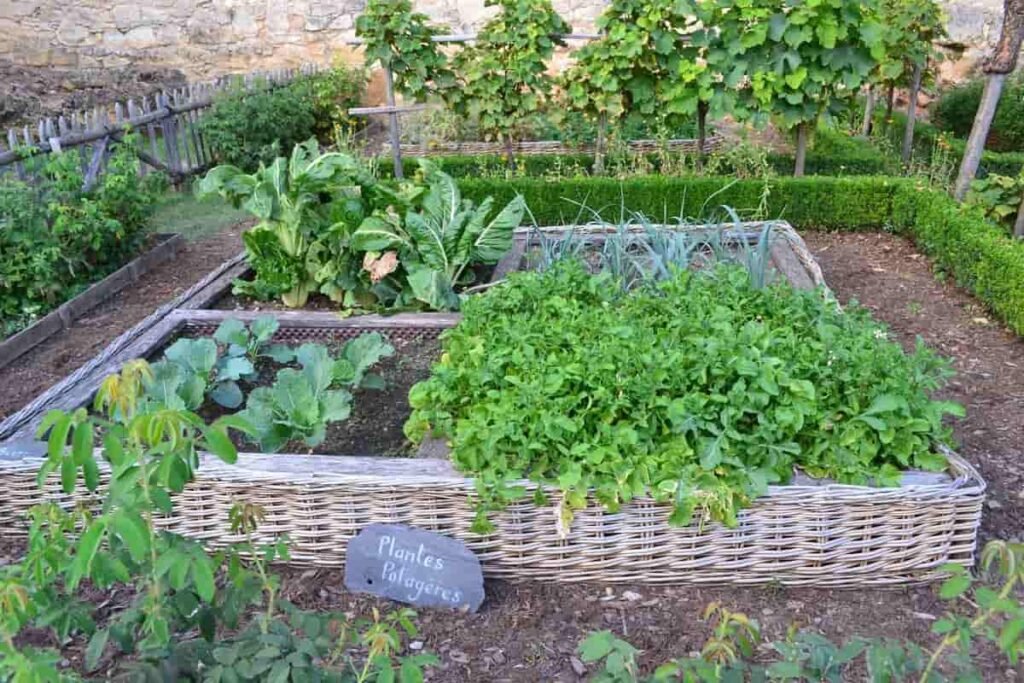
Step 3: Choosing Containers and Trays
Containers provide the foundation for seed germination and growth.
- Seed Trays: Shallow trays for sowing seeds and starting seedlings.
- Individual Pots: For transplanting seedlings to allow root development.
- Recycled Containers: Food-safe containers like jars, trays, or cartons can be repurposed sustainably.
- Drainage: Ensure containers have holes to prevent waterlogging and root rot.
Pro Tip: Label containers with seed type and sowing date to track growth.
Step 4: Preparing the Growing Medium
Healthy soil or growth medium is essential for seed germination.
Recommended Growing Medium
- Seed-Starting Mix: Lightweight, fine-textured, nutrient-rich soil.
- Coconut Coir or Peat: Retains moisture while allowing drainage.
- Compost-Enriched Soil: Adds nutrients to support seedling growth.
Tips for Soil Preparation
- Moisten the medium before sowing seeds.
- Fill containers loosely; avoid compacting the soil.
- Avoid using garden soil directly, as it may contain pests or pathogens.
Pro Tip: Mixing perlite or vermiculite into the soil improves aeration and prevents waterlogging.
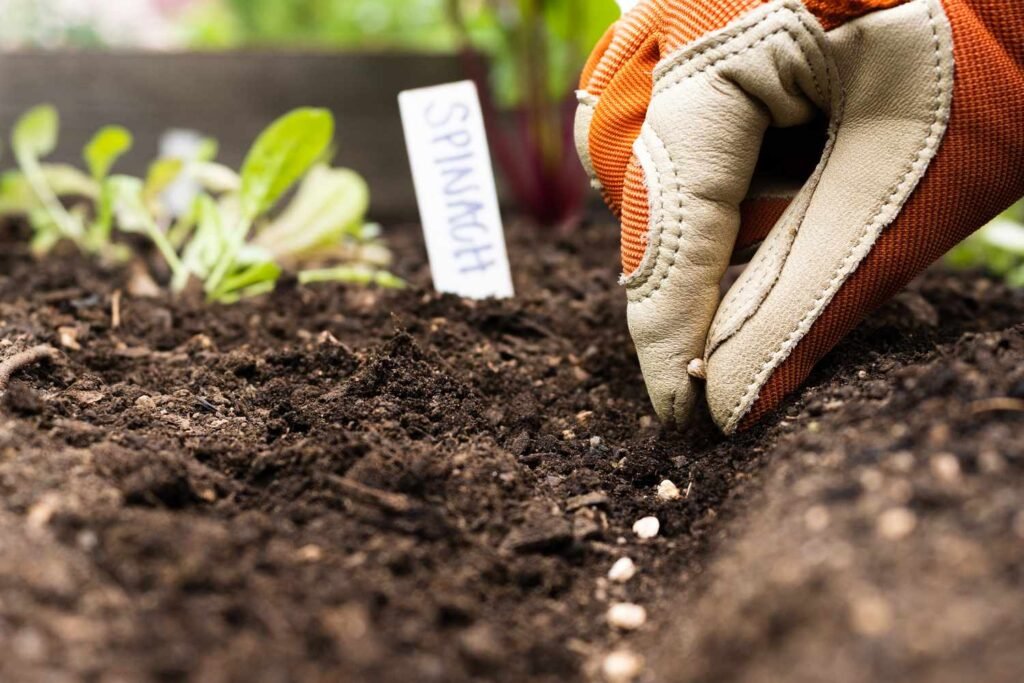
Step 5: Sowing Seeds
Sowing seeds correctly increases the chances of successful germination.
- Fill containers with the prepared growing medium.
- Check the seed packet for recommended depth and spacing.
- Sow seeds evenly, lightly pressing them into the soil.
- Cover with a thin layer of soil if required (some seeds need light to germinate).
- Mist gently with water to keep the soil moist.
Pro Tip: Use a spray bottle instead of pouring water to prevent displacing seeds.
Step 6: Providing Optimal Conditions
Seeds need the right environment to germinate and thrive:
- Light: Place trays near a sunny window or use LED grow lights for 12–16 hours daily.
- Temperature: Most seeds germinate best at 18–24°C (65–75°F).
- Humidity: Cover trays with a clear lid or plastic wrap during germination to retain moisture.
- Air Circulation: Remove covers after seedlings sprout to prevent mold or damping-off disease.
Pro Tip: Rotate trays daily to ensure even light exposure.
Step 7: Watering and Care
- Keep soil consistently moist but not waterlogged.
- Mist seedlings daily during early growth stages.
- Thin overcrowded seedlings by snipping weaker sprouts at the base to allow strong seedlings to flourish.
- Once seedlings develop true leaves, gradually acclimate them to natural light and airflow.
Pro Tip: Avoid overwatering, which is a common cause of seedling failure.
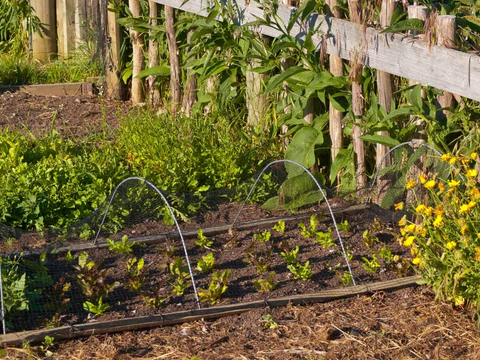
Step 8: Transplanting Seedlings
When seedlings are strong enough, transplant them to larger containers or garden beds.
- Choose containers with sufficient depth for root development.
- Gently remove seedlings, taking care not to damage roots.
- Plant at the same soil level as the seedling tray to avoid shock.
- Water immediately after transplanting to settle soil around roots.
Pro Tip: Harden off seedlings by exposing them to outdoor conditions for a few hours each day before permanent planting.
Step 9: Fertilizing and Nutrient Management
- Use organic fertilizers such as compost, vermicompost, liquid seaweed, or neem cake.
- Apply fertilizers every 3–4 weeks or as needed to support growth.
- Avoid chemical fertilizers to maintain safe, plant-based produce.
Pro Tip: Incorporate compost into soil before planting for long-term fertility.
Step 10: Pest and Disease Management
Even small kitchen gardens can face pests or diseases.
- Common Issues: Aphids, whiteflies, fungal infections, damping-off disease.
- Prevention: Keep seedlings spaced, provide good airflow, and avoid overwatering.
- Natural Remedies: Neem oil sprays, garlic-chili sprays, or manual removal of pests.
Pro Tip: Inspect seedlings daily to catch problems early and minimize damage.
Step 11: Harvesting
- Leafy Greens: Harvest outer leaves continuously to encourage regrowth.
- Herbs: Trim frequently to maintain bushy growth.
- Root Vegetables: Harvest when roots reach the desired size.
- Fruiting Vegetables: Pick when mature to encourage further production.
Pro Tip: Harvest in the morning for maximum flavor and nutrient content.
Step 12: Sustainability Practices
- Seed Saving: Collect seeds from mature plants for next season.
- Composting: Return plant trimmings and kitchen scraps to compost for soil enrichment.
- Recycling Containers: Repurpose trays, jars, or pots to reduce waste.
- Water Conservation: Use leftover water from washing vegetables to irrigate seedlings.
Pro Tip: Starting a kitchen garden from seeds promotes a circular, low-waste approach to home gardening.
Benefits of Growing a Kitchen Garden From Seeds
- Cost-Effective: Seeds are cheaper than buying seedlings or mature plants.
- Full Control: Choose the exact varieties and maintain organic practices.
- Fresher Produce: Provides continuous access to nutrient-rich, homegrown vegetables and herbs.
- Educational: Teaches patience, responsibility, and plant biology.
- Sustainable Living: Reduces waste, packaging, and reliance on store-bought produce.
- Therapeutic: Gardening promotes mental well-being and reduces stress.
Conclusion
Starting a kitchen garden with just seeds is a simple, cost-effective, and highly rewarding way to grow fresh vegetables, herbs, and greens at home. By selecting the right seeds, preparing nutrient-rich soil, providing optimal light and moisture, and maintaining care throughout growth, anyone can cultivate a thriving kitchen garden, even in small indoor or balcony spaces.
For vegetarians and plant-based households, growing from seeds ensures access to pesticide-free, nutrient-dense produce, enhances flavor in everyday meals, and encourages sustainable living. Through proper planning, care, and sustainable practices, a kitchen garden from seeds becomes more than just a source of fresh food—it transforms into a hub of nutrition, learning, and eco-friendly gardening that supports both personal health and environmental well-being.