Fresh herbs can transform ordinary meals into flavorful, aromatic creations. For home cooks, particularly those following vegetarian or plant-based diets, herbs like basil, parsley, cilantro, and thyme are essential for adding depth and nutrition to dishes. However, buying fresh herbs from the store can be expensive and they often spoil quickly. A windowsill herb garden provides a convenient, cost-effective, and sustainable solution—bringing fresh, healthy herbs directly into your kitchen.
Starting a windowsill herb garden is both practical and rewarding. Even in limited spaces, you can cultivate a variety of herbs year-round with minimal effort. This article guides you step by step on how to create and maintain a thriving windowsill herb garden, covering planning, planting, care, and creative uses.
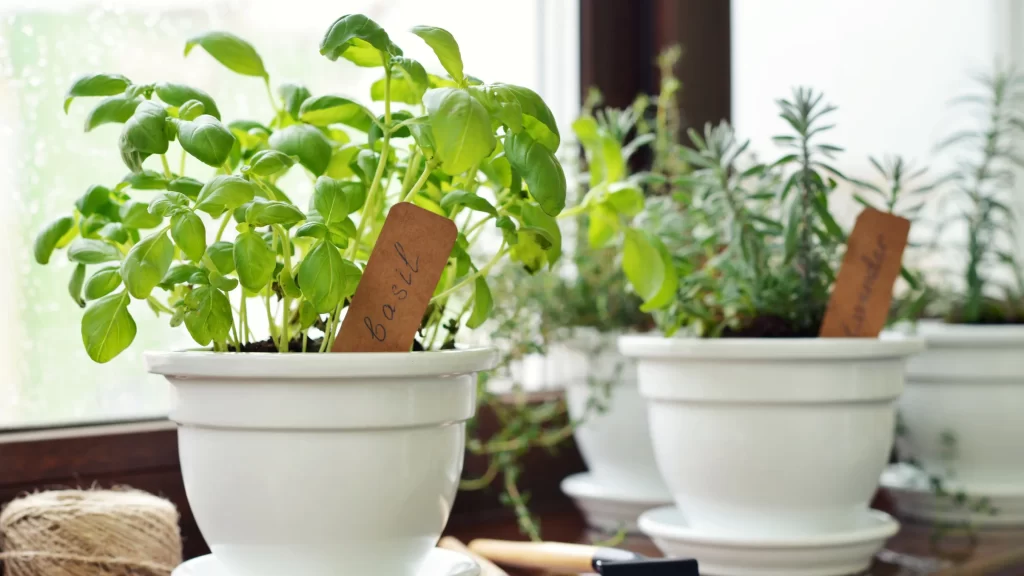
Step 1: Planning Your Windowsill Herb Garden
Proper planning ensures a successful and productive herb garden.
1. Choose the Right Location
- Sunlight: Most herbs require 6–8 hours of sunlight per day. A south-facing or west-facing windowsill is ideal.
- Temperature: Maintain a stable indoor temperature between 18–24°C (65–75°F). Avoid placing plants near drafty windows, radiators, or air conditioners.
- Accessibility: Choose a windowsill that is convenient for regular watering and harvesting.
2. Select Herbs Suitable for Windowsill Growing
Some herbs thrive indoors better than others:
- Basil: Quick-growing and aromatic.
- Parsley: Long-lasting and nutrient-rich.
- Cilantro/Coriander: Fast-growing, ideal for garnishing and flavoring dishes.
- Thyme & Oregano: Hardy, low-maintenance perennials.
- Chives: Perfect for adding a mild onion flavor to dishes.
- Mint: Vigorous grower; best kept in a separate container to prevent spreading.
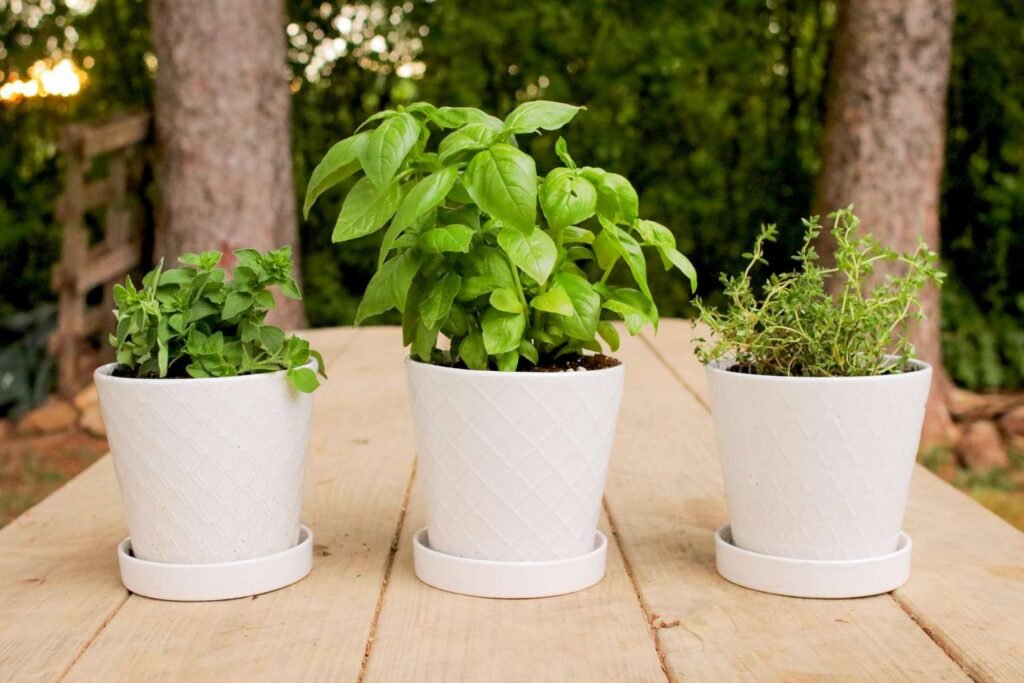
Pro Tip: Start with 3–5 herbs for easier management and gradually expand your collection.
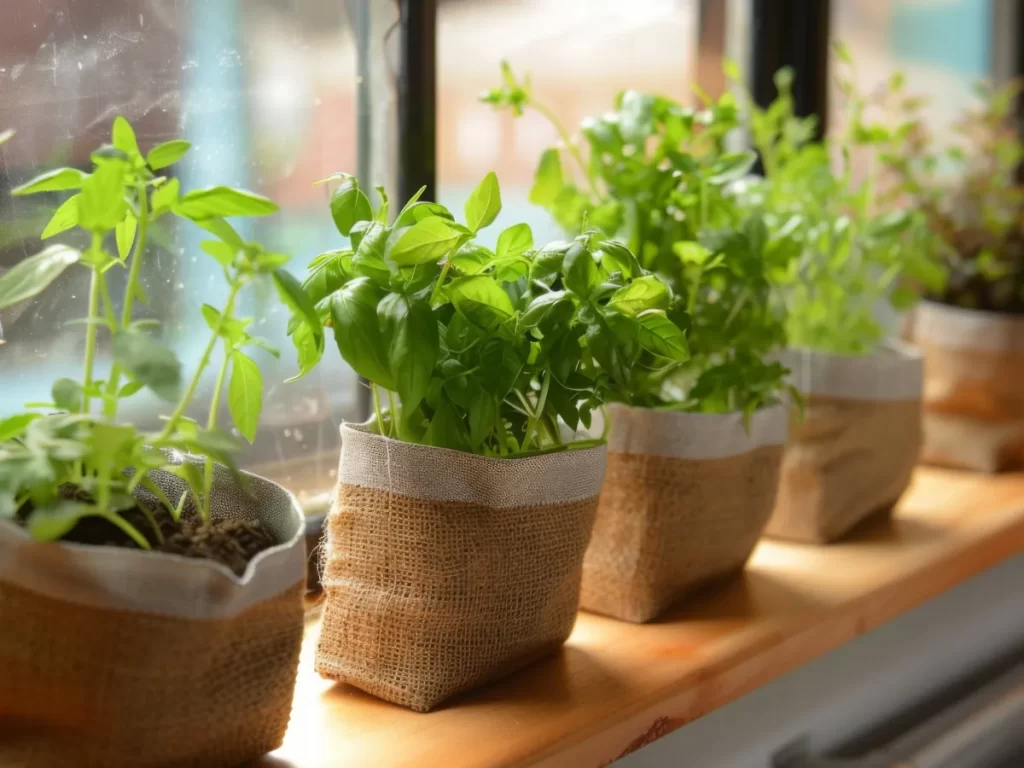
Step 2: Choosing Containers
Herbs grow well in various containers, but proper drainage is essential to prevent root rot.
- Individual Pots: 4–6 inches deep is sufficient for most herbs.
- Window Boxes or Trays: Ideal for grouping several herbs together.
- Recycled Containers: Use jars, cups, or tins with drainage holes for a sustainable approach.
Tip: Ensure containers have drainage holes at the bottom. Place a small saucer underneath to catch excess water.
Step 3: Selecting Soil
Herbs prefer light, well-draining soil rather than dense, clay-heavy garden soil.
- Use a high-quality potting mix formulated for indoor plants.
- Optionally, mix in perlite or vermiculite to enhance drainage and aeration.
- Avoid using outdoor garden soil, which may harbor pests or be too heavy for containers.
Pro Tip: Adding a small amount of organic compost improves fertility without overloading the soil with nutrients.
Step 4: Starting from Seeds or Seedlings
1. Seeds
- Fill pots or trays with moist potting mix.
- Sow seeds according to the depth recommended on the packet.
- Cover lightly with soil or vermiculite.
- Keep soil moist but not waterlogged.
- Place in a bright spot and wait for germination (usually 7–21 days depending on the herb).
2. Seedlings/Transplants
- Purchase young herb plants from a nursery.
- Gently loosen the roots before planting in your container.
- Water immediately after planting.
Pro Tip: Seedlings offer faster results and are less prone to early-stage failure than seeds.
Step 5: Watering and Moisture Control
Proper watering is crucial for maintaining healthy herbs.
- Keep the soil evenly moist, allowing the top inch to dry slightly between waterings.
- Water in the morning to allow leaves to dry during the day, reducing the risk of fungal diseases.
- Use a spray bottle for delicate seedlings or herbs like cilantro to avoid washing away seeds.
Tip: Overwatering is the most common cause of herb failure indoors. Always check soil moisture before adding water.
Step 6: Light and Fertilization

Light
- Most herbs require bright, indirect sunlight.
- If natural light is insufficient, supplement with grow lights for 6–8 hours per day.
Fertilization
- Herbs benefit from light feeding with a balanced, water-soluble organic fertilizer every 4–6 weeks.
- Avoid over-fertilizing, which can lead to lush foliage but weaker flavor.
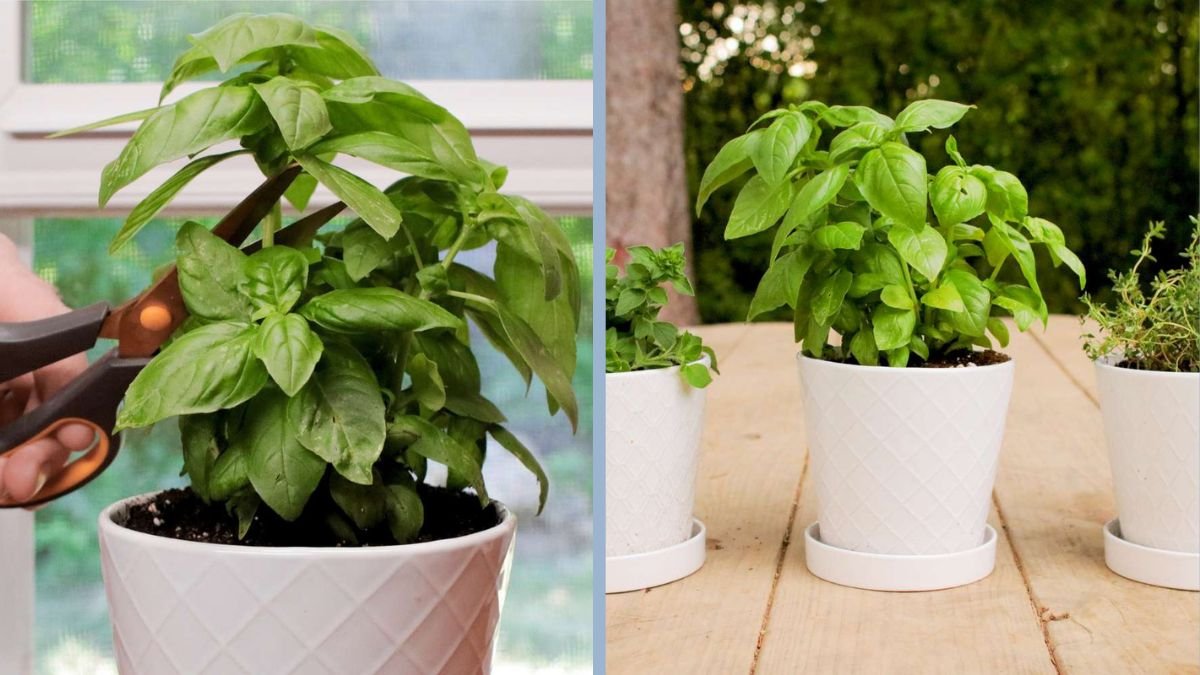
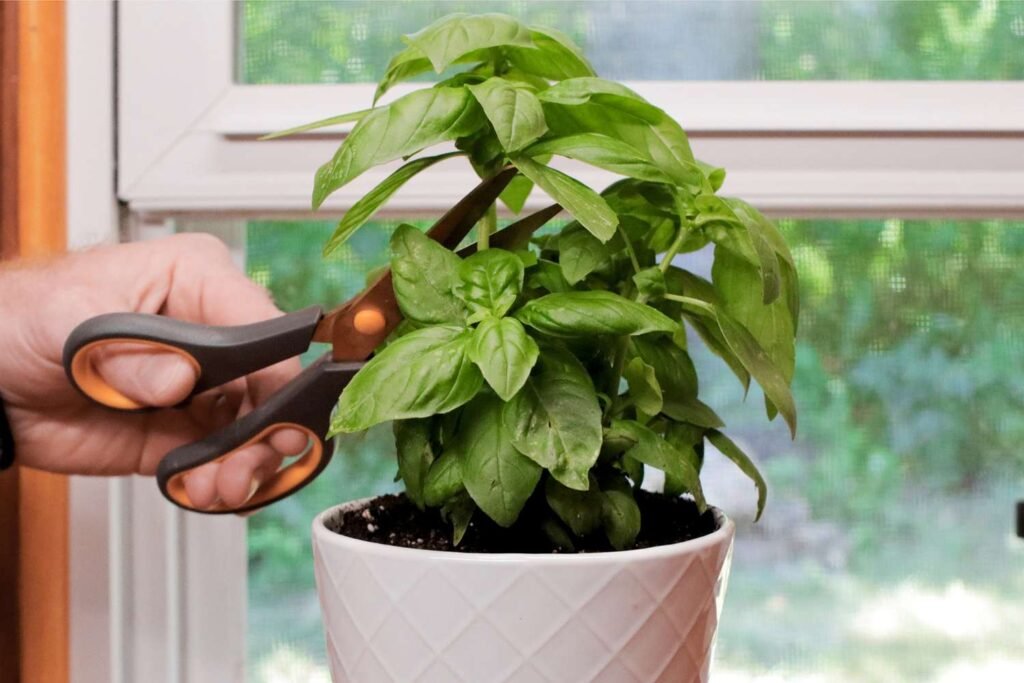
Step 7: Pruning and Harvesting
Regular pruning encourages healthy growth and prevents herbs from becoming leggy.
- Leafy herbs (basil, parsley, cilantro): Harvest leaves from the top, leaving lower stems to continue growing.
- Woody herbs (thyme, oregano): Snip small stems regularly to encourage bushiness.
- Chives & Mint: Trim frequently to prevent overcrowding and maintain flavor.
Pro Tip: Harvest herbs in the morning when oils are most concentrated for maximum aroma and taste.
Step 8: Pest Management
Even indoor herb gardens can attract pests like aphids or spider mites.
- Natural Remedies: Spray with diluted neem oil or insecticidal soap.
- Manual Removal: Wipe leaves with a damp cloth or rinse under water.
- Prevention: Maintain proper spacing for airflow and avoid overwatering.
Tip: Companion planting in shared containers can sometimes deter pests naturally (e.g., basil with parsley).
Step 9: Creative Ways to Use Your Herbs
A windowsill herb garden ensures a steady supply of fresh ingredients for vegetarian meals:
- Flavor Enhancers: Basil in pasta, parsley in soups, cilantro in curries.
- Garnishes: Fresh leaves brighten salads, wraps, and grain bowls.
- Infusions: Mint or basil in water or herbal teas.
- Pestos & Sauces: Homemade herb-based sauces add nutrition and flavor.
- Storage Solutions: Freeze excess herbs in ice cube trays with water or olive oil.
Step 10: Seasonal Considerations
- Winter: Grow hardy herbs like thyme, oregano, and chives under supplemental light if needed.
- Summer: Basil, cilantro, and parsley thrive with long daylight hours.
- Rotate and replace herbs seasonally to ensure continuous harvest.
Pro Tip: Even in limited sunlight, most herbs can flourish indoors with careful placement and supplemental lighting.
Step 11: Sustainability Practices
A windowsill herb garden is a sustainable way to grow food:
- Reduces Packaging Waste: Avoid store-bought herb packaging.
- Minimizes Food Miles: Herbs grow directly in your kitchen, cutting transportation impact.
- Organic Practices: Use compost, natural fertilizers, and non-toxic pest control.
- Water Conservation: Reuse water from cooking or washing vegetables for watering herbs.
Benefits of a Windowsill Herb Garden
- Freshness: Harvest herbs on-demand for the best flavor and aroma.
- Nutritional Value: Increases intake of vitamins, minerals, and antioxidants.
- Cost Savings: Reduces the need to purchase fresh herbs regularly.
- Aesthetic Appeal: Adds greenery and life to your kitchen space.
- Convenience: Herbs are always accessible while cooking, reducing prep time.
- Educational & Therapeutic: Observing plant growth teaches patience and promotes relaxation.
Conclusion
Starting a windowsill herb garden is a simple, rewarding way to bring fresh flavors and nutrition into your kitchen. With proper planning, the right choice of containers and soil, regular care, and attention to light, water, and pruning, even small indoor spaces can yield a continuous supply of flavorful, healthy herbs.
Windowsill gardens are perfect for vegetarian households, offering herbs like basil, parsley, cilantro, thyme, chives, and mint for everyday cooking. Beyond the culinary benefits, maintaining a small indoor garden promotes sustainability, reduces food waste, and provides a therapeutic connection to nature.