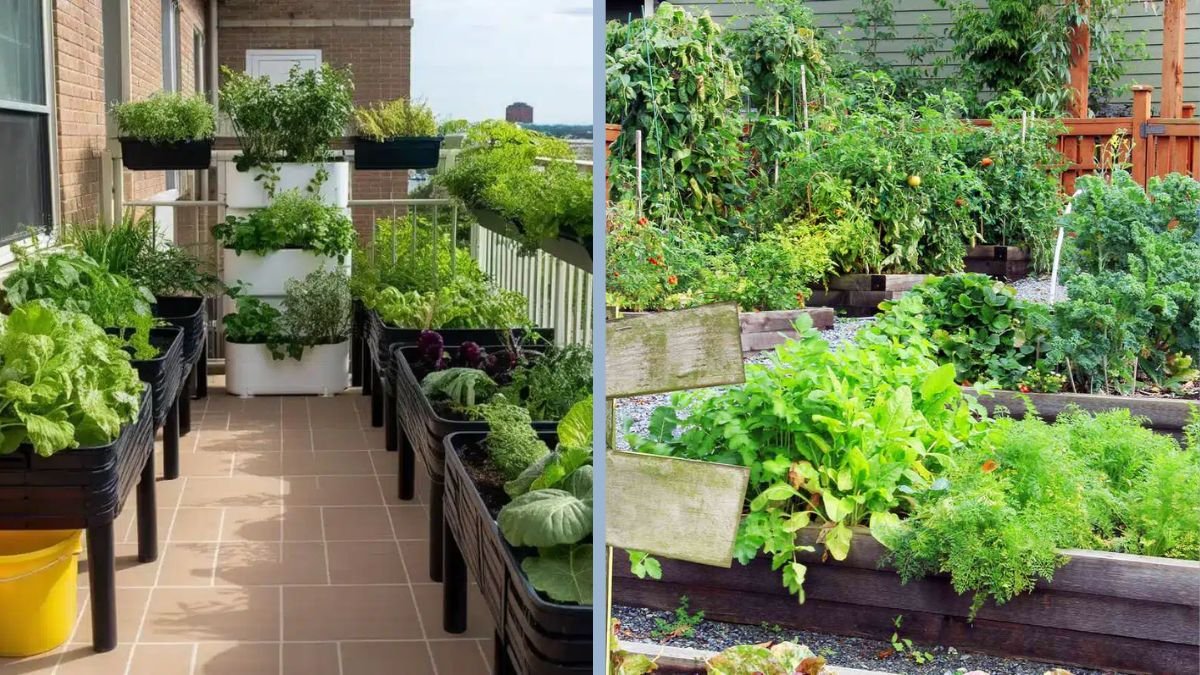
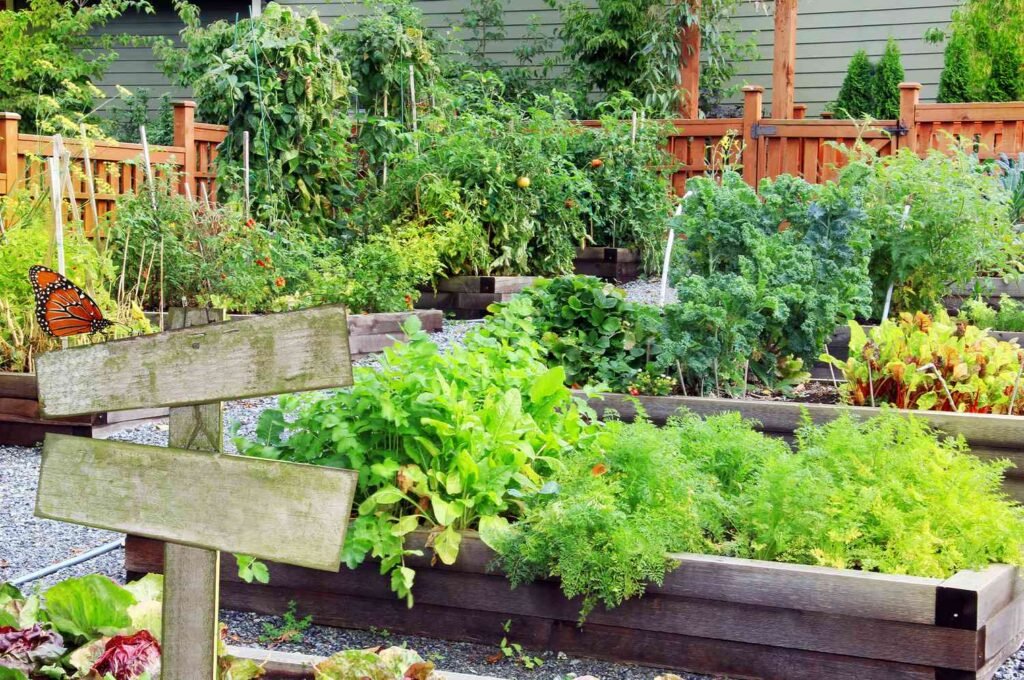
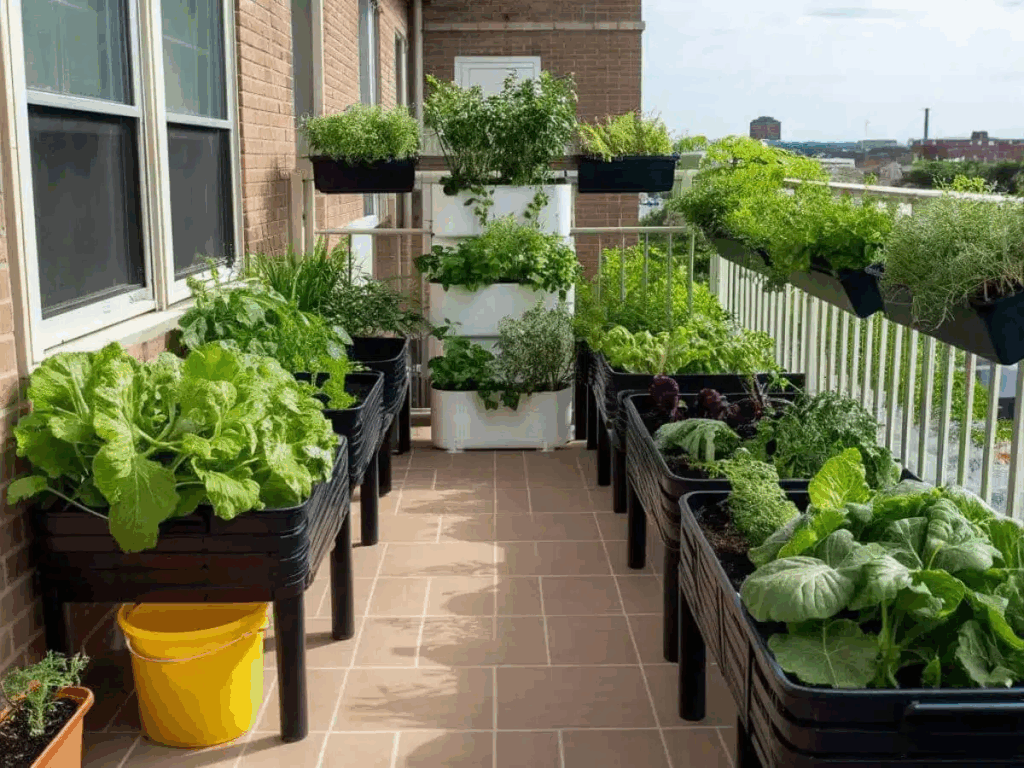
In today’s world, growing your own food has become both a practical and rewarding endeavor. A kitchen garden—also called a home vegetable or herb garden—is a compact space where you can cultivate fresh produce right at home. Whether you live in an apartment with a balcony, a small backyard, or a larger yard, starting a kitchen garden is a sustainable way to ensure access to fresh, nutritious, and pesticide-free vegetables and herbs.
Beyond the obvious health benefits, a kitchen garden reduces food waste, saves money, and fosters a stronger connection to nature. For vegetarians and plant-based households, it’s an excellent way to grow essential ingredients like tomatoes, spinach, lettuce, herbs, and peppers.
This article provides a step-by-step guide on starting a kitchen garden from scratch, covering planning, planting, maintenance, and harvesting—all in a way that supports healthy, fresh, and vegetarian-friendly cooking.
Step 1: Planning Your Kitchen Garden
A successful kitchen garden begins with careful planning. Consider these factors:
- Space Availability
- Balcony, rooftop, backyard, or windowsill?
- Determine the area you can dedicate to pots, raised beds, or vertical gardening.
- Sunlight
- Most vegetables and herbs require 6–8 hours of sunlight daily.
- Observe your space for sun patterns to choose the best spot.
- Water Access
- Proximity to a water source ensures consistent watering.
- Avoid locations where water may stagnate, leading to root rot.
- Type of Produce
- Leafy greens: lettuce, spinach, kale.
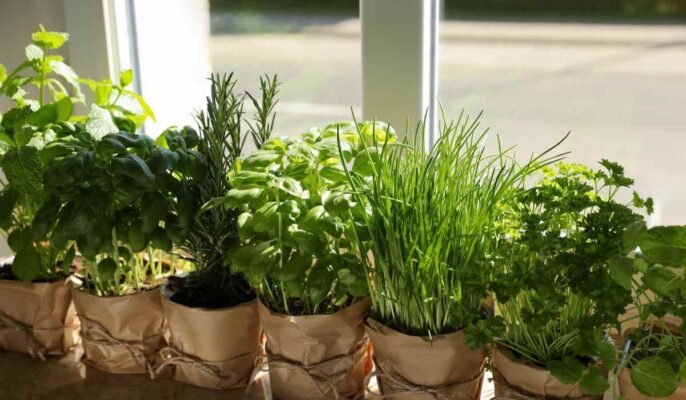
- Herbs: basil, mint, coriander, parsley.
- Fruiting vegetables: tomatoes, peppers, cucumbers.
- Root vegetables: radishes, carrots, beets.
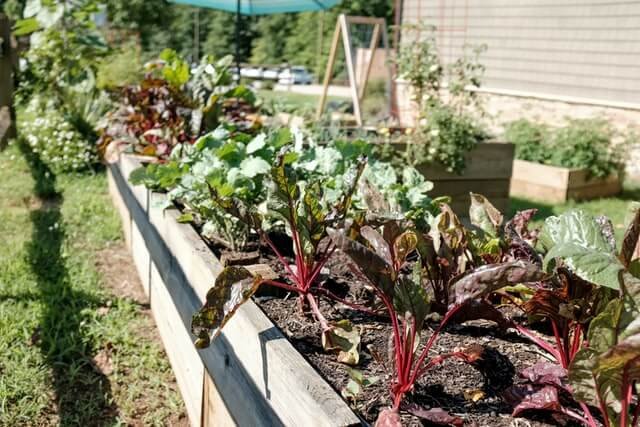
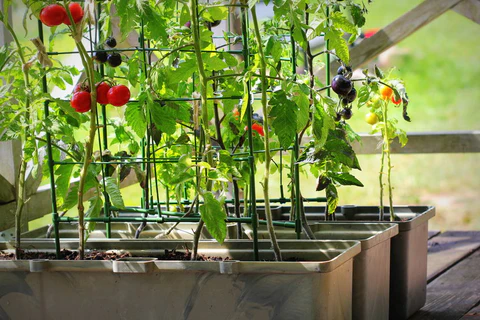
Step 2: Choosing Containers and Soil
Whether using pots, raised beds, or garden plots, proper containers and soil are critical for plant health.
Containers:
- Clay Pots: Porous and allow airflow but dry quickly.
- Plastic Pots: Lightweight, retain moisture, and durable.
- Raised Beds: Great for larger spaces, allowing better drainage and soil control.
- Recycled Containers: Buckets, old crates, or boxes can be repurposed with proper drainage holes.
Soil:
- Use well-draining, fertile soil. A mixture of garden soil, compost, and coco peat works well.
- Avoid heavy clay or compacted soil, as it restricts root growth.
- Incorporate organic compost for nutrients and microbial activity.
Pro Tip: Always ensure your containers have drainage holes to prevent waterlogging.
Step 3: Selecting Seeds or Seedlings
Starting from seeds or seedlings depends on your preferences:
- Seeds: Cheaper, wider variety, and rewarding but require more time and care.
- Seedlings/Transplants: Faster results, easier for beginners, and less prone to early-stage failures.
Choose organic or untreated seeds for safer, pesticide-free gardening.
Step 4: Planting Your Garden
Seeds:
- Fill small seed trays or containers with seed-starting soil.
- Sow seeds at the recommended depth (check the seed packet).
- Water lightly and cover with a transparent lid or plastic wrap to retain moisture.
- Place in a warm, well-lit area.
Transplants:
- Prepare your container or bed with nutrient-rich soil.
- Dig small holes slightly larger than the root ball of the seedling.
- Place the seedling carefully, cover roots with soil, and water gently.
Spacing Tips:
- Leafy greens: 4–6 inches apart.
- Fruiting vegetables: 12–18 inches apart.
- Herbs: 6–8 inches apart.
Step 5: Watering and Maintenance
Consistent care is key to a thriving kitchen garden.
Watering:
- Keep soil moist but not waterlogged.
- Early morning watering is ideal to reduce evaporation.
- Use drip irrigation or watering cans to avoid wetting foliage excessively, which can cause fungal diseases.
Fertilization:
- Organic fertilizers like compost, vermicompost, or neem cake provide nutrients naturally.
- Avoid chemical fertilizers that may harm soil health and plant flavor.
Mulching:
- Cover the soil with straw, dry leaves, or coconut husk.
- Benefits: Retains moisture, prevents weed growth, and regulates soil temperature.
Step 6: Pest and Disease Management
Even vegetarian-friendly gardens can face pest problems. Common pests include aphids, caterpillars, and whiteflies.
Natural Remedies:
- Neem Oil Spray: Effective against many pests.
- Garlic or Chili Spray: Deters insects without harming plants.
- Beneficial Insects: Ladybugs or predatory wasps can naturally control pests.
Disease Prevention:
- Avoid overhead watering to reduce fungal infections.
- Space plants properly for airflow.
- Remove damaged or diseased leaves promptly.
Step 7: Companion Planting
Companion planting enhances growth, flavor, and pest resistance:
- Tomatoes + Basil: Basil repels pests and improves tomato flavor.
- Carrots + Lettuce: Lettuce shades carrot roots, keeping soil cool.
- Cucumbers + Beans: Beans enrich soil with nitrogen, boosting cucumber growth.
Using companion planting maximizes space and naturally supports plant health.
Step 8: Harvesting Your Kitchen Garden
Knowing when and how to harvest ensures fresh, nutrient-rich produce:
- Leafy Greens: Pick outer leaves first, leaving the center to continue growing.
- Herbs: Snip leaves regularly to encourage bushy growth.
- Fruiting Vegetables: Harvest tomatoes, peppers, or cucumbers when fully colored and firm.
- Root Vegetables: Pull carrots, radishes, or beets once they reach recommended size.
Harvest early in the morning for the best flavor and crispness.
Step 9: Storing Your Harvest
Once harvested, proper storage prolongs freshness:
- Leafy Greens: Wash, dry, and store in paper-towel-lined containers in the refrigerator.
- Herbs: Wrap in damp cloth or place in water jars.
- Fruiting Vegetables: Store at room temperature until ripe; refrigerate if needed.
- Root Vegetables: Keep in cool, dark, and dry conditions.
Step 10: Sustainability and Waste Reduction
Kitchen gardens promote sustainability and reduce environmental impact:
- Reduces Grocery Waste: You pick only what you need.
- Organic Practices: Avoid synthetic pesticides and fertilizers.
- Composting: Use plant trimmings to enrich garden soil.
- Seasonal Gardening: Plant according to local seasons for best growth and reduced resource use.
Benefits of a Kitchen Garden
- Healthier Eating: Access to pesticide-free, fresh vegetables and herbs.
- Cost-Effective: Reduces grocery bills over time.
- Educational: A hands-on way to learn about plants, nutrition, and sustainability.
- Therapeutic: Gardening reduces stress and enhances well-being.
- Culinary Creativity: Fresh ingredients inspire new recipes and flavors.
Conclusion
Starting a kitchen garden from scratch is a rewarding and practical endeavor that offers fresh produce, savings, and sustainability. From planning and choosing the right containers to planting, watering, pest control, and harvesting, every step requires attention and care. Even small spaces like balconies or windowsills can yield nutritious herbs and vegetables, while larger gardens offer a more extensive variety of produce.
A well-maintained kitchen garden ensures that fresh, flavorful, and pesticide-free ingredients are always at hand, making vegetarian cooking healthier, tastier, and more satisfying. By following the steps outlined in this guide, anyone can transform a small space into a thriving source of nourishment and creativity, connecting with nature and improving both diet and lifestyle.
Whether you start with a few pots of herbs or a full backyard garden, cultivating your own food from scratch fosters self-sufficiency, reduces food waste, and brings the joy of gardening into everyday life.