Leeks are a versatile and nutritious vegetable, widely used in soups, stews, stir-fries, and even as a flavor base for many dishes. Known for their mild onion-like flavor, leeks are rich in vitamins A, C, K, and essential minerals like iron and manganese. While traditionally grown in garden beds, leeks can be successfully cultivated in containers, making them perfect for urban gardening, patios, balconies, or small spaces.
Growing leeks from seed in containers is not only efficient but also cost-effective. Container gardening allows for better soil control, reduces the risk of pests, and enables easy harvesting. This guide will walk you through everything you need to know to grow healthy leeks at home from seed, from choosing the right containers to planting, caring, and harvesting.
Why Grow Leeks in Containers?
- Space Efficiency: Ideal for urban gardeners or anyone with limited outdoor space.
- Pest Control: Containers reduce exposure to soil-borne pests and weeds.
- Ease of Care: Easier to manage watering, fertilization, and soil quality.
- Portability: Containers can be moved to adjust sunlight exposure or protect plants from extreme weather.
- Cost-Effective: Growing from seed is cheaper than buying young plants or mature leeks from stores.
Materials You’ll Need
- Containers or pots (at least 6–8 inches deep; larger is better for mature leeks)
- Seed-starting mix or nutrient-rich potting soil
- Leek seeds
- Small pebbles or gravel (optional for drainage)
- Watering can or spray bottle
- Fertilizer (organic or balanced liquid fertilizer)
Step-by-Step Guide to Growing Leeks from Seed in Containers
Step 1: Choosing and Preparing Containers
- Select containers with drainage holes to prevent waterlogging.
- Clean the containers thoroughly to remove any residue or bacteria.
- Optional: Add a small layer of gravel at the bottom to improve drainage.
Step 2: Filling with Soil
- Use a seed-starting mix for germination or a combination of compost-rich garden soil and potting mix.
- Fill the containers, leaving about an inch from the top for watering and planting seeds.
- Smooth the surface lightly but avoid compacting the soil, as leeks need loose soil for healthy root growth.
Step 3: Sowing Leek Seeds
- Scatter leek seeds thinly across the soil surface.
- Cover lightly with a thin layer of soil, about ¼ inch deep.
- Gently water the soil using a spray bottle to avoid washing away seeds.
- Place the containers in a location with indirect sunlight or under a grow light for germination.
Step 4: Germination and Early Care
- Leek seeds typically germinate in 7–14 days.
- Keep the soil consistently moist but not waterlogged.
- Maintain a temperature of 60–70°F (15–21°C) for optimal germination.
- Once seedlings emerge, gradually expose them to more sunlight to strengthen stems.
Step 5: Thinning Seedlings
- When seedlings reach 2–3 inches tall, thin them to avoid overcrowding.
- Space the remaining seedlings 2–3 inches apart to give each plant room to grow.
- Carefully snip weaker seedlings at soil level to avoid disturbing roots.
Step 6: Transplanting (Optional)
- If you started seeds in a small container, consider transplanting seedlings to larger containers once they reach 4–6 inches tall.
- Make a small hole in the new container, gently move the seedling, and cover the roots with soil.
- Water lightly and provide partial shade for a few days to reduce transplant shock.
Step 7: Caring for Leeks in Containers
- Watering: Keep soil consistently moist, especially during hot weather. Avoid waterlogging, which can lead to root rot.
- Sunlight: Place containers in a location that receives 6–8 hours of sunlight daily.
- Fertilizing: Feed leeks every 3–4 weeks with a balanced liquid fertilizer. Nitrogen-rich fertilizers encourage strong, healthy stalks.
- Mulching: Apply a thin layer of mulch to retain moisture and regulate soil temperature.
- Pest Management: Watch for aphids, onion maggots, or fungal infections. Use organic pest control methods or handpick pests as needed.
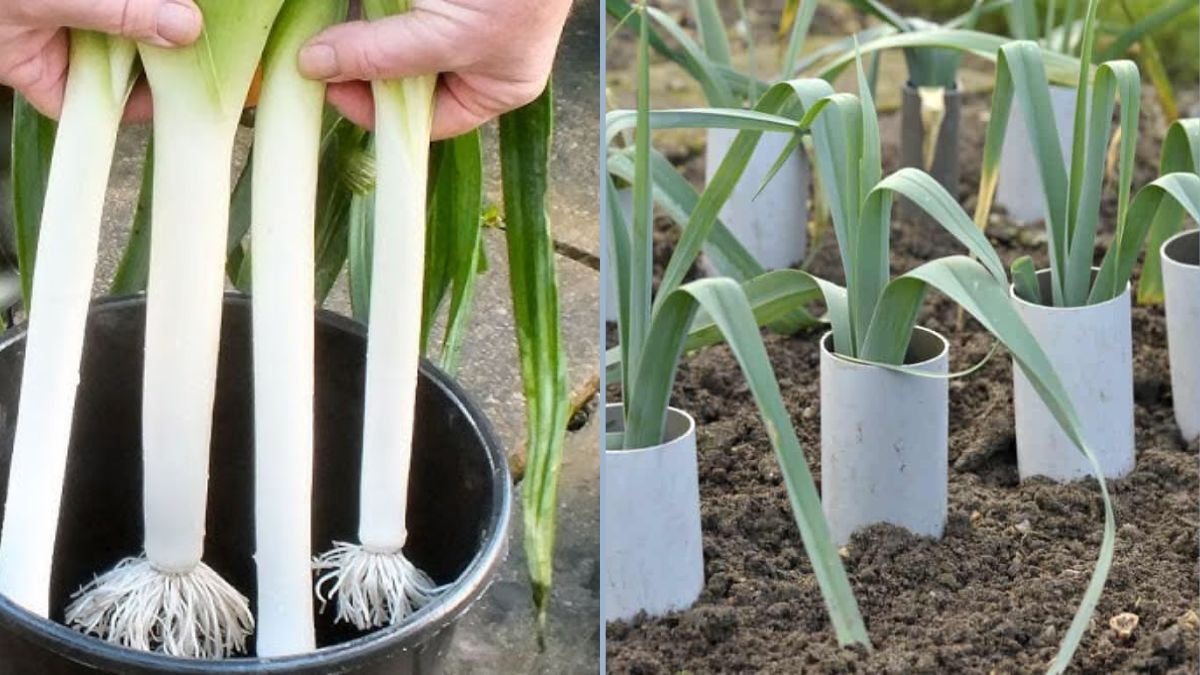
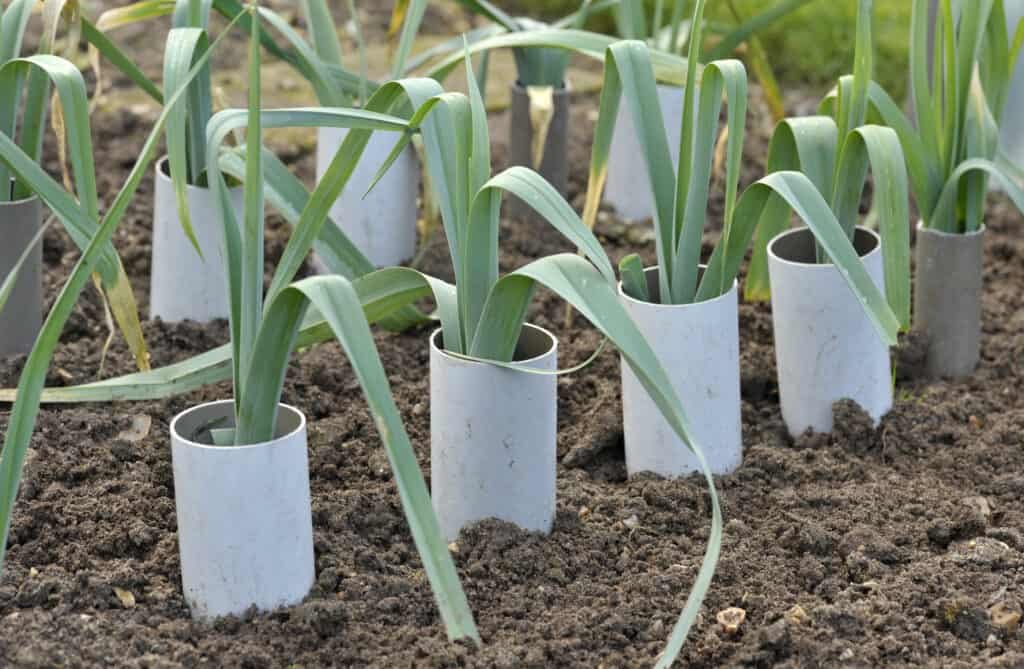
Step 8: Blanching Leeks (Optional)
Blanching leeks makes the lower stalks tender and white:
- Gradually mound soil around the base of the leek stalks as they grow.
- This prevents sunlight from reaching the lower stems, creating a tender white shaft.
- Continue adding soil or mulch periodically as the plant grows.
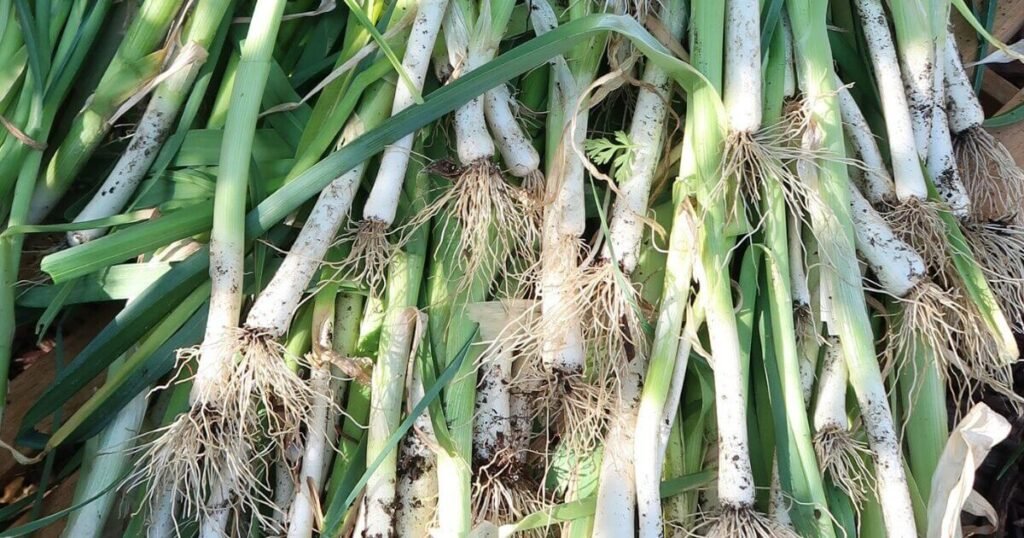
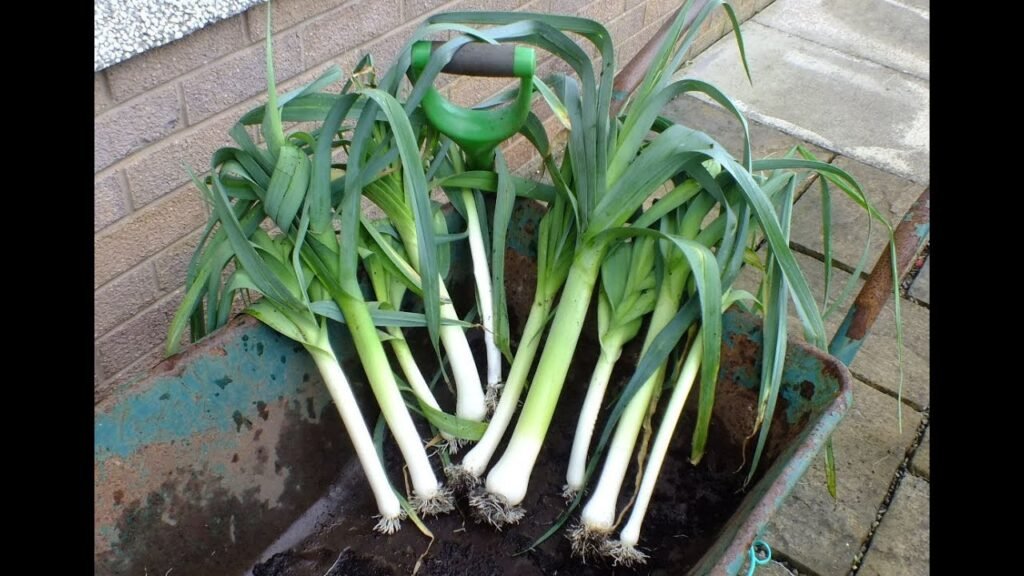
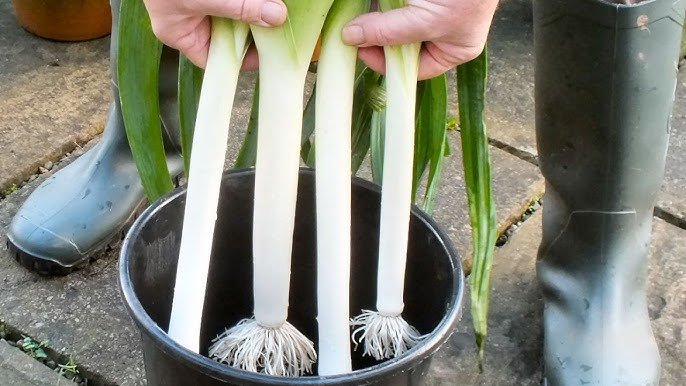
Step 9: Harvesting Leeks
- Leeks are typically ready for harvest 12–16 weeks after planting, depending on variety.
- Harvest when the stalks are ½–1 inch in diameter for best flavor.
- Pull the entire plant gently from the soil or cut stalks at the base for continuous growth.
- Regular harvesting encourages new growth and ensures ongoing production.
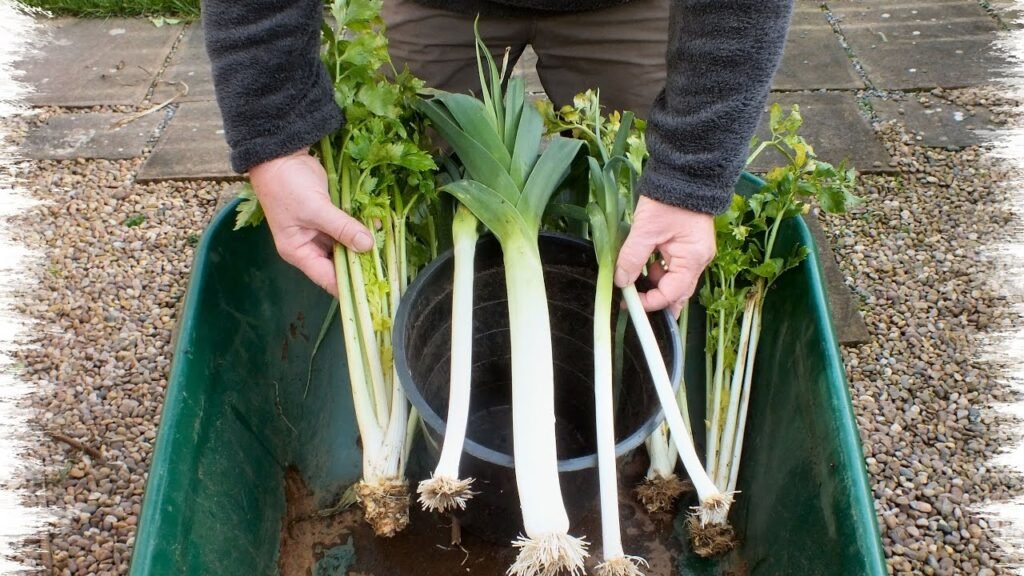
Benefits of Growing Leeks in Containers
- Fresh, Homegrown Produce: Enjoy flavorful, nutrient-rich leeks straight from your container garden.
- Space-Efficient: Perfect for small spaces, urban gardening, or indoor setups.
- Reduced Pest Problems: Containers minimize exposure to soil-borne pests and weeds.
- Cost Savings: Growing from seed reduces the need to buy mature plants or market-bought leeks.
- Sustainability: Container gardening encourages recycling and sustainable growing practices.
Common Mistakes to Avoid
- Overcrowding: Planting too many seeds in one container can result in weak, spindly leeks.
- Neglecting Watering: Even container plants require consistent moisture. Avoid letting soil dry out completely.
- Insufficient Sunlight: Leeks need 6–8 hours of sunlight; insufficient light leads to slow growth.
- Overfertilizing: Excess fertilizer can cause burnt roots and affect flavor.
- Ignoring Pests: Regularly inspect plants for aphids, onion maggots, or fungal issues.
Tips for Year-Round Container Leek Gardening
- Indoor Growing: Use grow lights if sunlight is limited during winter months.
- Succession Planting: Sow new seeds every 2–3 weeks to maintain continuous harvests.
- Rotate Containers: Turn containers occasionally to ensure even sunlight exposure.
- Experiment with Varieties: Try different leek varieties for flavor diversity and extended harvest periods.
Expanding Your Container Garden
Once you’ve mastered growing leeks in containers, you can expand your garden to include other compatible vegetables:
- Carrots
- Radishes
- Spinach
- Lettuce
- Herbs such as parsley, cilantro, or chives
Combining multiple crops in containers allows for efficient space usage and a consistent supply of fresh produce.
Conclusion
Growing leeks from seed in containers is a simple, cost-effective, and space-saving way to enjoy fresh, homegrown produce. By following the steps outlined above—from choosing containers and planting seeds to caring for and harvesting your leeks—you can cultivate healthy, flavorful vegetables even in limited spaces.
Container gardening also provides an opportunity to practice sustainable gardening, reduce pests, and optimize growth conditions. Whether you’re an urban gardener, beginner, or enthusiast, growing leeks in containers is a rewarding and practical method to enjoy delicious, nutrient-rich vegetables year-round.
Start your container leek garden today and discover the ease and satisfaction of growing your own fresh, homegrown produce!