Urban gardening is rapidly gaining popularity, especially among people who want to grow fresh vegetables without a backyard or large garden space. One of the easiest and most rewarding vegetables to grow at home is arugula, a leafy green known for its peppery flavor and impressive health benefits. But what if you could grow arugula in a simple, low-maintenance system that waters itself?
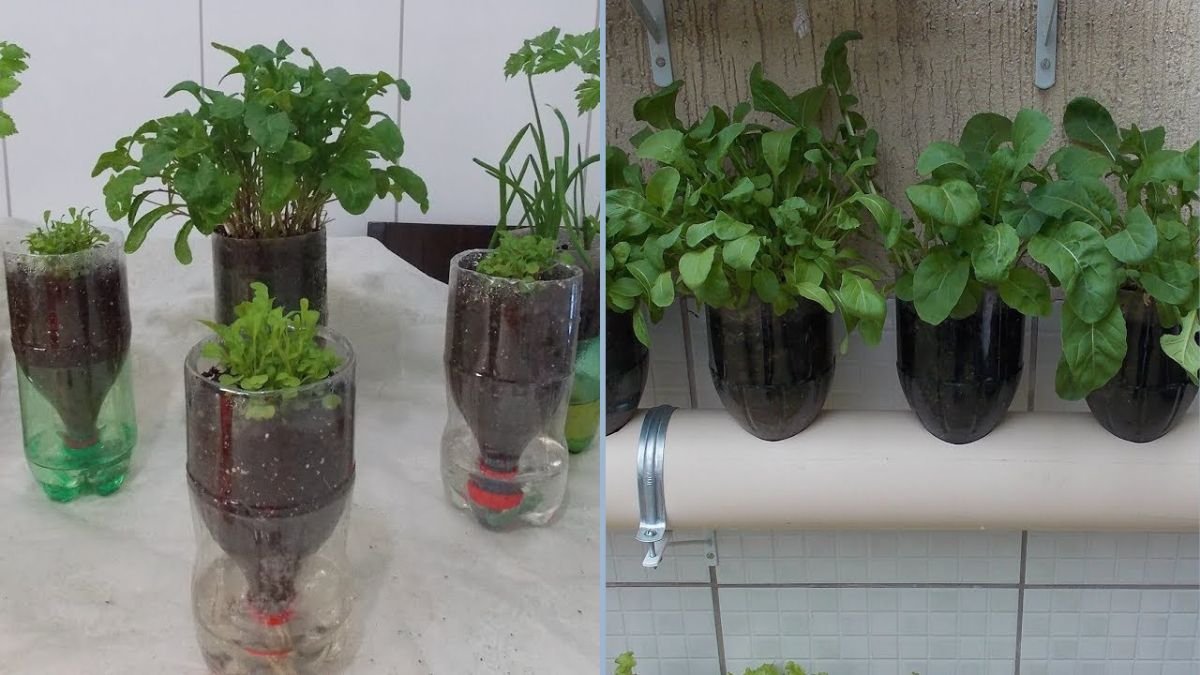
Enter the self-watering bottle garden. This innovative method uses recycled plastic bottles to create a compact, eco-friendly, and efficient growing system. With minimal effort, you can have fresh, nutrient-rich arugula ready to harvest throughout the year. In this guide, we’ll walk you through the complete process of growing arugula in a self-watering bottle garden, from materials to planting, care, and harvesting.
Why Grow Arugula in a Self-Watering Bottle Garden?

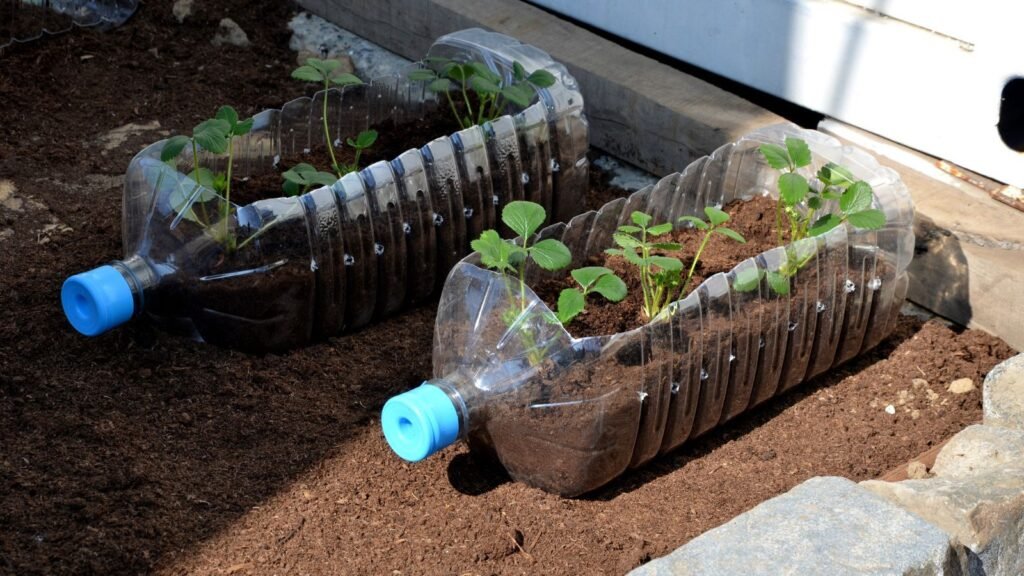
Plastic bottles are often discarded as waste, but they can be transformed into an effective gardening tool. Here’s why a self-watering bottle garden is perfect for arugula:
- Eco-Friendly: Reusing bottles reduces plastic waste and promotes sustainable gardening.
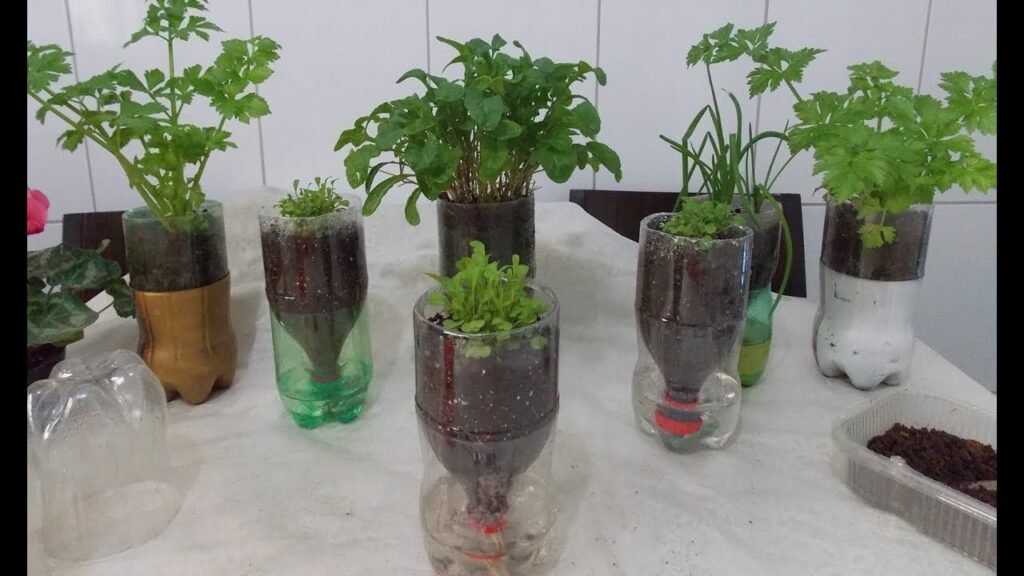
- Space-Saving: Ideal for apartments, balconies, kitchens, or rooftop gardens.
- Low Maintenance: The self-watering system ensures consistent moisture for the plants.
- Portable: Bottles are lightweight and easy to move to adjust sunlight exposure or protect plants from extreme weather.
- Continuous Harvest: Arugula grows quickly, and with proper care, you can enjoy multiple harvests from the same plant.
Materials You’ll Need
Before you start, gather the following materials:
- Plastic bottles (1–2 liters work best)
- Utility knife or scissors
- Cotton cloth or string (for the wick)
- Potting soil or a mix of compost and garden soil
- Arugula seeds
- Water
- Small pebbles (optional, for drainage)
Step-by-Step Guide to Making a Self-Watering Bottle Garden
Step 1: Preparing the Bottle
- Wash the plastic bottle thoroughly to remove any residue.
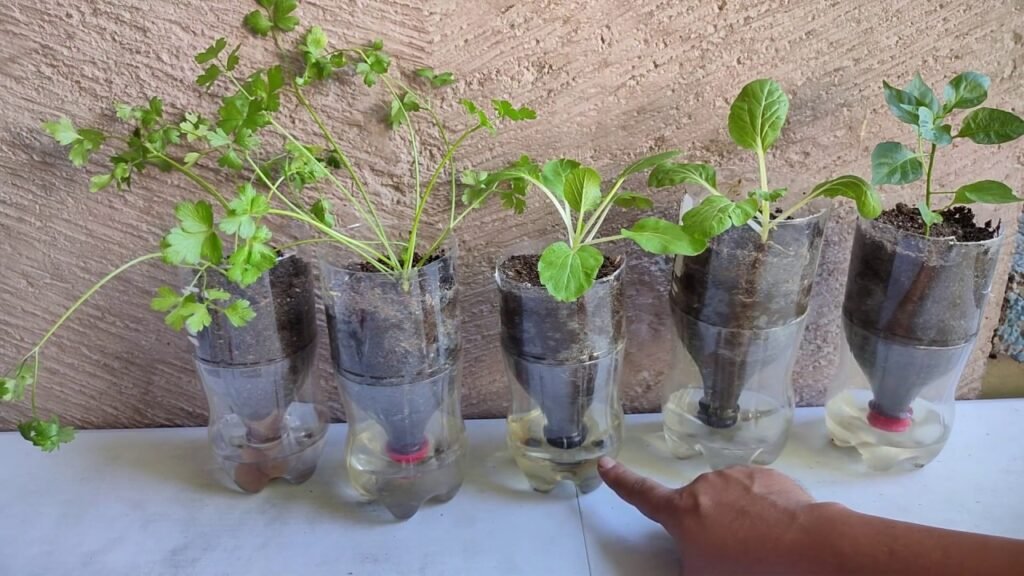
- Cut the bottle horizontally, keeping the top half to act as a funnel or soil container and the bottom half to hold water.
- Remove the bottle cap and thread a cotton cloth or string through the neck of the bottle. The wick will draw water from the reservoir to the soil.
Step 2: Adding Drainage and Soil
- Optional: Place a layer of small pebbles at the bottom of the top half for extra drainage.
- Fill the top half with nutrient-rich soil or potting mix, leaving about an inch from the top for planting.
- Make sure the wick is in contact with both the water in the bottom half and the soil in the top half.
Step 3: Planting Arugula Seeds
- Sow arugula seeds directly into the soil, spacing them about 1–2 inches apart.
- Cover lightly with soil and gently pat down.
- Water the soil lightly to help seeds settle.
Step 4: Setting Up the Self-Watering System
- Place the top half of the bottle with soil and seeds into the bottom half filled with water.
- Ensure the wick touches the water to draw moisture gradually into the soil.
- Place the bottle in a sunny location where the plant will receive at least 4–6 hours of sunlight daily.
Caring for Arugula in a Self-Watering Bottle Garden
- Watering: The wick system reduces the need for frequent watering, but check the reservoir every few days and refill as needed.
- Sunlight: Arugula prefers full sun but can tolerate partial shade. Ensure consistent light exposure for faster growth.
- Fertilizing: Use a diluted liquid fertilizer every 2–3 weeks to promote healthy leaves.
- Thinning Seedlings: Once seedlings reach 2–3 inches, thin them by snipping weaker plants to give space for the strongest ones.
- Pest Control: Arugula can attract aphids or caterpillars. Spray with a mild soap solution or neem oil if pests appear.
Harvesting Arugula
- Arugula grows quickly, and you can start harvesting leaves 3–4 weeks after planting.
- Snip leaves from the outside of the plant, allowing smaller inner leaves to continue growing.
- Harvest regularly to encourage new growth. Continuous harvesting ensures a steady supply of fresh arugula.
Benefits of Growing Arugula in a Self-Watering Bottle Garden
- Fresh and Nutritious: Homegrown arugula is rich in vitamins A, C, and K, folate, and antioxidants.
- Convenient: The self-watering system reduces maintenance while providing consistent moisture.
- Eco-Friendly: Recycled bottles reduce waste while producing healthy food.
- Compact and Portable: Perfect for small spaces or urban gardening setups.
- Cost-Effective: Growing your own arugula saves money compared to buying from the store.
Common Mistakes to Avoid

- Overcrowding Seeds: Planting too many seeds can lead to weak, spindly leaves. Thin seedlings as needed.
- Ignoring the Water Reservoir: Even self-watering systems require monitoring. Refill the reservoir regularly.
- Insufficient Sunlight: Arugula grows best with adequate light; otherwise, it becomes leggy.
- Overfertilizing: Too much fertilizer can harm seedlings or cause bitter leaves.
- Neglecting Pest Monitoring: Regularly check for pests and treat promptly to prevent damage.
Tips for Year-Round Arugula Growth
- Indoor Gardening: Use grow lights if sunlight is limited.
- Succession Planting: Sow new seeds every 2–3 weeks to ensure a continuous harvest.
- Temperature Management: Arugula prefers cooler temperatures; avoid excessive heat to prevent bolting.
- Experiment with Varieties: Try different arugula types for flavor diversity and aesthetic appeal.
Expanding Your Bottle Garden
Once you’ve successfully grown arugula, you can expand your self-watering bottle garden to include other leafy greens and herbs:
- Spinach
- Lettuce
- Kale
- Basil
- Cilantro
Using the same simple bottle setup, you can create a compact, sustainable garden capable of supplying fresh greens year-round.
Conclusion
Growing arugula in a self-watering bottle garden is a simple, eco-friendly, and rewarding way to enjoy fresh vegetables at home. This method is perfect for urban gardeners, beginners, and anyone looking to reduce plastic waste while cultivating healthy, nutrient-rich food.
By following these steps—from preparing your bottles and planting seeds to caring for the plants and harvesting leaves—you can enjoy a continuous supply of fresh arugula with minimal effort. Not only does this approach save space and money, but it also brings the satisfaction of growing your own food, right from your home.
Start your self-watering bottle garden today and experience the convenience, sustainability, and flavor of homegrown arugula all year round.