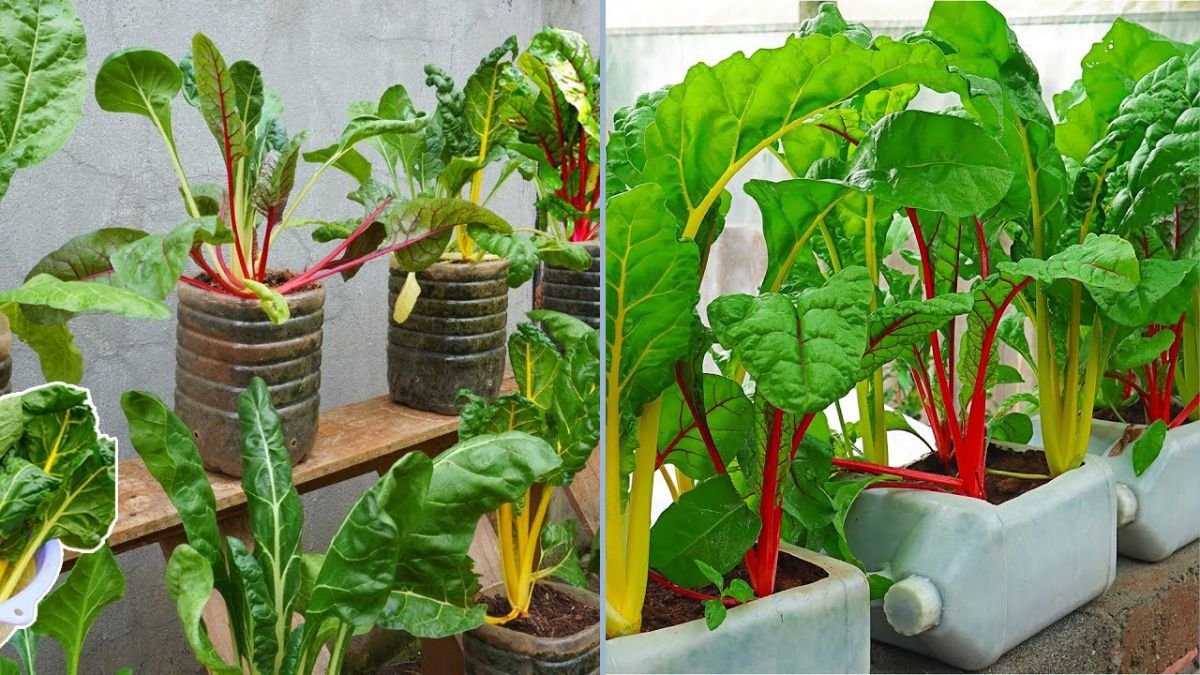
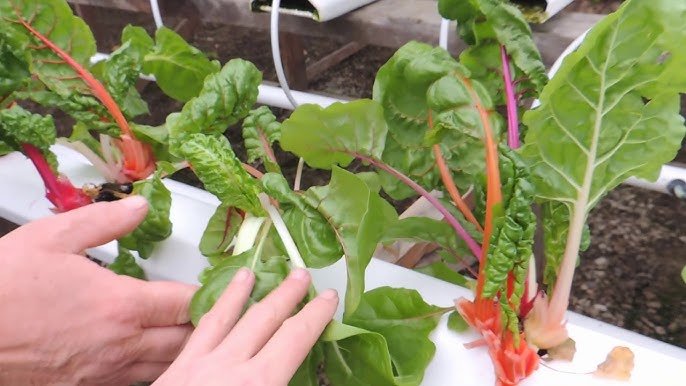
Growing your own vegetables at home is both rewarding and practical. Not only does it provide fresh, nutrient-rich produce, but it also allows you to get creative with space and materials. Swiss chard, with its vibrant stems and tender leafy greens, is not only visually stunning but also packed with vitamins A, C, K, and minerals like magnesium and potassium. Its versatility in the kitchen makes it perfect for salads, sautés, soups, and even smoothies.
What if you could grow Swiss chard at home without a traditional garden or expensive planters? The answer lies in using recycled plastic bottles. With just a few old bottles, you can create a compact, colorful, and productive home garden. In this guide, we’ll walk you through the entire process—from materials and preparation to planting, care, and harvesting—so you can enjoy fresh Swiss chard right at home.
Why Grow Swiss Chard in Plastic Bottles?
- Eco-Friendly Gardening: Reusing plastic bottles reduces waste and promotes sustainability.
- Space-Saving: Ideal for apartments, rooftops, balconies, or small patios where traditional gardening isn’t feasible.
- Cost-Effective: Old bottles are free or low-cost, eliminating the need for expensive pots.
- Controlled Growth: Containers provide control over soil, water, and nutrients, improving productivity.
- Aesthetically Pleasing: Colorful Swiss chard stems add visual appeal to your indoor or outdoor garden.
Materials You’ll Need
- Old plastic bottles (1–2 liters recommended)
- Utility knife or scissors
- Potting soil or compost-rich garden soil
- Swiss chard seeds
- Cotton string or cloth (optional for self-watering setup)
- Small pebbles (optional for drainage)
- Water
Step-by-Step Guide to Growing Swiss Chard in Plastic Bottles
Step 1: Preparing the Bottles
- Wash bottles thoroughly to remove any residue.
- Cut a rectangular opening on the side of the bottle, large enough to plant seeds or seedlings.
- Poke a few drainage holes at the bottom to prevent waterlogging.
- Optional: Create a self-watering system by inverting the top portion of the bottle into the bottom half and using a cotton wick to draw water gradually into the soil.
Step 2: Adding Soil and Drainage
- Optional: Place a small layer of pebbles at the bottom for improved drainage.
- Fill the bottle with nutrient-rich soil or a mix of garden soil and compost. Swiss chard prefers fertile, well-draining soil with a pH of 6.0–7.0.
- Leave about an inch from the top for planting and watering.
Step 3: Planting Swiss Chard Seeds
- Sow 2–3 seeds per bottle, spacing them evenly along the soil surface.
- Cover lightly with soil and gently press down to ensure good seed-to-soil contact.
- If using seedlings, make a small hole in the soil, place the plant, and cover gently.
- Water lightly to settle the soil and activate germination.
Step 4: Setting Up a Self-Watering System (Optional)
- Fill the bottom reservoir with water.
- Ensure the wick or soil medium is in contact with the water for gradual hydration.
- Check periodically and refill as needed to maintain consistent moisture.
Caring for Swiss Chard in Plastic Bottles
- Sunlight: Place bottles in a location receiving at least 4–6 hours of sunlight daily. Swiss chard tolerates partial shade but grows best in full sun.
- Watering: Keep soil consistently moist, especially for young seedlings. Self-watering setups reduce daily maintenance.
- Fertilizing: Use a balanced liquid fertilizer every 2–3 weeks to encourage lush leafy growth. Nitrogen-rich fertilizers promote larger, tender leaves.
- Thinning Seedlings: Once seedlings reach 2–3 inches, thin weaker plants to avoid overcrowding.
- Pest Control: Watch for aphids, leaf miners, or slugs. Natural solutions like neem oil or manual removal work well.
- Pruning: Remove yellowing or damaged leaves to improve airflow and encourage healthy growth.
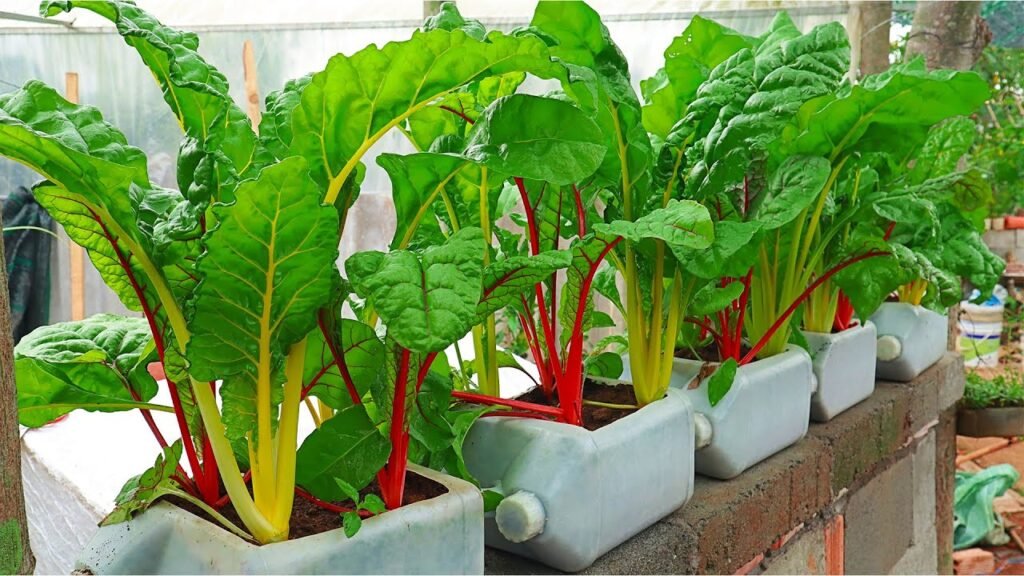
Benefits of Growing Swiss Chard in Plastic Bottles
- Continuous Supply: Regular harvesting encourages new growth, providing a steady supply of fresh greens.
- Nutrient-Rich Produce: Homegrown Swiss chard has higher nutrient content than store-bought options.
- Eco-Friendly and Sustainable: Reduce plastic waste while growing food sustainably.
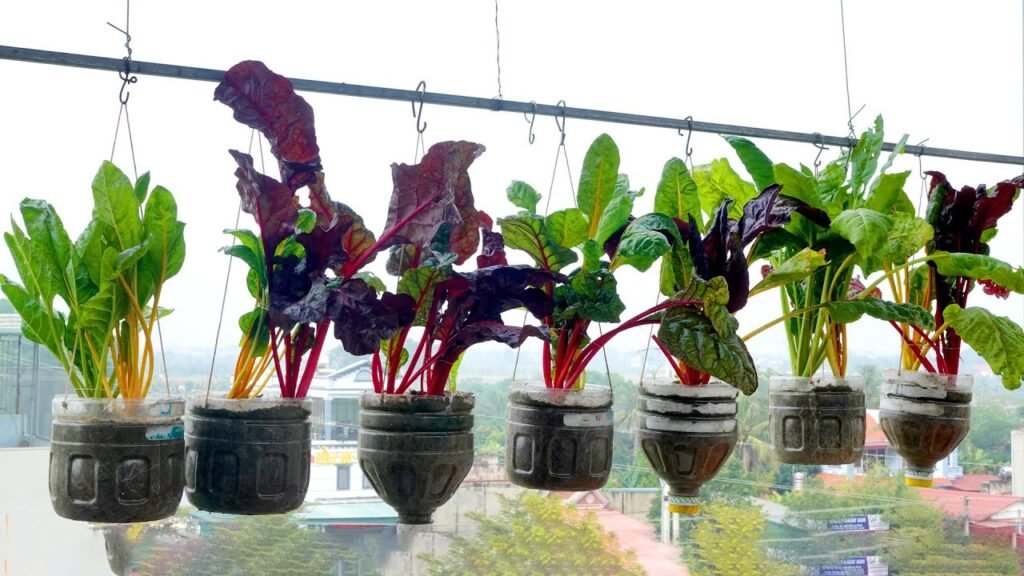
- Space Efficiency: Vertical or horizontal arrangement of bottles maximizes limited space.
- Low Maintenance: Self-watering setups reduce manual labor and ensure consistent growth.
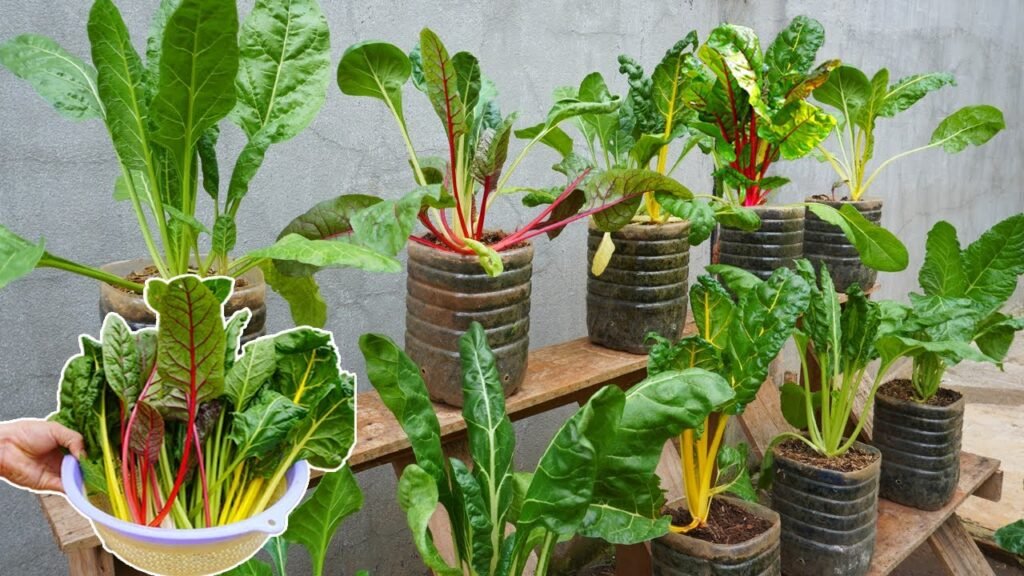
Harvesting Swiss Chard
- Swiss chard can be harvested 30–45 days after planting, depending on variety and growing conditions.
- Pick outer leaves first, leaving inner leaves to continue growing.
- For full heads, wait until plants reach 6–8 inches in height.
- Continuous harvesting ensures ongoing production and a bountiful home garden.
Common Mistakes to Avoid
- Overcrowding Seeds: Planting too many seeds can stunt growth. Thin seedlings to promote strong plants.
- Neglecting Water: Even self-watering systems need occasional monitoring. Check reservoirs regularly.
- Insufficient Sunlight: Swiss chard requires moderate sunlight; inadequate light results in slow growth and weak stems.
- Overfertilizing: Excess fertilizer can damage roots and make leaves taste bitter.
- Ignoring Pests: Inspect plants frequently for aphids, leaf miners, or slugs. Act promptly to prevent damage.
Tips for Year-Round Swiss Chard Growth

- Indoor Gardening: Place bottles near sunny windows or under grow lights during colder months.
- Succession Planting: Sow seeds every 2–3 weeks for a continuous supply of fresh leaves.
- Rotate Bottles: Rotate bottles periodically for even light exposure and growth.
- Try Different Varieties: Experiment with rainbow Swiss chard for a visually appealing mix of colors.
Expanding Your Plastic Bottle Garden
Once you’ve successfully grown Swiss chard, you can expand your bottle garden to include other leafy greens and herbs:
- Spinach
- Lettuce
- Kale
- Bok choy
- Herbs like basil, cilantro, and parsley
Using recycled bottles for vertical or horizontal gardening maximizes limited space and allows you to grow multiple crops sustainably.
Conclusion
Growing colorful Swiss chard at home using old plastic bottles is a creative, sustainable, and highly productive method for urban gardeners. This approach recycles waste, saves money, and provides fresh, nutritious vegetables right at your doorstep.
By following these steps—from preparing bottles and planting seeds to maintaining soil moisture and harvesting—you can enjoy a continuous supply of vibrant Swiss chard throughout the year. This method is perfect for beginners, urban gardeners, and anyone looking for an eco-friendly gardening solution that combines sustainability with productivity.
Start your recycled plastic bottle Swiss chard garden today and enjoy the convenience, beauty, and health benefits of homegrown, colorful leafy greens.