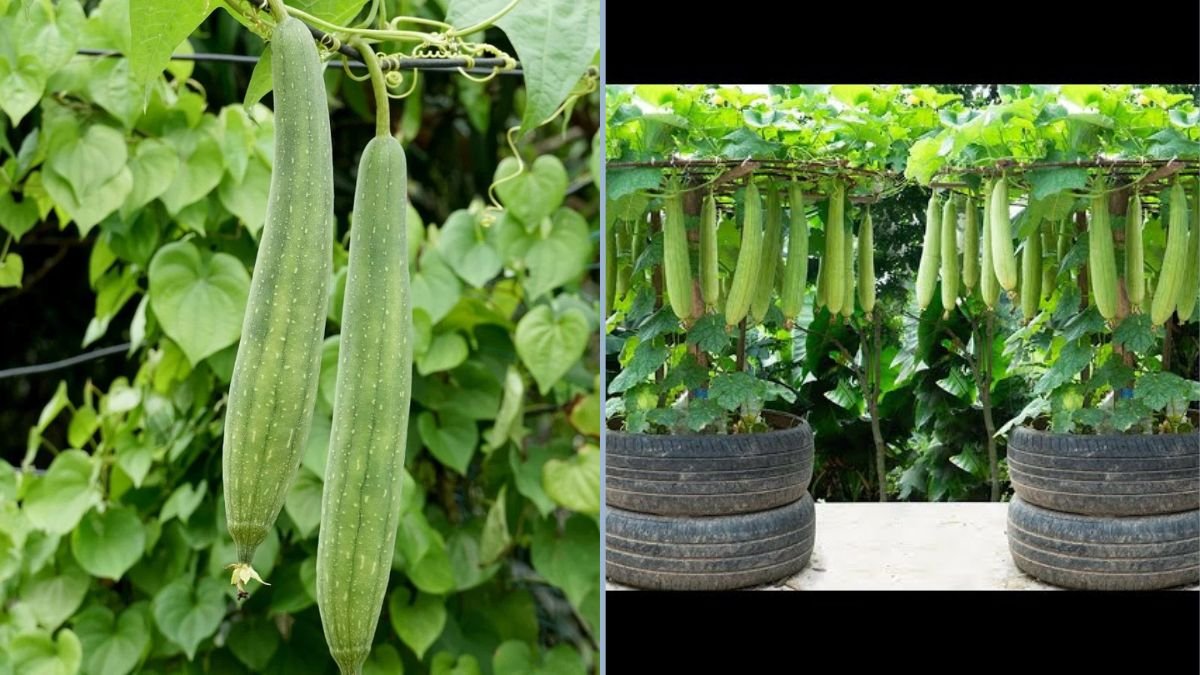
Sponge gourd, also known as luffa or ridge gourd, is a versatile vegetable widely loved for its crunchy texture and nutritional benefits. Rich in vitamins, minerals, and dietary fiber, sponge gourd can be cooked in various dishes, stir-fries, and soups. Many gardeners, however, face challenges when trying to grow sponge gourd at home, especially if they aim for large, plentiful fruits.
Fortunately, there’s a simple, innovative method that helps maximize yield and fruit size: growing sponge gourd in tires. This approach allows you to recycle old tires while creating a supportive and nutrient-rich environment for your plants. In this guide, we’ll explore step-by-step how to grow sponge gourd in tires at home to achieve bigger and more fruits.
Why Grow Sponge Gourd at Home?
Home gardening offers several benefits:
- Fresh and Nutritious Produce: Homegrown sponge gourd is free from harmful chemicals and pesticides.
- Cost-Effective: Growing your own vegetables reduces grocery bills.
- Space-Saving Solution: Tires allow vertical or compact growing in small spaces, like balconies or backyards.
- Recycling Opportunity: Using old tires for planting is eco-friendly and practical.
- Abundant Yield: With the right care, you can harvest large, healthy, and multiple fruits per plant.
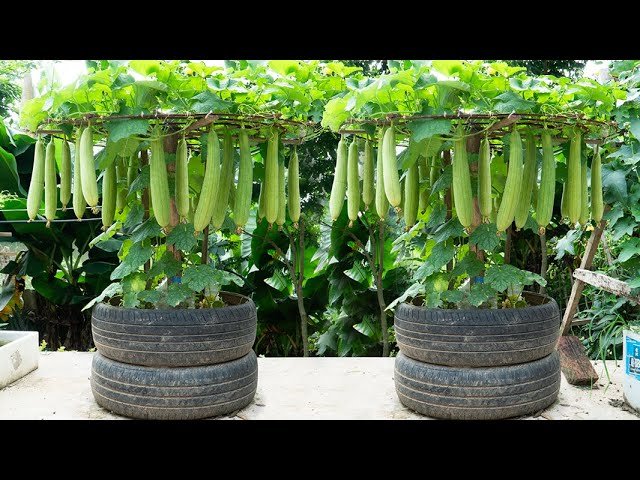
Why Use Tires for Growing Sponge Gourd?
Sponge gourd vines are vigorous climbers that need proper support and deep, fertile soil to produce abundant fruits. Tires offer several advantages:
- Deep Growing Medium: Tires can be filled with nutrient-rich soil, giving roots room to expand.
- Temperature Regulation: The rubber absorbs heat during the day, keeping soil warm for better growth.
- Recycling: Old tires are reused, reducing environmental waste.
- Mobility: Tires are portable, allowing you to reposition them for optimal sunlight exposure.
Materials Needed
Before starting, gather the following:
- Old tires (large or medium size)
- Quality garden soil
- Organic compost or well-rotted manure
- Sponge gourd seeds or seedlings
- Trellis or support structure for vines
- Rope or soft ties
- Watering can or drip irrigation system
- Mulch (optional, to retain moisture)
Step 1: Choosing the Right Sponge Gourd Variety
Not all sponge gourd varieties grow well in confined spaces like tires. Choose varieties that are prolific, high-yielding, and suited for container or tire cultivation. Recommended varieties include:
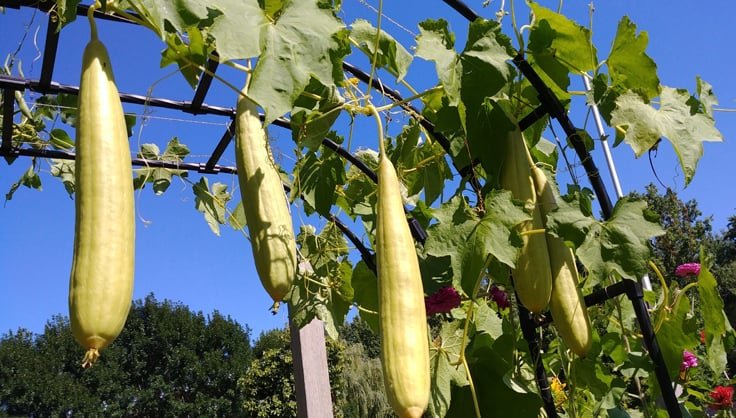
- Pusa Chikni – Produces long, smooth fruits
- Prabhat – Fast-growing with multiple fruits per vine
- Rough or Ridge Gourd Varieties – Suitable for climbing and container growth
Selecting the right variety increases your chances of getting large, abundant fruits.
Step 2: Preparing the Tires
- Clean the Tires: Wash the tires thoroughly to remove dirt, grease, or chemicals.
- Drill Drainage Holes: Make 3-4 holes at the bottom for proper water drainage.
- Layer Soil and Compost: Mix garden soil with compost or manure to create a fertile medium. Fill the tire with this mixture, leaving a few inches at the top.
Tip: Adding perlite or coco peat can improve soil aeration and drainage, preventing root rot.
Step 3: Planting Sponge Gourd Seeds or Seedlings
Plant 2-3 seeds per tire about 1 inch deep. If using seedlings, carefully transplant them without damaging the roots. Water gently after planting and keep the soil consistently moist but not soggy.
Spacing Tip: For better vine growth, place tires about 2-3 feet apart and near a trellis or vertical support.
Step 4: Setting Up the Trellis
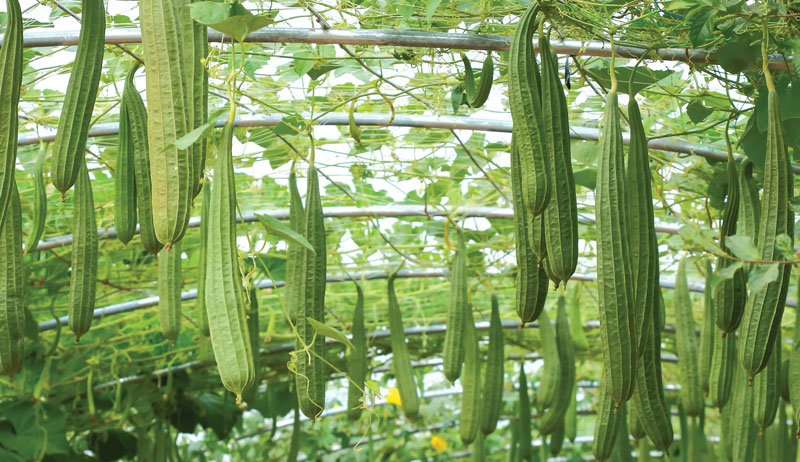
Sponge gourd is a climbing plant, and proper vertical support is essential for large fruit production.
- Install a sturdy trellis or bamboo poles next to the tire.
- Tie the growing vines loosely to the support using soft string.
- As the plant grows, gently train the vines to climb the trellis.
This not only supports heavy fruits but also improves air circulation, reducing fungal infections.
Step 5: Watering and Fertilizing
Sponge gourd requires regular watering to produce healthy, large fruits. Follow these guidelines:
- Watering: Keep the soil consistently moist, especially during flowering and fruiting stages. Avoid waterlogging.
- Fertilizing: Use organic fertilizers like compost, neem cake, or well-rotted manure every 2-3 weeks. During fruiting, switch to a potassium-rich fertilizer to promote fruit size and sweetness.
Pro Tip: Mulching around the base helps retain moisture and control weeds.
Step 6: Pruning and Training the Vines
Pruning helps direct the plant’s energy toward producing larger and more fruits:
- Remove side shoots that do not bear flowers.
- Cut yellow or damaged leaves to maintain plant health.
- Limit each vine to 4-5 main fruits to encourage larger size.
Regular pruning ensures that sunlight reaches all parts of the plant and reduces overcrowding on the trellis.
Step 7: Pollination for Better Fruit Set
Sponge gourd flowers are male or female, and proper pollination is crucial for fruit development.
- Attract Pollinators: Bees and other insects naturally pollinate flowers. Plant companion flowers nearby to attract them.
- Manual Pollination: If pollinators are scarce, use a small brush to transfer pollen from male to female flowers.
Proper pollination ensures more fruits develop and reduces the chances of flowers dropping prematurely.
Step 8: Pest and Disease Management
Common pests include aphids, whiteflies, and fruit flies. Diseases like powdery mildew can also affect growth. Here’s how to manage them:
- Use neem oil or insecticidal soap for pest control.
- Maintain proper spacing and airflow to reduce fungal diseases.
- Remove affected leaves immediately.
- Avoid overwatering to prevent root rot.
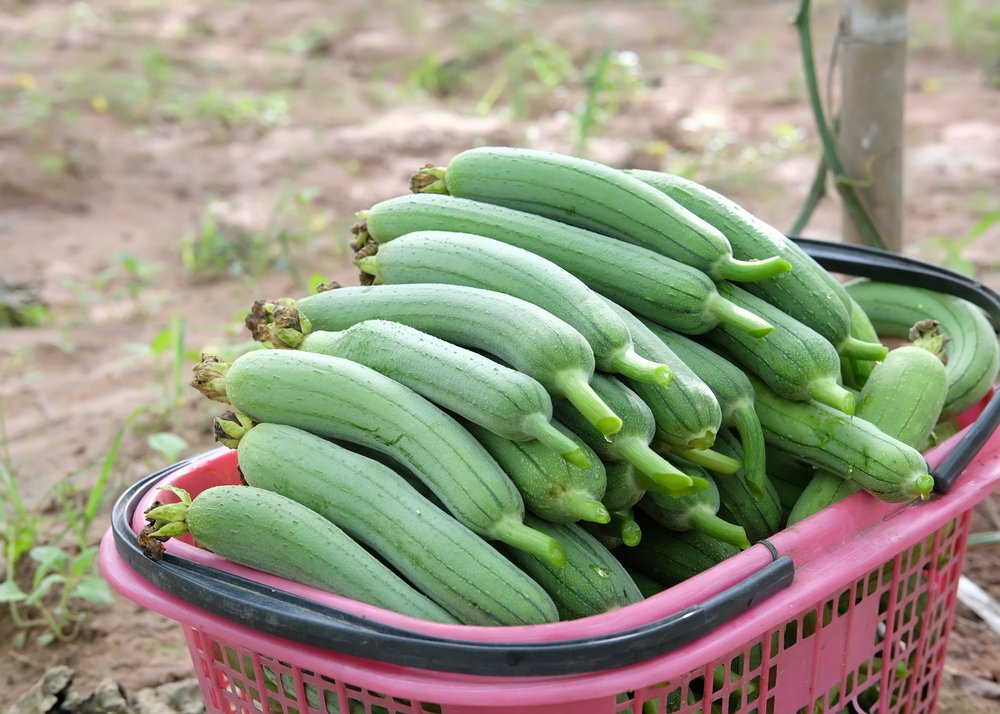
Step 9: Harvesting Sponge Gourd
Timing is key to harvesting sponge gourd for the best size and flavor:
- Fruits are usually ready 50-60 days after planting.
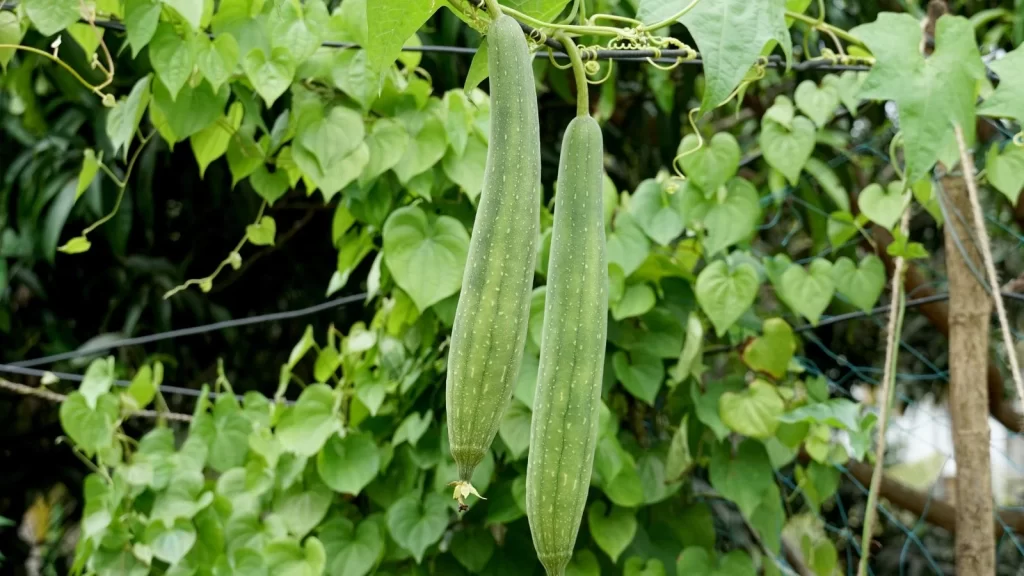
- Harvest when the gourd is firm, vibrant green, and reaches the variety’s expected size.
- Use a sharp knife or scissors to cut the fruit from the vine, leaving a short stem attached.
Tip: Frequent harvesting encourages the plant to produce more fruits.
Step 10: Enjoying Your Homegrown Sponge Gourd
Homegrown sponge gourd is versatile in the kitchen:
- Stir-fries and curries
- Soups and stews
- Juicing or blending for smoothies
Growing your own sponge gourd allows you to enjoy fresh, chemical-free produce and experiment with culinary creations.
Tips for Maximizing Yield in Tires
- Choose the Right Tire Size: Larger tires allow deeper soil and better root growth.
- Regular Monitoring: Check for pests, diseases, and nutrient deficiencies weekly.
- Rotate Crops: Avoid planting sponge gourd in the same soil repeatedly to prevent disease buildup.
- Provide Adequate Sunlight: Place tires where they receive 6-8 hours of direct sunlight.
- Support Heavy Fruits: Reinforce trellis and tie vines securely to prevent breakage.
Conclusion
Growing sponge gourd at home using tires is an innovative, space-saving, and eco-friendly approach that yields bigger and more fruits. This method allows even small-space gardeners to enjoy abundant harvests without compromising plant health. By selecting the right variety, preparing fertile soil, setting up proper trellises, and maintaining consistent care, you can enjoy fresh, homegrown sponge gourd all season long.
Recycling old tires not only benefits your garden but also contributes to environmental sustainability. With a little patience and attention, you can create a thriving tire garden that produces high-quality, large sponge gourds while adding greenery and productivity to your home.