Mint is one of the most versatile and aromatic herbs in any kitchen. Known for its refreshing flavor and medicinal properties, mint can elevate beverages, salads, desserts, sauces, and even teas. However, growing mint in traditional gardens can be tricky—it spreads aggressively and can take over beds, making containment essential.
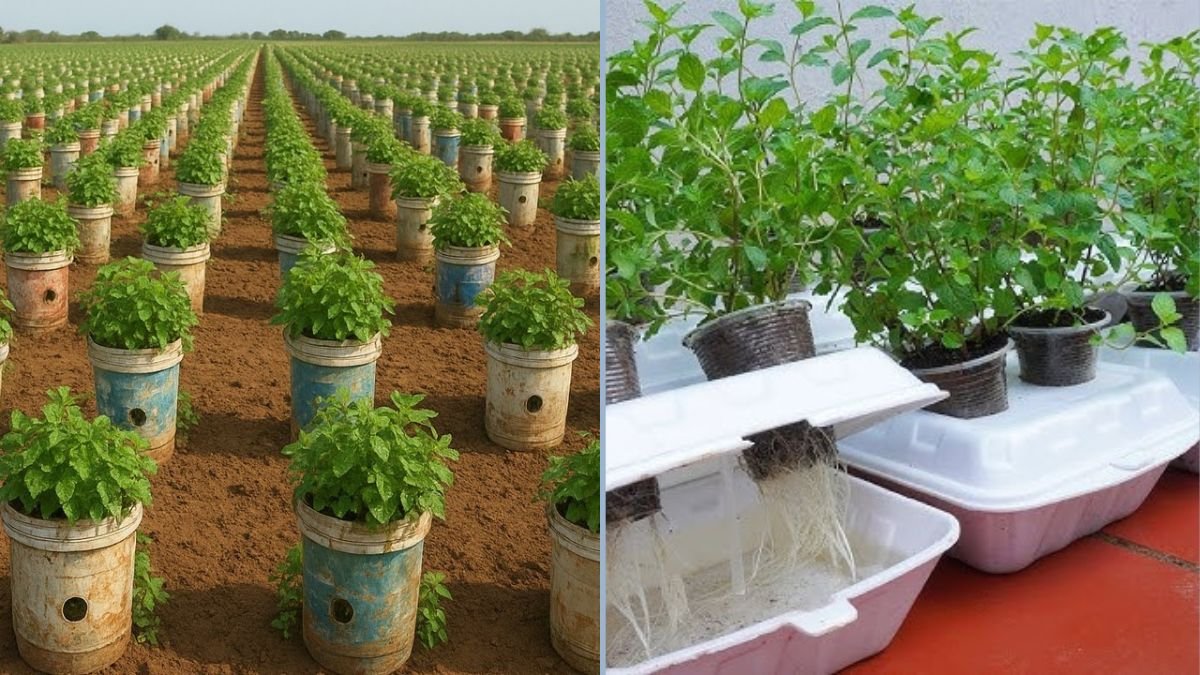
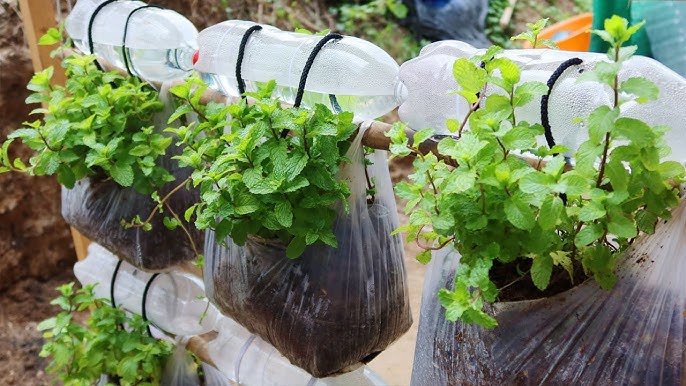
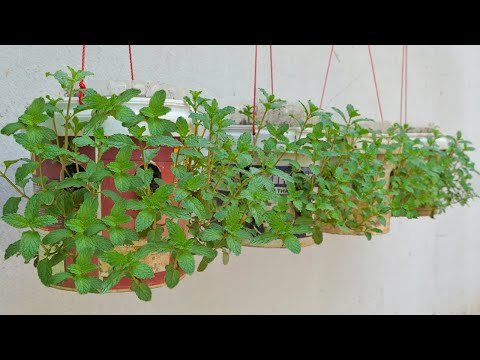
What if there was a simple, cost-effective, and eco-friendly way to grow mint at home, lush and productive, without worrying about it overtaking your garden? The secret lies in repurposing old plastic bins as containers for mint cultivation. Not only does this recycle plastic waste, but it also provides a controlled environment for your mint plants, ensuring maximum growth and productivity.
In this guide, we’ll explore step-by-step instructions for growing mint in old plastic bins, tips for maintenance, pest control, harvesting, and creative ways to use your homegrown mint.
Why Grow Mint in Plastic Bins?
1. Eco-Friendly and Cost-Effective
Plastic bins that are no longer in use can be repurposed into gardening containers. This reduces waste and eliminates the need to buy expensive pots or garden beds.
2. Containment
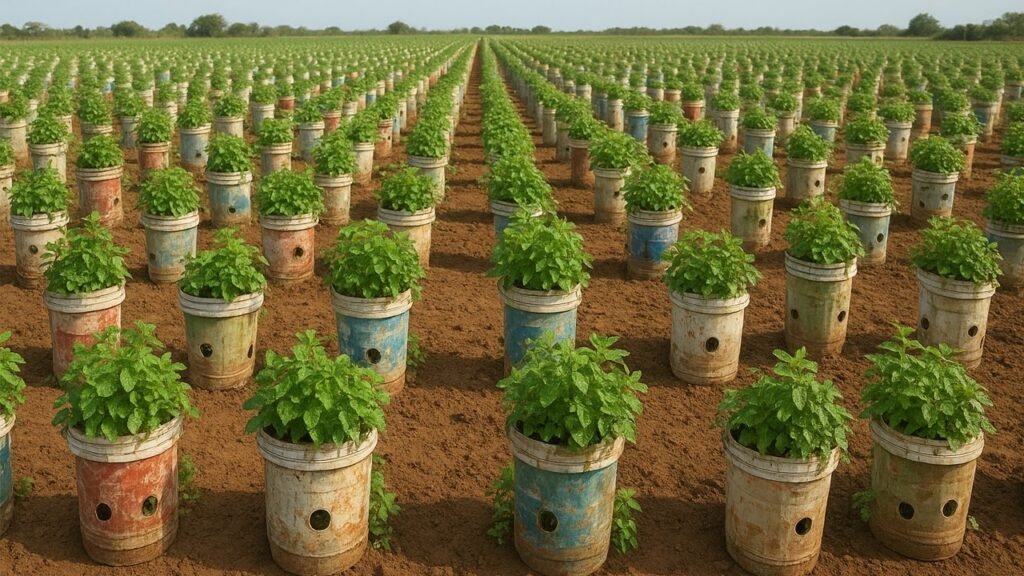
Mint is a vigorous plant and can quickly spread if planted in the ground. A plastic bin provides a contained environment, preventing it from invading other plants in your garden.
3. Space Efficiency
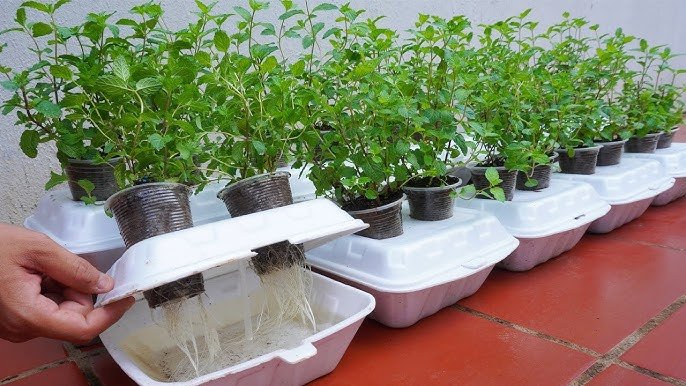
Plastic bins are ideal for urban gardening. They fit on balconies, patios, and small gardens, making it possible to grow mint even in limited spaces.
4. Improved Soil and Water Control
Bins allow you to manage soil quality, drainage, and watering easily. Properly managed soil leads to healthier, more productive mint plants.
5. Mobility
Plastic bins are portable. You can move them to ensure optimal sunlight, protect them from extreme weather, or rearrange your garden as needed.
Understanding Mint Growth
Before planting, it’s important to understand the growth habits of mint:
- Vigorous and Spreading: Mint grows quickly and can take over gardens if not contained.
- Perennial Plant: Once established, mint can grow for multiple years with minimal care.
- Sunlight Needs: Mint thrives in partial to full sunlight (4–6 hours per day).
- Watering Requirements: Prefers consistently moist soil but not waterlogged.
- Soil Preferences: Well-draining, fertile soil rich in organic matter produces the best growth.
Knowing these characteristics helps you maximize growth while keeping your mint healthy and productive.
Materials Needed
To grow mint in old plastic bins, gather the following materials:
- Old plastic bins – Sturdy, preferably 12–20 liters or larger
- Potting soil – Loamy soil mixed with compost
- Mint cuttings or seedlings – Choose a variety suited to your culinary needs
- Gravel or small stones – For drainage
- Watering can – For consistent irrigation
- Scissors or a utility knife – To make drainage holes
Step-by-Step Guide to Growing Mint in Plastic Bins
Step 1: Prepare the Plastic Bin
- Clean the bin thoroughly to remove dust, residues, or harmful substances.
- Drill 3–5 small holes at the bottom for drainage. Proper drainage prevents root rot and fungal growth.
- Optionally, create a few side holes near the base for added ventilation.
Step 2: Add Drainage Layer
- Place a 1–2 inch layer of gravel or small stones at the bottom of the bin.
- This ensures excess water drains quickly and keeps roots healthy.
Step 3: Add Soil and Compost
- Fill the bin with a mix of potting soil and compost, leaving 2–3 inches from the top.
- Lightly moisten the soil before planting to create an ideal environment for root establishment.
Step 4: Plant Mint Cuttings or Seedlings
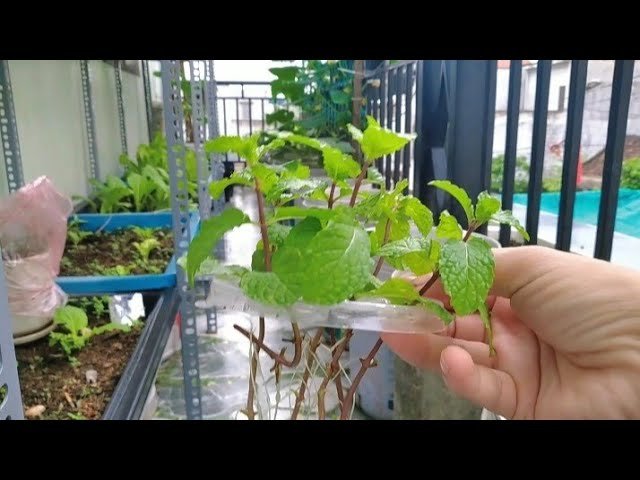
- Cuttings: Take healthy 4–6 inch cuttings from an existing mint plant. Remove lower leaves and plant in the soil about 2 inches deep.
- Seedlings: Gently transplant young mint plants into the bin, spacing them 6–8 inches apart.
Step 5: Position the Bin
- Place the bin in partial to full sunlight. Mint grows best with 4–6 hours of sunlight daily.
- Rotate the bin occasionally for even light exposure and uniform growth.
Step 6: Watering and Maintenance
- Keep the soil consistently moist, but avoid waterlogging.
- Mulch the soil with straw or dry leaves to retain moisture and suppress weeds.
- Trim any yellowing or dead leaves regularly to encourage lush growth.
Fertilizing Mint
- Initial Stage: Compost-enriched soil often provides enough nutrients for initial growth.
- Growth Stage: Use a balanced liquid fertilizer every 3–4 weeks to encourage lush foliage.
- Avoid over-fertilizing, as too much nitrogen can make leaves taste bitter.
Managing Pests and Diseases
Mint is generally hardy but can face minor problems:
- Aphids: Spray with neem oil or mild soapy water.
- Spider Mites: Inspect leaves regularly; a strong spray of water can remove them.
- Fungal Issues: Proper drainage, sunlight, and airflow prevent mold and mildew.
Regular monitoring ensures your mint remains healthy and productive.
Pruning and Harvesting
Pruning
- Regularly trim mint to encourage bushy growth.
- Pinch the tips of stems to promote branching.
- Remove older, woody stems to keep the plant fresh and vigorous.
Harvesting
- Harvest mint leaves as needed. Young leaves have the best flavor.
- For a continuous supply, harvest leaves every 2–3 weeks.
- Avoid removing more than one-third of the plant at a time to prevent stress.
Advantages of This Method
- Lush, Productive Plants: Proper care produces dense, aromatic mint leaves.
- Urban-Friendly: Perfect for apartments, patios, and small spaces.
- Cost Savings: Reduces the need to buy fresh mint regularly.
- Eco-Friendly: Repurposes plastic bins and promotes sustainable gardening.
- Control Over Growth: You can manage soil quality, moisture, and sunlight for optimal results.
Tips for Maximizing Yield
- Use Healthy Cuttings: Choose strong, disease-free cuttings to ensure vigorous growth.
- Consistent Watering: Keep the soil moist but not soggy for optimal growth.
- Sunlight: Ensure adequate light exposure for maximum leaf production.
- Regular Pruning: Trimming encourages bushier growth and prevents legginess.
- Rotate Bins: If multiple bins are used, rotate them to ensure uniform growth and sunlight exposure.
Culinary Uses for Homegrown Mint
- Beverages: Mint tea, mojitos, lemonade, and infused water.
- Cooking: Sauces, chutneys, salads, soups, and marinades.
- Desserts: Ice creams, cakes, chocolate dishes, and fruit salads.
- Medicinal Use: Supports digestion, reduces stress, and freshens breath.
With a lush, productive mint plant at home, you’ll always have fresh leaves ready for any recipe.
Conclusion
Growing mint in old plastic bins is a simple, practical, and eco-friendly gardening technique. It allows gardeners of all levels to enjoy a lush, productive mint crop without worrying about invasive growth, limited space, or high costs.
By following the steps of preparing bins, adding soil and compost, planting cuttings or seedlings, watering consistently, fertilizing, pruning, and harvesting, you can enjoy an abundant supply of fresh, aromatic mint right at home.
Not only does this method provide culinary and medicinal benefits, but it also repurposes plastic waste, contributing to a more sustainable lifestyle.
Next time you have an old plastic bin lying around, don’t throw it away—turn it into a thriving mint garden and enjoy fresh leaves for teas, dishes, and remedies year-round.