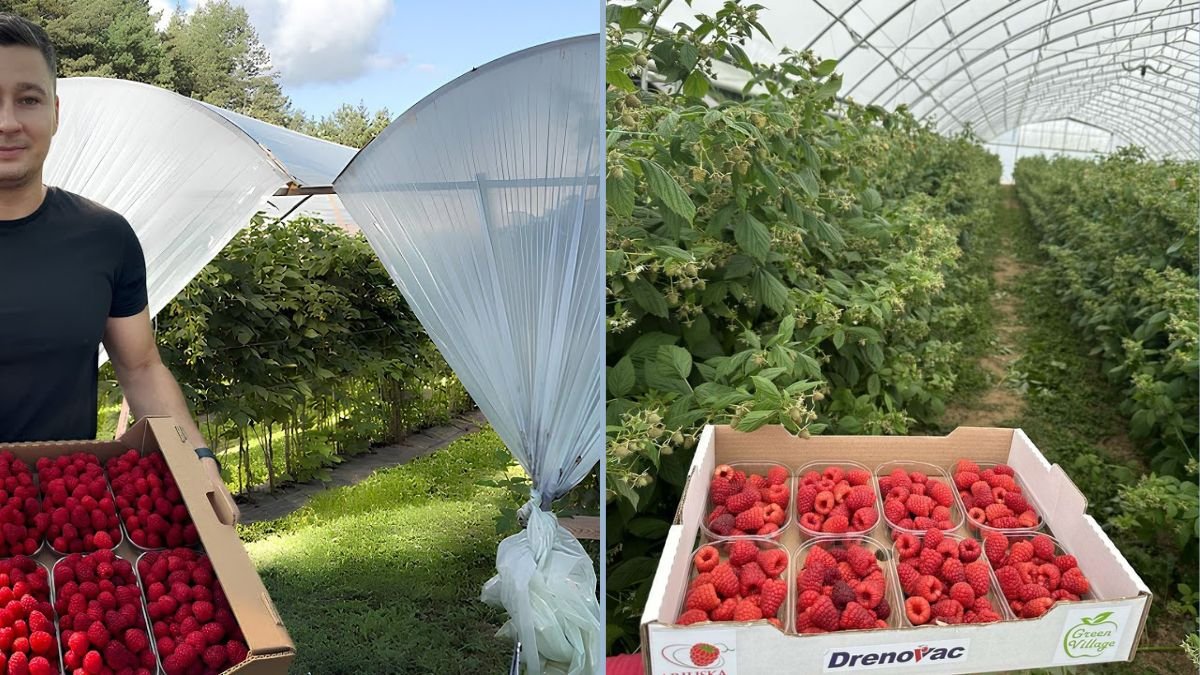
Raspberries are one of the most rewarding fruit crops to grow, offering sweet, juicy berries packed with antioxidants, vitamins, and flavor. But traditional raspberry farming can be challenging—pests, diseases, and unpredictable weather often reduce yields.
That’s where DIY berry tunnels come in. These simple, low-cost structures can protect your raspberries, extend the growing season, and dramatically boost yields. In fact, with the right setup and care, farmers can achieve up to 15 tons of berries per hectare per season.
In this blog, we’ll dive into the concept of DIY berry tunnels, step-by-step construction tips, planting strategies, and maintenance practices that maximize raspberry production.
What Are DIY Berry Tunnels?
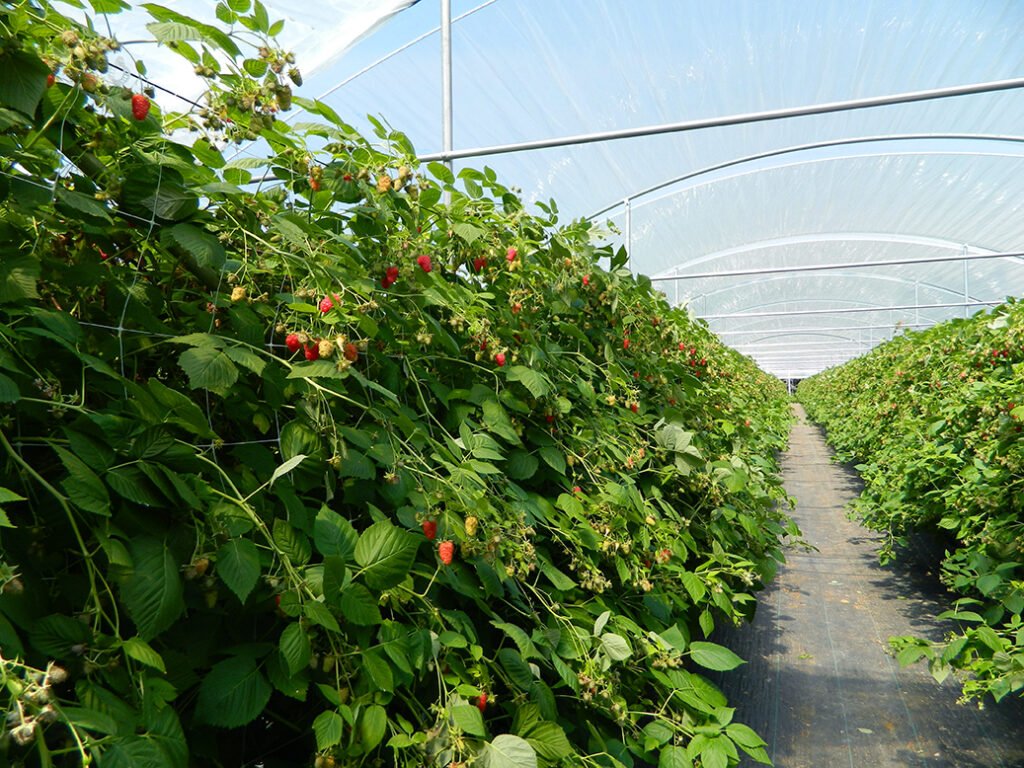
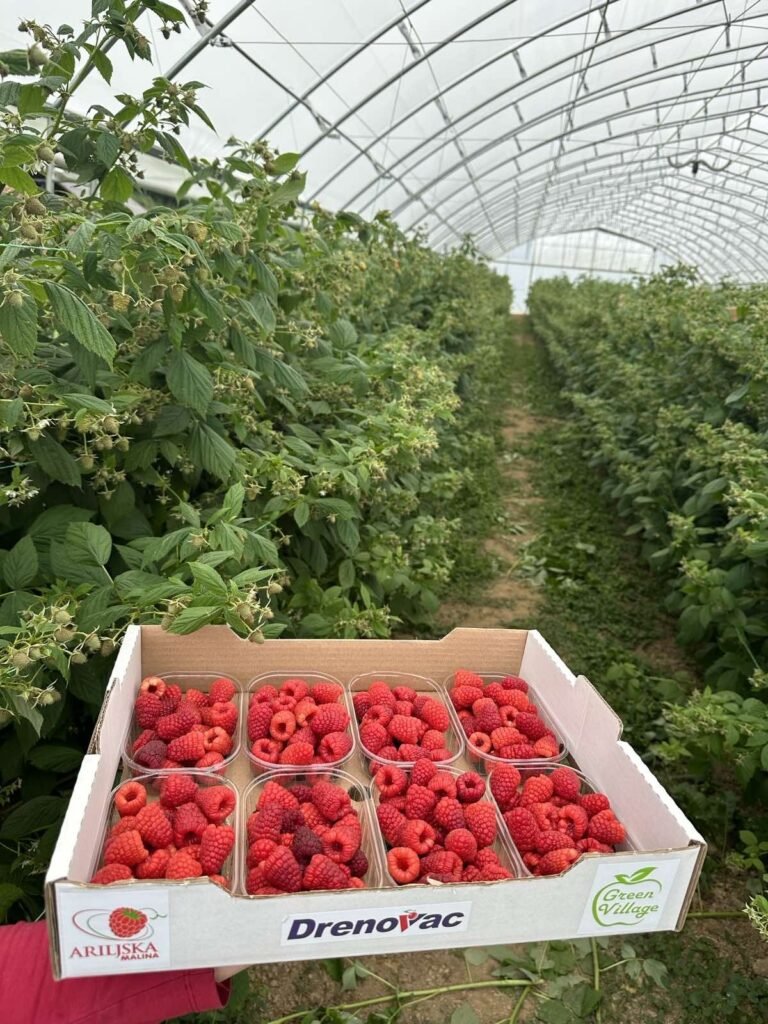
Berry tunnels, also known as low tunnels or polytunnels, are temporary or semi-permanent protective structures built over rows of berry plants. They are usually made from lightweight materials like:
- PVC pipes or bamboo for frames
- Plastic sheeting for covering
- Wire or netting for support
Benefits of berry tunnels:
- Weather Protection: Shields raspberries from heavy rain, wind, and hail.
- Pest Management: Reduces exposure to birds and insects.
- Extended Season: Creates a microclimate that allows earlier planting and later harvesting.
- Higher Yield: Consistent conditions promote faster growth and larger berries.
Why DIY Berry Tunnels Can Dramatically Increase Yield
Raspberry plants are sensitive to environmental stress. Rain, excessive sun, or frost can limit fruit set and reduce harvest. By using DIY tunnels:
- Temperature is regulated: Raspberries thrive between 18–25°C. Tunnels help maintain optimal temperatures.
- Humidity is controlled: Plastic sheeting reduces water stress during dry periods while preventing fungal diseases.
- Fruit quality improves: Berries are less likely to be damaged or rotted, resulting in better marketable produce.
With these advantages, it’s realistic to achieve 15 tons per hectare per season when using well-maintained tunnels.
Step 1: Planning Your Berry Tunnel
Before building, plan carefully:
- Site Selection:
- Full sun is essential; raspberries need at least 6 hours of sunlight daily.
- Well-draining soil prevents root rot and fungal infections.
- Tunnel Dimensions:
- Common width: 2–3 meters
- Height: 1.5–2 meters for easy access and airflow
- Length: Flexible, depending on your available space
- Materials Needed:
- PVC pipes, bamboo, or metal rods for frames
- UV-resistant plastic sheeting or greenhouse film
- Clips, wire, or string for securing the cover
- Optional: shade netting or insect netting
Step 2: Constructing a DIY Berry Tunnel
- Build the Frame:
- Insert PVC pipes or bamboo into the ground to create semi-circular arches.
- Space arches 1–2 meters apart for stability.
- Secure arches at the base with stakes or sandbags.
- Attach Plastic Covering:
- Cover the frame with plastic sheeting.
- Ensure the plastic is taut but not overly stretched to prevent tearing.
- Leave openings at both ends for ventilation.
- Optional Netting:
- Add bird or insect netting for additional protection.
- This helps reduce berry loss due to pests.
Step 3: Preparing Raspberry Plants
- Choose High-Yield Varieties:
- Select cultivars suited for tunnel growing and local climate.
- Popular options: ‘Heritage’, ‘Tulameen’, or ‘Caroline’.
- Planting Spacing:
- Space plants 40–50 cm apart within rows.
- Rows should be 1–1.2 meters apart for proper airflow and access.
- Soil Preparation:
- Add organic compost or well-rotted manure to improve fertility.
- Maintain slightly acidic soil (pH 5.5–6.5) for optimal growth.
- Mulching:
- Apply straw or wood chips around plants to retain moisture and suppress weeds.
Step 4: Maintenance Practices Inside the Tunnel
- Watering:
- Drip irrigation is ideal, providing consistent moisture while reducing fungal risk.
- Avoid overhead watering, which can lead to leaf diseases.
- Fertilization:
- Apply balanced fertilizer (N-P-K) monthly during the growing season.
- Organic options like compost tea or fish emulsion enhance soil health.
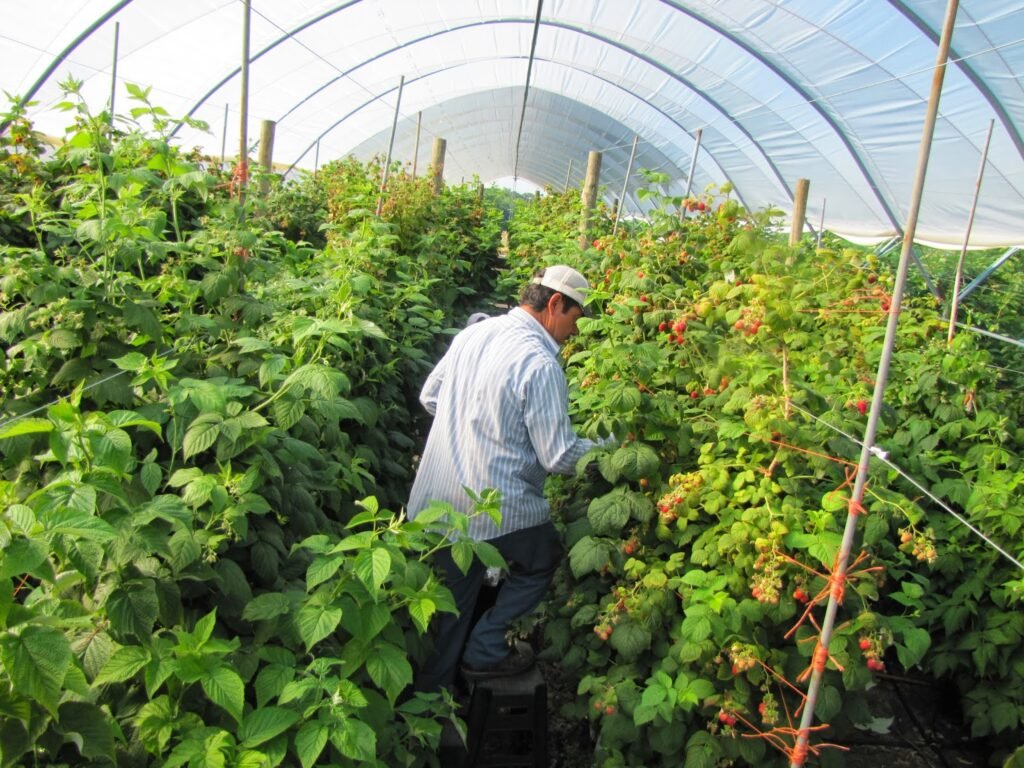
- Pruning:
- Remove old, non-productive canes after harvest.
- Thin new canes to prevent overcrowding and ensure good airflow.
- Ventilation:
- Open the tunnel sides or ends on warm days to prevent overheating and humidity buildup.
- Proper airflow reduces fungal diseases such as powdery mildew.
Step 5: Pollination for Maximum Yield
While tunnels protect raspberries, they can restrict natural pollinators. To maximize fruit set:
- Introduce honeybee hives nearby if possible.
- Manually shake plants or use a small electric pollinator to mimic natural pollination.
- Ensure flowers are fully open during peak pollination hours (morning).
Step 6: Harvesting Raspberries
- Timing:
- Raspberries are ready when they are fully colored and come off easily when gently pulled.
- Harvest every 2–3 days during peak season to encourage continuous production.
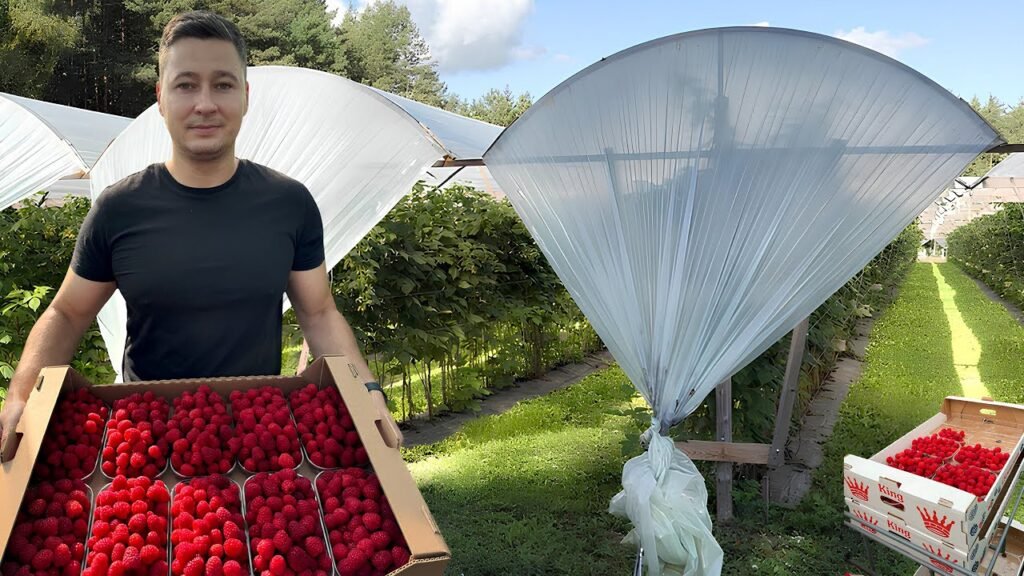
- Handling:
- Use shallow containers to prevent crushing the delicate berries.
- Keep harvested berries cool to maintain shelf life and freshness.
- Expected Yield:
- With proper care, DIY tunnel-grown raspberries can yield up to 15 tons per hectare per season, depending on variety, climate, and management practices.
Advantages of DIY Berry Tunnels
- High Yields: Tunnel-grown raspberries consistently outperform open-field crops.
- Extended Season: Protects plants from early frost or late rains.
- Reduced Pesticide Use: Physical barriers reduce pest pressure, lowering chemical needs.
- Better Fruit Quality: Berries are cleaner, unblemished, and less prone to rot.
- Affordable and Scalable: DIY materials make it accessible for small-scale farmers or hobbyists.
Common Challenges and Solutions
- Overheating:
- Solution: Open tunnel ends and use shade nets during hot days.
- Humidity-Related Diseases:
- Solution: Improve ventilation and avoid overhead watering.
- Wind Damage:
- Solution: Anchor tunnels securely with stakes, sandbags, or ropes.
- Pest Infestation:
- Solution: Introduce beneficial insects, use insect netting, or organic sprays.
Conclusion
DIY berry tunnels offer an exciting opportunity for raspberry growers—whether for personal consumption, small-scale farming, or commercial production. With proper construction, planting, and maintenance, you can boost yields dramatically, protect your crop from unpredictable weather, and enjoy high-quality, marketable berries.
The combination of low-cost materials, efficient use of space, and careful crop management makes berry tunnels a practical solution for anyone looking to increase productivity and sustainability in raspberry farming.
Whether you’re a backyard gardener or a smallholder farmer, these tunnels can transform your raspberry harvest into a profitable and rewarding venture, potentially reaching 15 tons per hectare per season.
Start planning your DIY berry tunnel today and experience the sweet shock of a bumper raspberry harvest!