Starting seeds indoors in early spring is a fundamental technique for gardeners seeking an early harvest, extending the growing season, and ensuring healthy, vigorous plants. By germinating seeds in controlled indoor conditions, gardeners can bypass the constraints of unpredictable outdoor weather, frost, and soil temperatures, giving seedlings a strong head start.
This method is particularly valuable for vegetables, herbs, and flowers that require longer growing seasons or are sensitive to cold soil. Indoor seed starting, combined with organic, non-chemical practices, allows for sustainable, chemical-free plant production while maximizing yield potential. This article explores detailed strategies for germinating, nurturing, and transplanting spring seeds indoors for optimal early-season success.
1. Understanding the Benefits of Indoor Seed Starting

Indoor seed starting provides multiple advantages:
- Early Harvest: Seedlings mature faster when transplanted outdoors, yielding produce before direct-sown crops.
- Controlled Environment: Temperature, light, and moisture can be regulated to optimize germination and early growth.
- Disease Prevention: Reduced exposure to soil-borne pathogens and pests enhances seedling survival.
- Selection Efficiency: Allows gardeners to select healthy, strong seedlings for transplanting.
- Extended Planting Options: Enables growth of slow-maturing crops that may not reach full maturity if direct-sown outdoors.
2. Selecting Seeds for Indoor Germination
Successful indoor germination begins with careful seed selection:
a. Suitable Vegetable Seeds
- Leafy greens: Lettuce, kale, spinach, and arugula.
- Brassicas: Cabbage, broccoli, cauliflower.
- Root vegetables: Carrots, beets, and radishes (for early starts before direct sowing outdoors).
- Fruiting crops: Tomatoes, peppers, eggplants, and cucumbers.
b. Herbs
- Basil, parsley, cilantro, oregano, and chives germinate well indoors.
c. Quality and Freshness
- Use fresh, untreated seeds stored under dry, cool conditions.
- Verify germination rates on the seed packet for optimal planting density.
3. Choosing Containers and Growing Medium
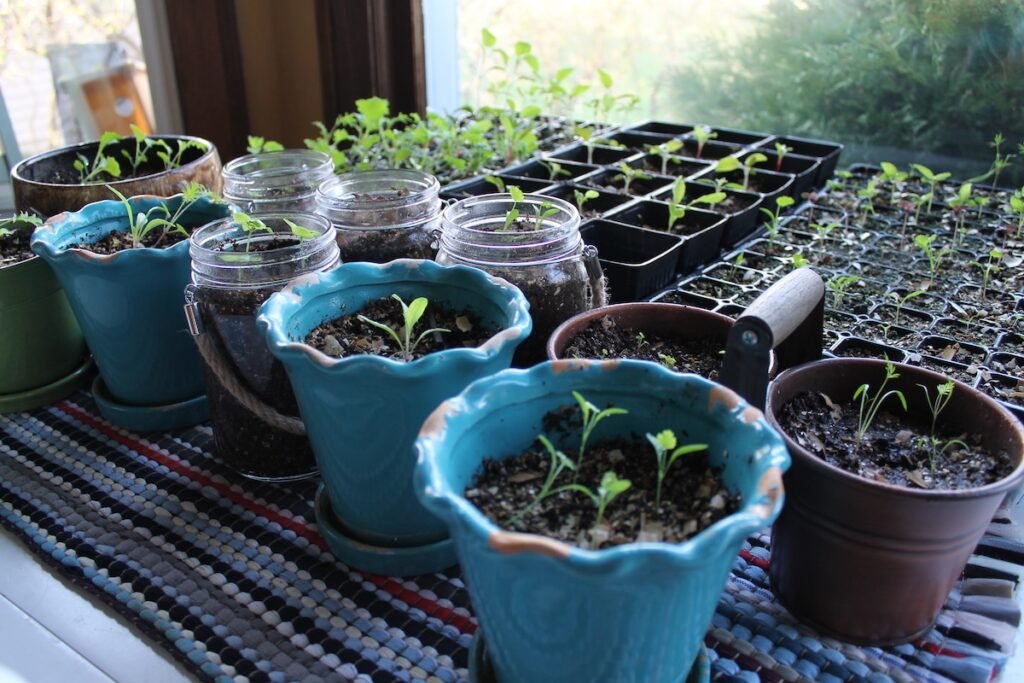
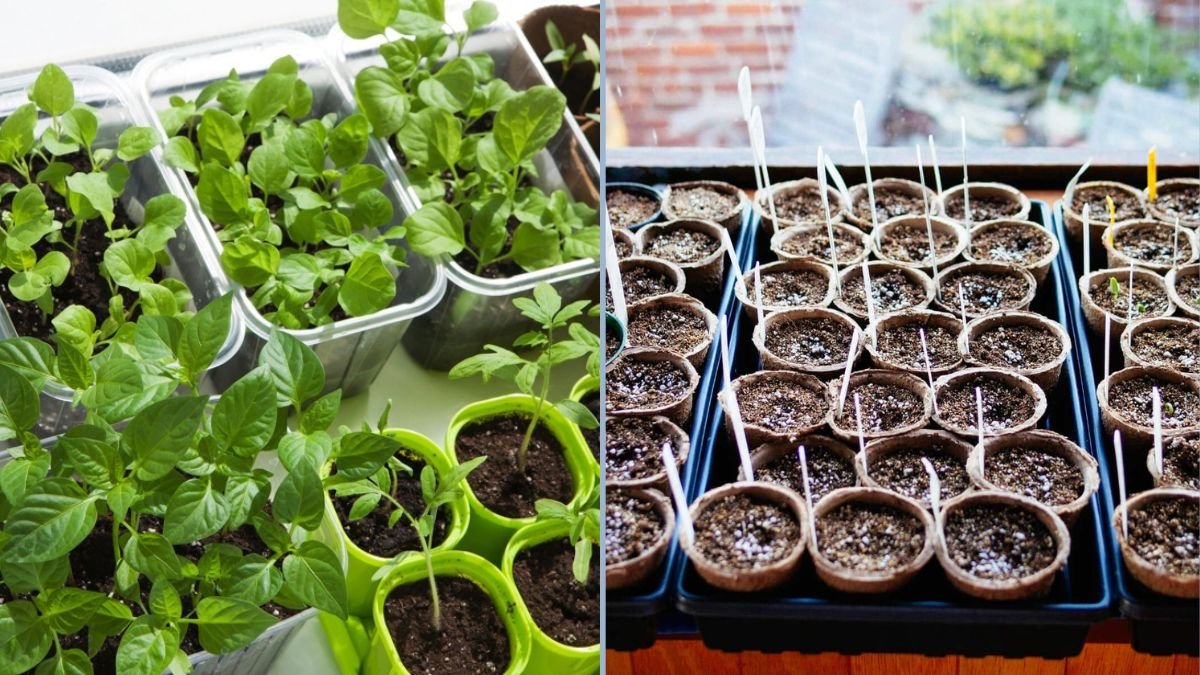
a. Containers
- Options include seed trays, biodegradable pots, recycled yogurt cups, or small pots with drainage holes.
- Biodegradable containers allow direct transplanting, reducing root disturbance.
- Ensure shallow trays are used for seeds, while deeper pots suit seedlings approaching transplantation.
b. Growing Medium
- Use light, well-draining, plant-based seed-starting mix.
- Components can include coconut coir, peat alternatives, perlite, vermiculite, and finely composted organic matter.
- Avoid garden soil, which may harbor pathogens or be too heavy for delicate seedlings.
4. Preparing Seeds for Germination
Some seeds benefit from pre-germination treatments:
- Soaking: Seeds like beans and peas can be soaked 12–24 hours to speed up germination.
- Scarification: Hard-coated seeds such as some herbs may require gentle abrasion to encourage water absorption.
- Stratification: Cold treatment mimicking winter conditions can be used for perennial flowers or certain vegetables.
Proper preparation increases germination rates and produces uniform seedlings.
5. Temperature and Light Requirements
a. Temperature Control
- Most spring seeds germinate best between 18–24°C (65–75°F).
- Use seed mats or warm indoor spaces to maintain consistent soil warmth.
- Avoid placing trays near drafty windows or cold surfaces.
b. Light Management
- Seedlings require 12–16 hours of light daily for strong, compact growth.
- South-facing windows may provide natural light, but supplemental full-spectrum LED grow lights ensure consistent light intensity.
- Position lights 2–6 inches above seedlings, adjusting as plants grow.
6. Watering and Moisture Management
- Keep soil evenly moist but not waterlogged to prevent damping-off disease.
- Mist trays or use a gentle watering can to avoid disturbing small seeds.
- Bottom watering is effective: place trays in shallow water to allow soil to wick moisture upward.
- Avoid overhead watering that can compact the soil or damage seedlings.
7. Thinning Seedlings
- Thin seedlings once they develop their first true leaves to prevent overcrowding.
- Overcrowded seedlings compete for light, water, and nutrients, resulting in weak plants.
- Remove weaker seedlings by snipping at the soil line rather than pulling to minimize root disturbance.
8. Hardening Off Seedlings
Before transplanting outdoors, seedlings require acclimatization:
- Gradually expose seedlings to outdoor conditions over 7–14 days.
- Begin with a few hours of morning sun and protected outdoor placement.
- Increase exposure to sunlight, wind, and temperature fluctuations daily.
- Water as needed to prevent stress, and keep seedlings shaded during intense midday sun.
Hardening off ensures seedlings survive and thrive after transplantation.
9. Fertilization and Nutrient Management
- Use plant-based organic fertilizers or compost teas to nourish seedlings.
- Light applications of diluted liquid fertilizer support healthy root and leaf development.
- Avoid over-fertilization, which can produce leggy, weak seedlings prone to collapse.
- Nutrient-rich, chemical-free growth ensures strong, productive plants for early harvest.
10. Timing for Early Harvest
- Calculate the expected transplant date based on local frost dates and desired harvest time.
- Start slow-growing crops like tomatoes and peppers 6–8 weeks before outdoor planting.
- Fast-growing leafy greens may require 3–4 weeks of indoor growth before direct transplanting.
- Stagger sowing for continuous harvest throughout the season.
Proper timing maximizes early yield and maintains a steady supply of vegetables and herbs.
11. Benefits of Indoor Seed Starting
- Extended Growing Season: Bypasses short outdoor frost-free periods.
- Stronger Plants: Seedlings develop in a controlled environment, producing more vigorous crops.
- Efficient Space Use: Indoor seed starting allows gardeners to prepare multiple crops simultaneously.
- Reduced Pest and Disease Pressure: Minimizes exposure to soil-borne diseases and insect damage.
- Sustainability: Supports organic gardening practices by avoiding synthetic germination chemicals or treated seeds.
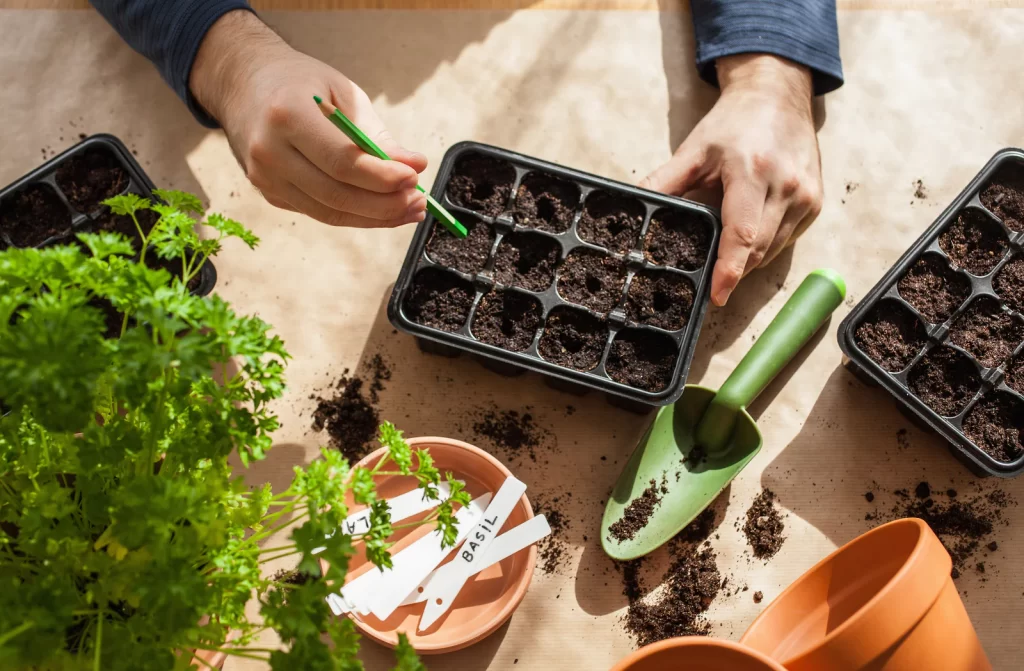
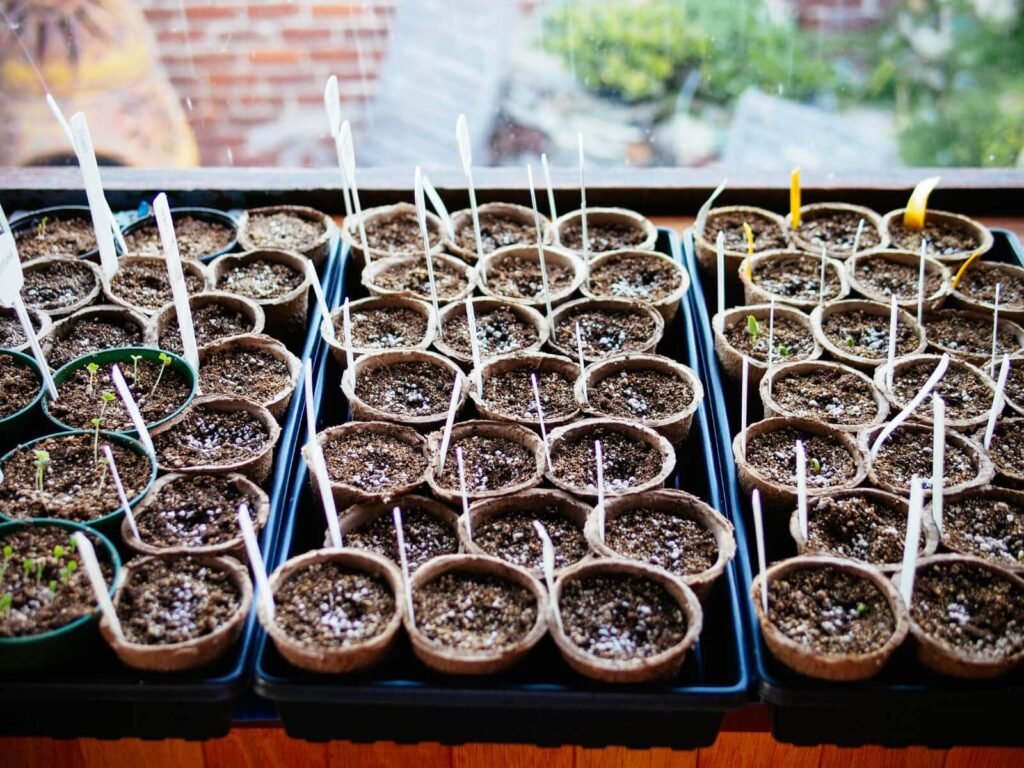
12. Practical Tips for Success
- Label each tray with seed type and sowing date for accurate management.
- Rotate trays periodically for even light exposure.
- Maintain good airflow around seedlings to reduce fungal diseases.
- Monitor seedlings daily for signs of stress, pests, or nutrient deficiency.
- Keep a calendar for sowing, thinning, and transplanting activities to optimize early harvest.
Conclusion
Starting spring seeds indoors is an effective, sustainable strategy for achieving early harvests and maximizing garden productivity. By selecting appropriate seed varieties, preparing the right containers and soil medium, and carefully managing light, temperature, and moisture, gardeners can produce healthy, vigorous seedlings ready for transplantation.
Hardening off seedlings and using organic, plant-based fertilization further enhances survival and early growth outdoors. Indoor seed starting allows for precise control over the initial stages of plant development, reduces exposure to pests and disease, and provides a reliable head start on the growing season.
Implementing these techniques ensures a consistent, chemical-free, and productive harvest, demonstrating that careful planning and organic seed-starting practices are key to sustainable, successful gardening.