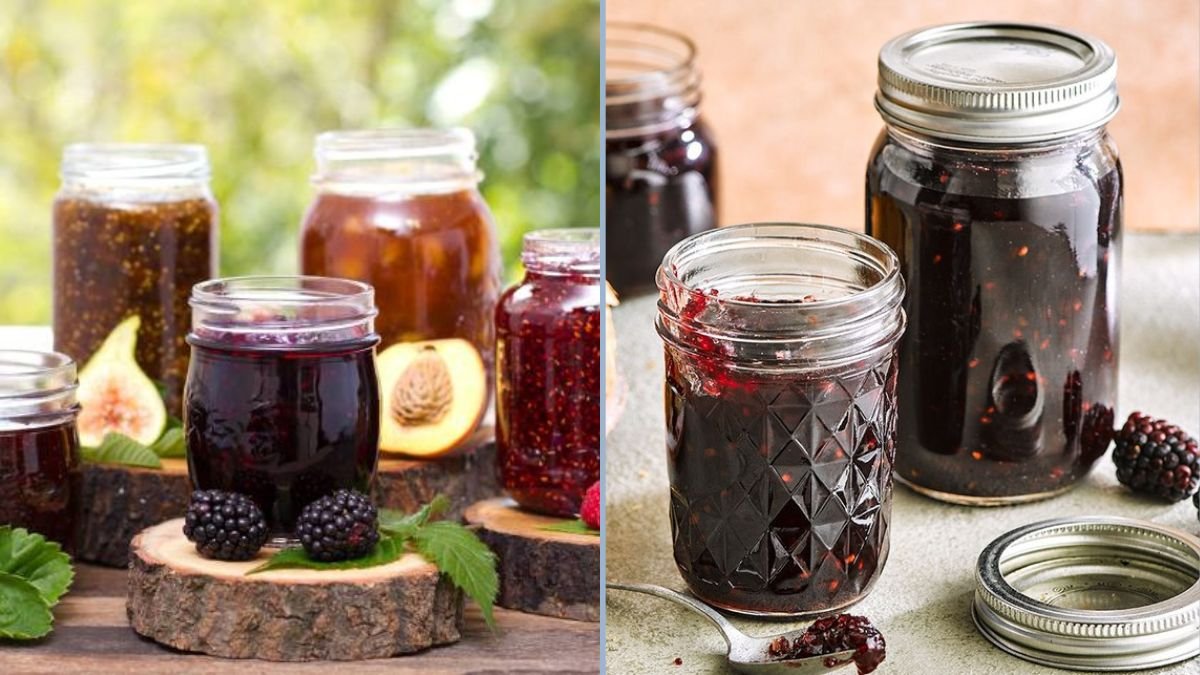
Homemade fruit jams are one of the most delightful and satisfying ways to preserve the freshness of seasonal fruits. They offer an all-natural, vegetarian-friendly alternative to commercially processed spreads that often contain artificial flavors, preservatives, and excess sugar. Making jam at home is not only economical but also an enjoyable culinary practice that captures the true flavor, aroma, and nutrition of ripe fruits.
This article provides a detailed guide on how to make homemade fruit jams easily, exploring the science of jam-making, the tools and ingredients required, preservation techniques, and creative variations—all while maintaining nutritional value and minimizing waste.
Understanding the Science of Jam-Making
Jam-making is both an art and a science. The process involves combining fruit, sugar, and pectin, then cooking the mixture to a temperature where the ingredients thicken into a smooth, spreadable consistency.
The three key components of a jam are:
- Fruit: Provides flavor, color, and natural sweetness. The best fruits for jams are those rich in natural pectin, such as apples, berries, plums, or citrus fruits.
- Pectin: A natural carbohydrate found in fruit cell walls that helps jam set into a gel. Fruits like strawberries or peaches, which have low pectin levels, may need added natural pectin (from apples or citrus peel) for proper consistency.
- Sugar: Acts as a preservative and enhances flavor by drawing out fruit juices. Sugar also contributes to the jam’s texture and shelf stability.
The scientific process involves heating the mixture to activate pectin and evaporate excess water, allowing the jam to thicken. When done correctly, this produces a stable gel that retains the fruit’s natural color and aroma.
Choosing the Right Fruits
The quality of jam depends heavily on the fruit used. Overripe fruits may be too soft, while underripe ones may lack sweetness or flavor. For best results, select fruits that are:
- Ripe but firm — to ensure full flavor and proper texture.
- Free from blemishes or rot — to prevent spoilage and off-flavors.
- In-season — for better taste, higher nutrient content, and cost efficiency.
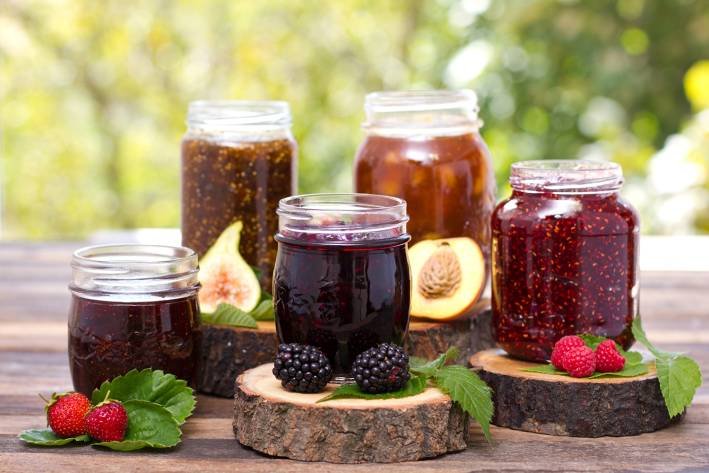
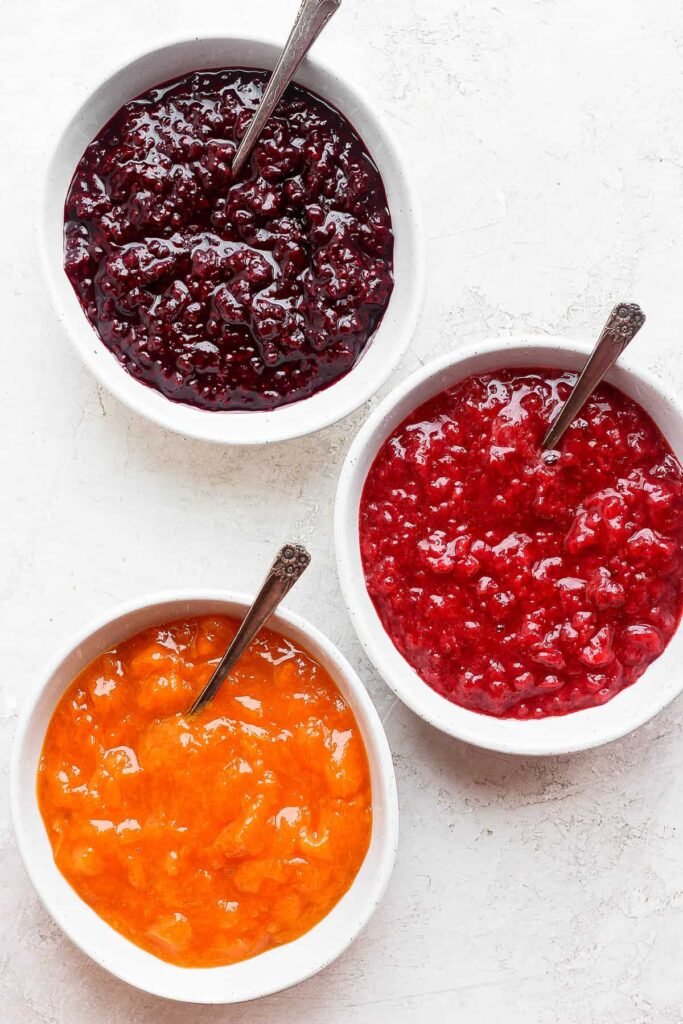
Popular Fruits for Homemade Jams
- Strawberries – Sweet and aromatic, best combined with lemon juice for acidity.
- Mangoes – Tropical and smooth; great for softer jams or purees.
- Blueberries – Naturally rich in pectin; yield deep color and rich flavor.
- Apples – High in natural pectin, excellent for blending with low-pectin fruits.
- Peaches and Apricots – Mildly sweet; ideal for smooth-textured jams.
- Mixed Berries – A combination of raspberries, blackberries, and blueberries produces a complex flavor profile.
Essential Ingredients and Tools
Ingredients
- Fresh, ripe fruit (about 1 kg or 2.2 lbs)
- Sugar (adjusted to taste; typically equal in weight to the fruit)
- Lemon juice (2–3 tablespoons per kilogram of fruit for acidity and natural pectin)
- Optional natural flavor additions: vanilla, cinnamon, mint, or cardamom
Tools
- Heavy-bottomed saucepan or jam pan (prevents scorching)
- Wooden spoon or silicone spatula
- Potato masher or blender for pureeing fruit
- Candy thermometer (optional, to monitor temperature around 104°C / 219°F)
- Sterilized glass jars with tight-fitting lids for storage
Step-by-Step Process of Making Homemade Jam
Step 1: Prepare the Fruit
Wash the fruit thoroughly under cool water. Remove stems, seeds, and pits as needed. Chop larger fruits into small pieces for even cooking. For smooth-textured jams, mash or blend the fruit before cooking.
Step 2: Add Sugar and Lemon Juice
Combine the fruit, sugar, and lemon juice in a saucepan. Let the mixture sit for 30–60 minutes (called maceration) to allow the sugar to draw out the fruit juices. This process enhances flavor and color.
Step 3: Cook the Mixture
Place the pan over medium heat and stir continuously until the sugar dissolves completely. Gradually increase the heat and bring the mixture to a gentle boil. Skim off any foam that forms on the surface.
As the jam cooks, the mixture thickens as water evaporates and pectin activates. Continue stirring to prevent sticking or burning.
Step 4: Test for Doneness
There are several ways to test whether your jam is ready:
- Temperature Test: The jam reaches 104°C (219°F) when the pectin sets.
- Plate Test: Place a small spoonful on a chilled plate; if it wrinkles slightly when pushed, it’s ready.
- Spoon Test: When a drop of jam falls thickly and slowly from the spoon, it has set correctly.
If the jam is still runny, cook a few more minutes and retest.
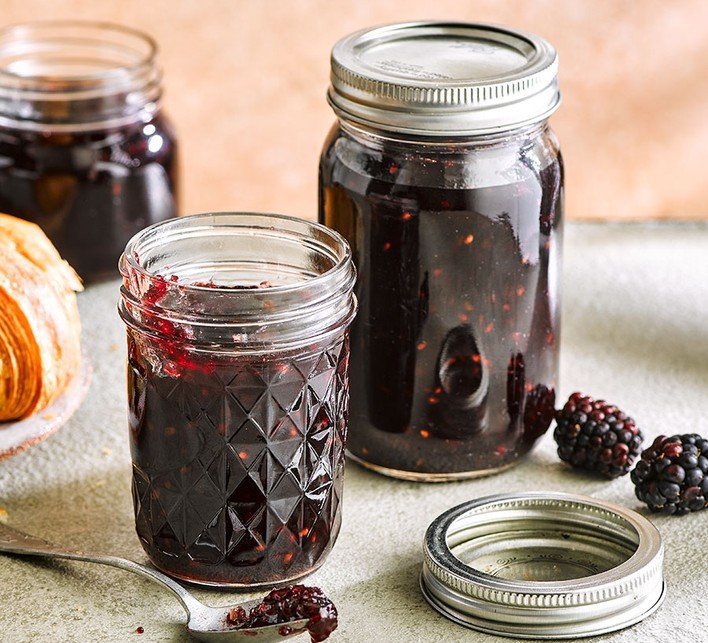
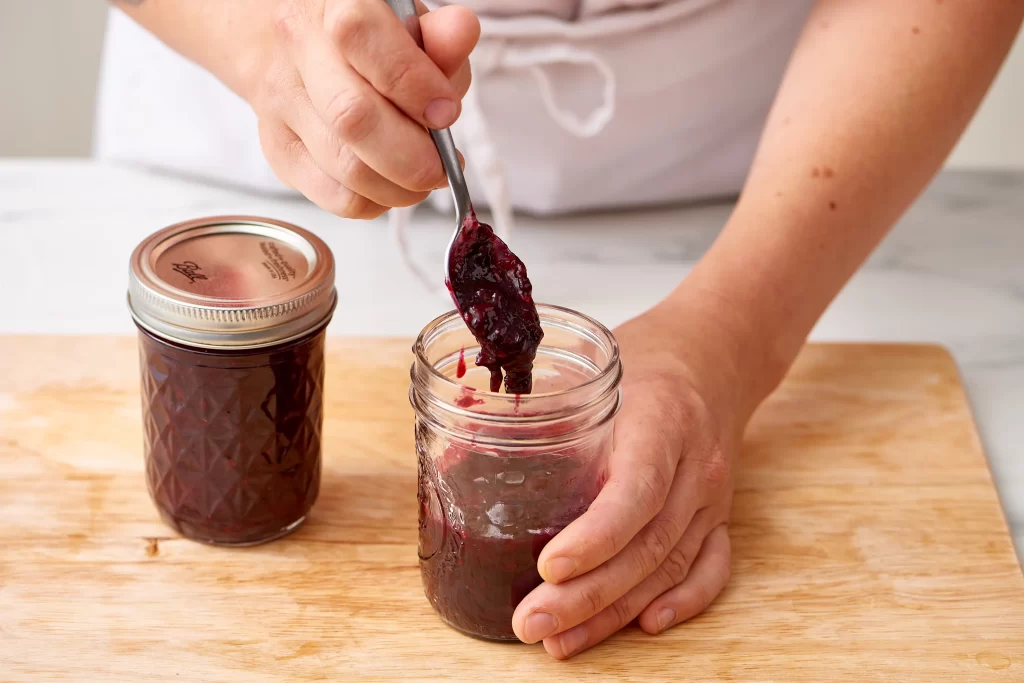
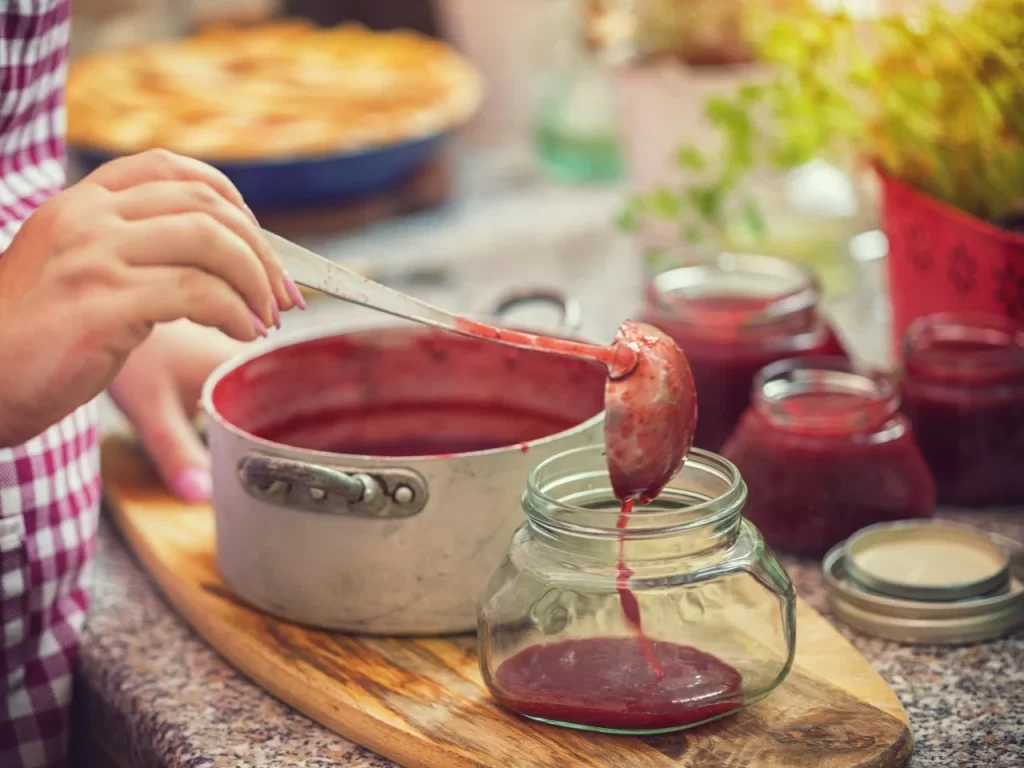
Step 5: Jar the Jam
Once ready, remove the jam from heat and let it sit for 5–10 minutes to allow fruit pieces to settle evenly. Pour the jam carefully into sterilized glass jars while still hot. Leave about 1 cm (½ inch) of headspace at the top.
Seal the jars immediately with sterilized lids and invert them for five minutes to create an airtight seal. Return them to an upright position and allow them to cool completely at room temperature.
Sterilizing and Storing Homemade Jam
Proper sterilization and storage are essential to prevent spoilage:
- Sterilizing Jars: Boil empty jars and lids in water for 10 minutes or heat them in an oven at 120°C (250°F) for 15 minutes.
- Sealing: Ensure jars are sealed tightly after filling. Any loose lids can lead to contamination.
- Storage Conditions:
- Store sealed jars in a cool, dark, and dry place.
- Once opened, refrigerate and consume within 2–3 weeks.
Properly sealed jams can last up to 12 months, retaining both flavor and color.
Creative Variations and Natural Enhancements
Homemade jams can be customized to create unique flavors:
- Mixed Fruit Jam: Combine different seasonal fruits such as mango, pineapple, and papaya for tropical flavor.
- Spiced Jams: Add cinnamon, clove, or cardamom for a warm, aromatic taste.
- Herb-Infused Jams: Incorporate mint, basil, or rosemary for a refreshing twist.
- Sugar-Free Options: Replace sugar with natural sweeteners like stevia or dates for a healthier version.
- Citrus-Enhanced Jams: Add grated lemon or orange zest for extra tanginess and pectin.
These variations not only enhance taste but also allow experimentation with locally available produce.
Nutritional Benefits of Homemade Fruit Jams
Homemade jams preserve many of the natural nutrients of fruits while avoiding artificial additives. Key benefits include:
- Natural Energy Source: Fruits provide glucose and fructose for quick energy.
- Rich in Vitamins: Vitamin C, A, and antioxidants from berries and citrus fruits remain present even after cooking.
- High Fiber Content: Pulp-based jams retain dietary fiber, aiding digestion.
- No Artificial Preservatives: Homemade jams rely on natural sugar and lemon acidity for preservation.
- Customizable Sweetness: You can adjust sugar levels based on dietary needs.
Compared to store-bought jams, homemade versions offer a purer, more nutritious option that complements vegetarian and vegan diets.
Common Mistakes to Avoid
- Overcooking: Leads to a dark color and caramelized flavor.
- Insufficient Pectin: Results in a runny or syrup-like texture. Add a pectin-rich fruit or a squeeze of lemon to correct this.
- Skipping Sterilization: May cause bacterial contamination or mold growth.
- Excess Sugar: Overly sweet jams can mask fruit flavor. Balance sugar to highlight natural taste.
- Inaccurate Storage: Always cool completely before storing and avoid moisture near lids.
Avoiding these errors ensures smooth, flavorful, and long-lasting homemade jams.
Creative Uses of Homemade Jam
Homemade jams are incredibly versatile:
- Spread on bread, toast, or parathas for breakfast.
- Mix into yogurt, smoothies, or oatmeal for natural sweetness.
- Use as fillings for cakes, cookies, or tarts.
- Glaze for roasted vegetables or fruit-based salads.
- Combine with herbal teas or sparkling water for fruit-infused beverages.
Such uses make jams an excellent way to incorporate fruits into daily vegetarian diets creatively and healthily.
Conclusion
Making homemade fruit jams is a simple yet rewarding process that combines traditional preservation techniques with modern creativity. With just fruit, sugar, and lemon juice, anyone can transform fresh produce into flavorful spreads that last for months. Understanding the science of pectin, proper cooking methods, and effective sterilization ensures a safe, delicious result every time.
Homemade jams not only minimize food waste by utilizing ripe fruits but also support healthier, more sustainable eating habits. They can be tailored to personal taste preferences, dietary needs, and seasonal availability. Whether made for personal use or as thoughtful gifts, homemade jams preserve the essence of nature’s sweetness—bringing freshness, nutrition, and joy to every meal.