Microgreens are young, edible seedlings of vegetables and herbs harvested shortly after germination. Packed with nutrients, vibrant colors, and intense flavors, microgreens have gained popularity among home gardeners, health enthusiasts, and vegetarian households. Growing microgreens indoors provides a convenient, cost-effective, and sustainable source of fresh nutrition all year round.
This article offers a comprehensive guide on growing microgreens indoors, including the benefits, suitable varieties, planting process, care tips, harvesting, and creative ways to incorporate them into daily meals.
Why Microgreens Are Important for Daily Nutrition
Microgreens are nutritional powerhouses. Though small in size, they often contain higher concentrations of vitamins, minerals, and antioxidants than fully grown vegetables. For instance:
- Vitamin Content: Rich in vitamins A, C, E, and K.
- Minerals: Provide calcium, magnesium, iron, and potassium.
- Antioxidants: Help neutralize free radicals, supporting overall health.
- Digestive Benefits: High in fiber and easily digestible.
For vegetarians and plant-based households, incorporating microgreens into daily meals is an excellent way to boost nutrition while adding flavor, texture, and visual appeal to dishes.
Step 1: Selecting Suitable Microgreen Varieties
Not all seeds are ideal for microgreens. Choose fast-growing, non-toxic, and edible varieties.
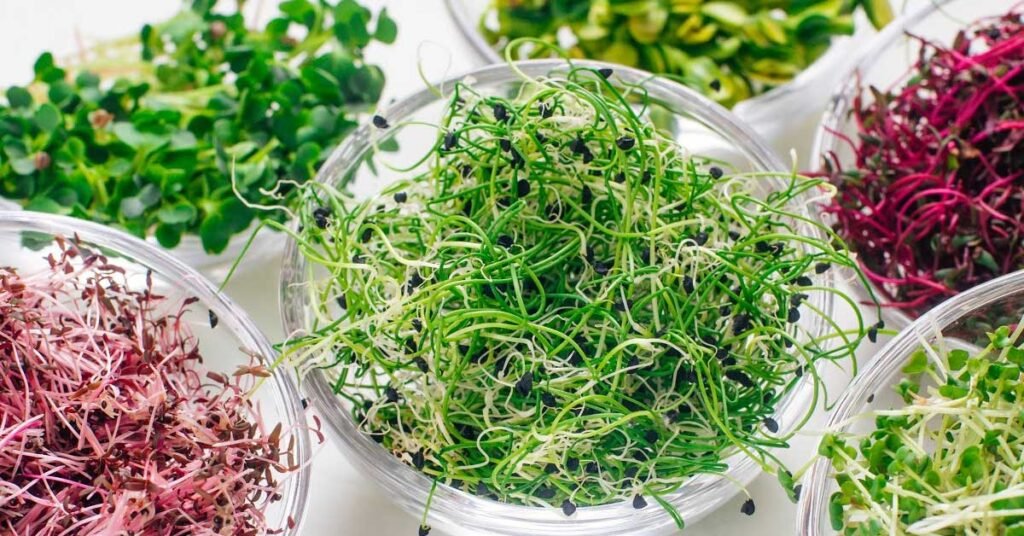
Popular Choices:
- Radish: Spicy, crunchy, and nutrient-rich.
- Broccoli: Mild flavor, packed with vitamins and antioxidants.
- Basil: Aromatic and perfect for garnishes or salads.
- Cilantro/Coriander: Adds a fresh, citrusy flavor to dishes.
- Mustard Greens: Peppery taste, high in vitamin C.
- Sunflower: Nutty flavor and rich in protein.
- Beet Greens: Sweet, earthy flavor with colorful stems.
Pro Tip: Start with 2–3 varieties to simplify care and gradually expand your indoor microgreen garden.
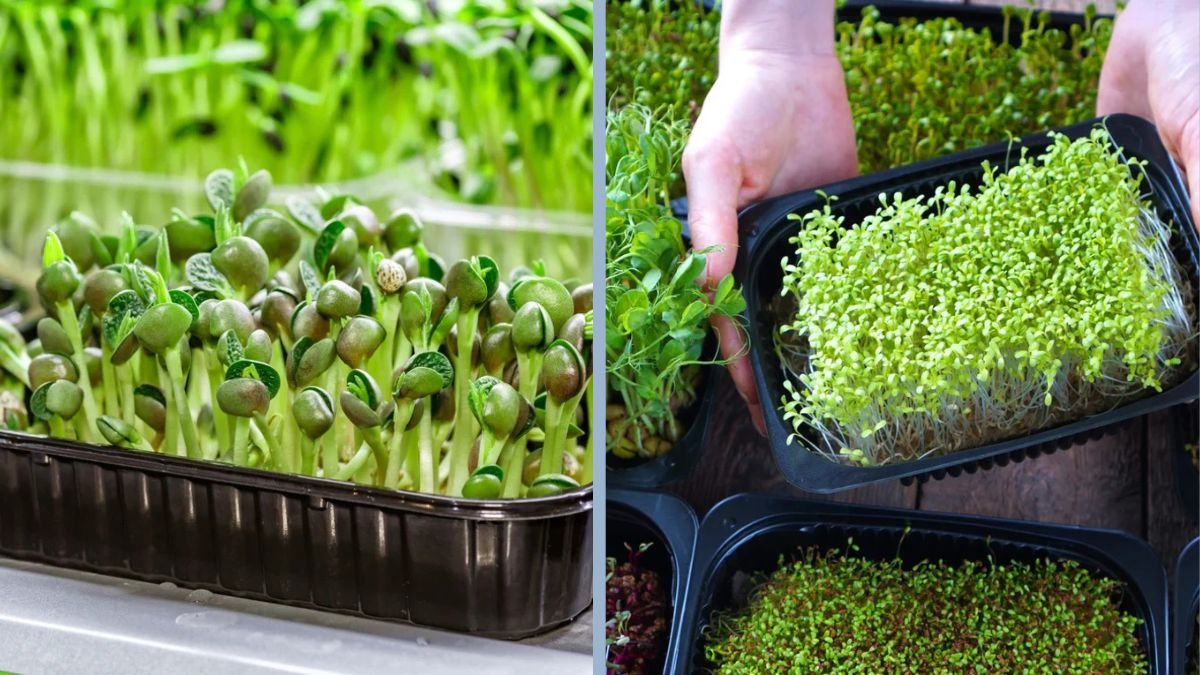
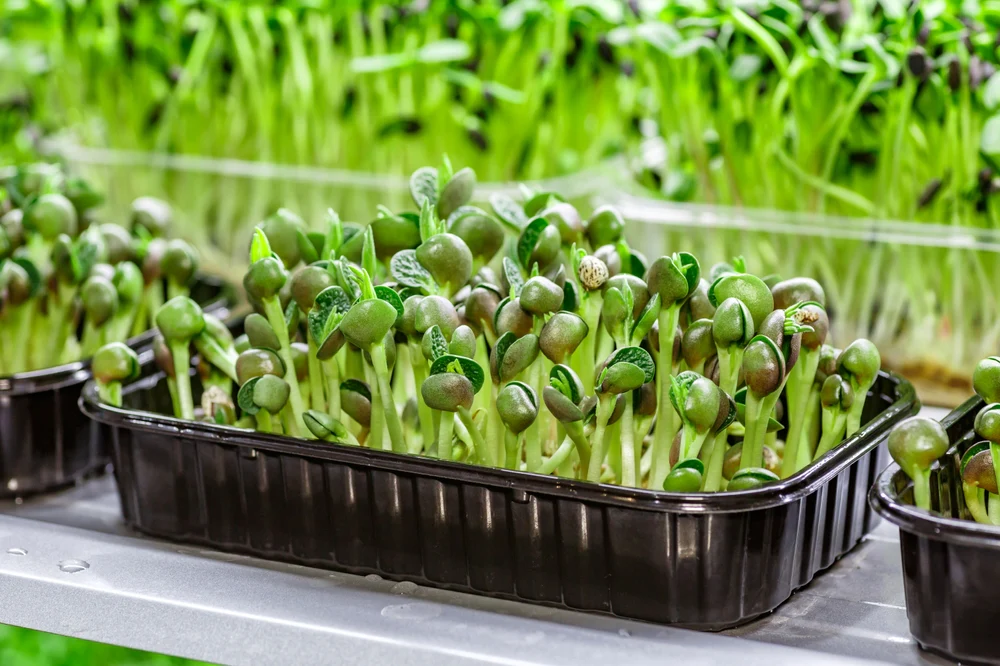
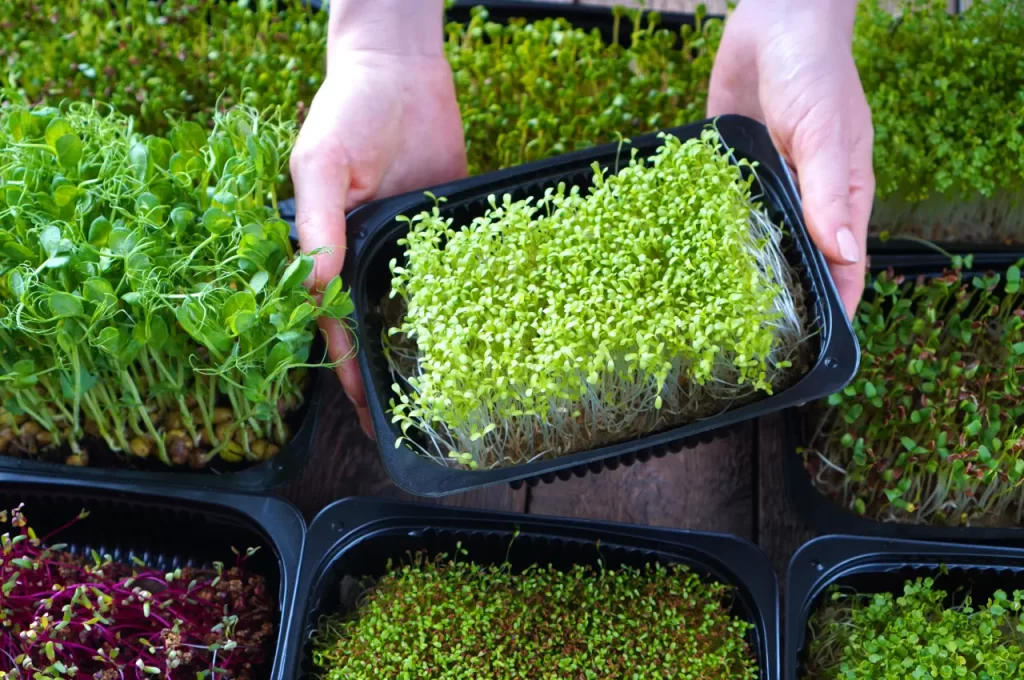
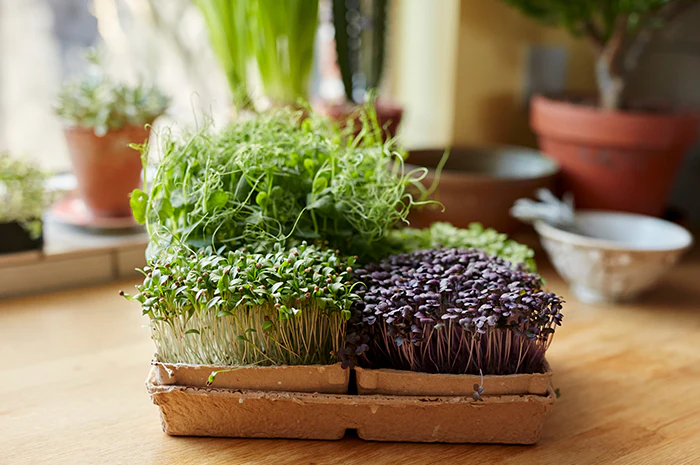
Step 2: Choosing Containers
Microgreens can be grown in shallow trays, making them ideal for indoor gardening.
- Shallow Trays: 1–2 inches deep with drainage holes.
- Seedling Flats: Useful for growing larger quantities.
- Recycled Containers: Food-grade containers, takeaway trays, or shallow boxes can also work.
Tip: Ensure containers are clean and food-safe to avoid contamination.
Step 3: Selecting the Growing Medium
Microgreens thrive in light, well-draining mediums that retain moisture but don’t become waterlogged.
Common Growing Media:
- Potting Mix: Fine, organic potting soil is widely used.
- Coconut Coir: Sustainable, lightweight, and retains moisture well.
- Seed Starting Mix: Lightweight and nutrient-rich for fast germination.
- Hydroponic Mats: Felt or fiber mats for soilless cultivation.
Pro Tip: Avoid garden soil, which may contain pathogens or pests.
Step 4: Sowing the Seeds
- Fill trays with 1–2 inches of growing medium and gently level it.
- Sprinkle seeds evenly across the surface. Microgreens can be sown densely since they are harvested young.
- Lightly press seeds into the soil to ensure good contact.
- Cover seeds with a thin layer of medium or leave uncovered, depending on the seed type.
- Mist with water to moisten without overwatering.
Pro Tip: Use a spray bottle to avoid displacing seeds during watering.
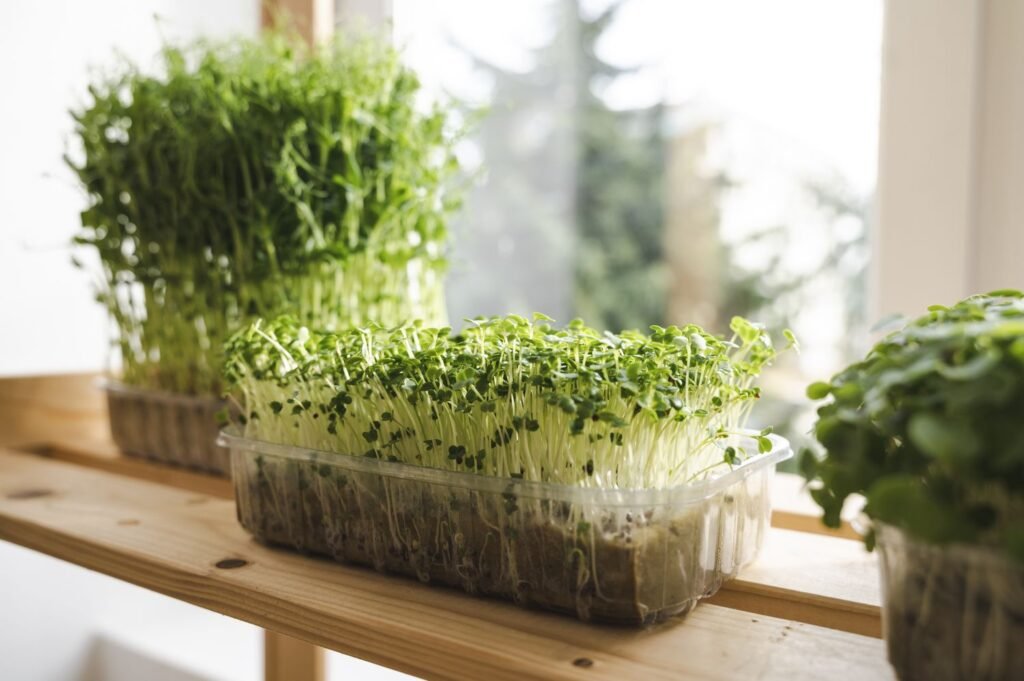
Step 5: Providing Optimal Conditions
Indoor microgreens require consistent conditions for successful growth:
- Light: Place trays near a south-facing window or under LED grow lights for 12–16 hours per day.
- Temperature: Maintain 18–24°C (65–75°F).
- Humidity: Moderate humidity levels support germination. Covering trays with a lid or plastic wrap for the first few days can improve sprouting rates.
- Air Circulation: Ensure airflow to prevent mold or fungal growth.
Pro Tip: Rotate trays occasionally to ensure even light exposure for all seedlings.
Step 6: Watering and Care
Proper watering is essential to prevent root rot and ensure healthy microgreens:
- Mist lightly 1–2 times daily to keep the growing medium moist.
- Avoid overwatering or pooling of water at the bottom of the tray.
- Check trays daily for signs of mold or discoloration.
- Remove any decaying seedlings promptly to protect healthy plants.
Tip: Use room-temperature water to avoid shocking delicate seedlings.
Step 7: Harvesting Microgreens
Microgreens are typically ready for harvest 7–21 days after sowing, depending on the variety.
- Harvest when the first set of true leaves (cotyledons) appears.
- Use scissors to cut microgreens just above the soil line.
- Wash gently in cold water before consumption.
- Consume immediately or store in an airtight container in the refrigerator for 2–3 days.
Pro Tip: Frequent harvesting encourages continued growth and reduces the risk of mold.
Step 8: Creative Ways to Incorporate Microgreens into Daily Meals
Microgreens are versatile and can be used in numerous vegetarian dishes:
- Salads: Add a handful of radish, beet, or sunflower greens for crunch and nutrition.
- Smoothies: Blend greens like spinach, broccoli, or mustard microgreens into green smoothies.
- Sandwiches & Wraps: Use basil or cilantro microgreens as flavorful fillings.
- Soups & Garnishes: Sprinkle on top of soups, stews, or pasta for added color and vitamins.
- Herbal Teas: Infuse aromatic microgreens like basil for refreshing beverages.
Pro Tip: Incorporate a variety of microgreens to enhance both flavor and nutrient intake.
Step 9: Troubleshooting Common Microgreen Problems
- Mold: Caused by excess moisture or poor airflow. Remove affected seedlings and improve ventilation.
- Leggy Growth: Indicates insufficient light; move trays closer to sunlight or use grow lights.
- Slow Germination: Check seed quality and ensure proper moisture and temperature.
- Yellowing Leaves: Could indicate nutrient deficiency or overwatering. Adjust watering and use a light organic fertilizer if necessary.
Step 10: Sustainability Practices for Indoor Microgreens
- Seed Selection: Use organic, non-GMO seeds for healthier and environmentally friendly microgreens.
- Recycling Containers: Repurpose trays, jars, or shallow boxes to reduce waste.
- Water Conservation: Collect and reuse water from misting or indoor plants.
- Composting: Return used growing medium and trimmed seedlings to a compost bin to enrich soil.
Tip: Indoor microgreens can become a model of sustainable, low-waste gardening in small spaces.
Benefits of Growing Microgreens Indoors
- Year-Round Nutrition: Fresh, nutrient-dense greens are available regardless of season.
- Space Efficiency: Microgreens require minimal space and are ideal for apartments or kitchens.
- Cost-Effective: Growing microgreens at home is cheaper than purchasing pre-packaged sprouts.
- Flavorful Addition: Enhances the taste and aesthetic appeal of vegetarian dishes.
- Sustainable Practice: Reduces packaging waste and promotes eco-friendly gardening.
Conclusion
Growing microgreens indoors is a practical, efficient, and highly rewarding method to supplement daily nutrition with fresh, plant-based greens. By selecting suitable varieties, providing optimal light and moisture, and maintaining proper care, anyone can cultivate vibrant microgreens in small indoor spaces.
For vegetarians and plant-based households, indoor microgreens offer a convenient source of vitamins, minerals, and antioxidants while reducing dependency on store-bought produce. Incorporating microgreens into salads, smoothies, wraps, and garnishes adds both flavor and nutrition, making every meal healthier and more visually appealing.
With patience, attention, and sustainable practices, indoor microgreens can become a daily source of vitality and a cornerstone of a healthy, plant-based lifestyle. This simple yet powerful gardening method transforms kitchen spaces into green, productive areas, bridging the gap between homegrown food and everyday nutrition.