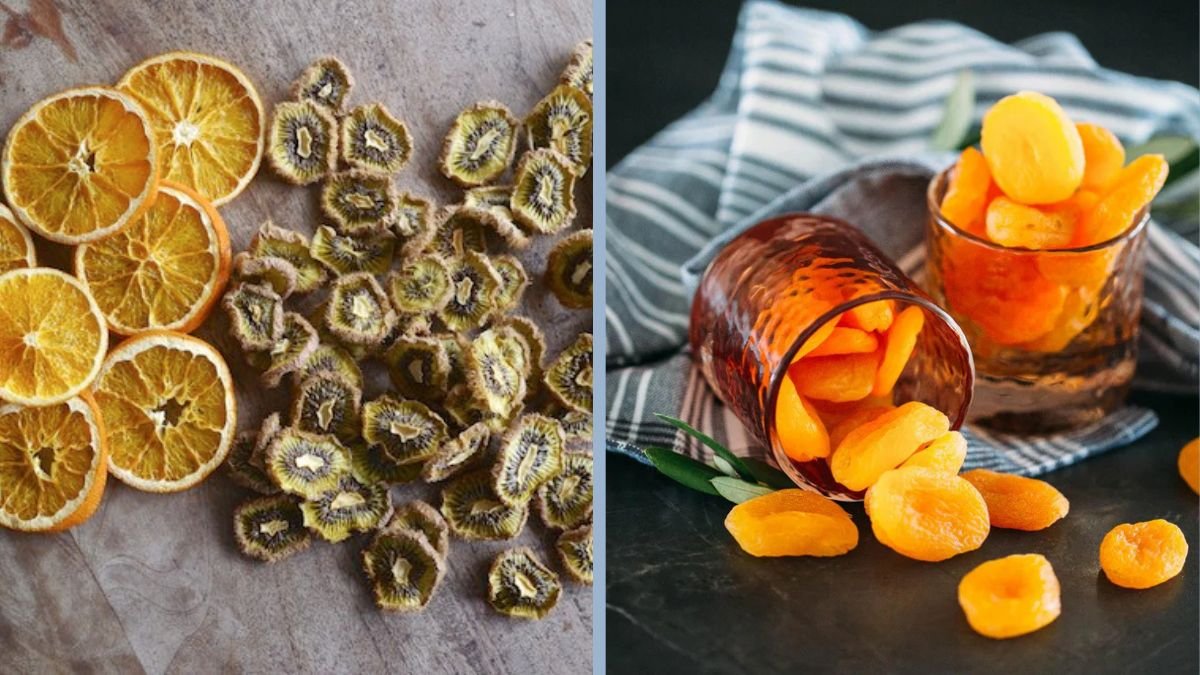
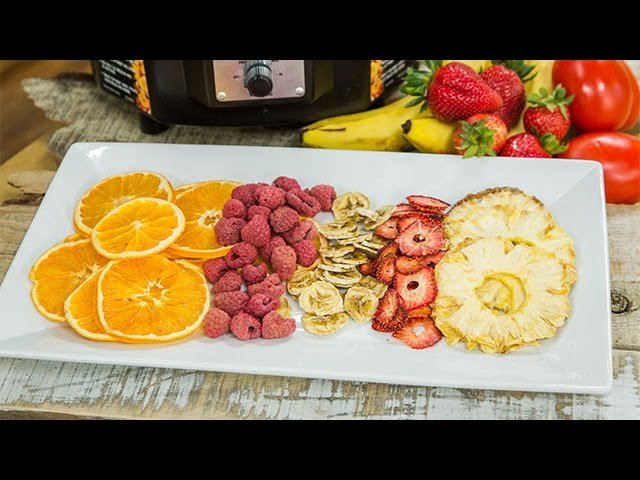
Drying fruits is one of the oldest and most effective methods of food preservation. By removing moisture, fruits become less prone to spoilage while retaining concentrated flavor, nutrients, and natural sweetness. Home-dried fruits are perfect for snacking, baking, cooking, or adding to cereals and salads. Drying fruits naturally at home is a cost-effective, chemical-free, and sustainable way to enjoy seasonal produce year-round, especially for vegetarians seeking nutrient-rich, plant-based snacks.
This article provides detailed guidance on how to dry fruits naturally at home, covering the preparation, drying techniques, storage methods, and tips for maintaining flavor and nutrients. By following these steps, you can produce delicious, healthy dried fruits without relying on store-bought alternatives.
Why Dry Fruits Naturally
Natural drying methods have several advantages:
- Preserves nutrients: Vitamins, minerals, and antioxidants are concentrated and maintained.
- Enhances flavor: Drying intensifies natural sweetness and aroma.
- Reduces waste: Excess fruit can be preserved for months instead of spoiling.
- Cost-effective: No need for specialized equipment or preservatives.
- Versatile use: Ideal for snacks, smoothies, cereals, baking, and desserts.
Unlike commercial dried fruits, home-dried fruits do not contain added sugar or sulfites, making them healthier and more suitable for a vegetarian diet.
Selecting Fruits for Drying
Not all fruits dry equally well. Choose ripe, unblemished fruits for the best results:
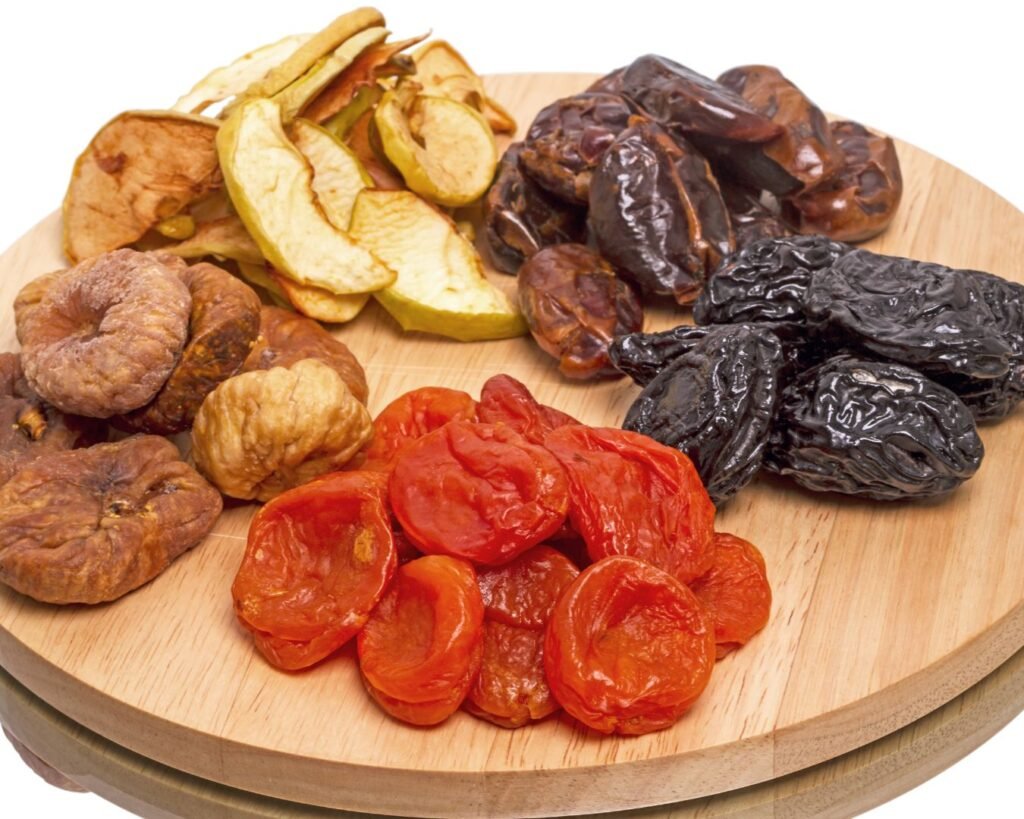
- Soft fruits: Apples, pears, peaches, plums, berries, figs, grapes.
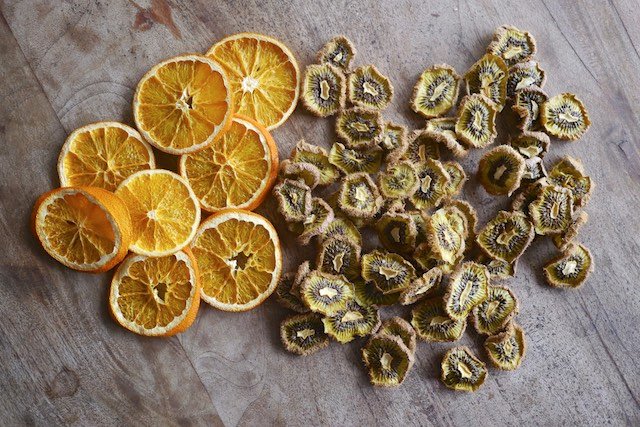
- Citrus fruits: Oranges, lemons, limes (used for peels or slices).
- Tropical fruits: Mangoes, pineapples, bananas, papayas.
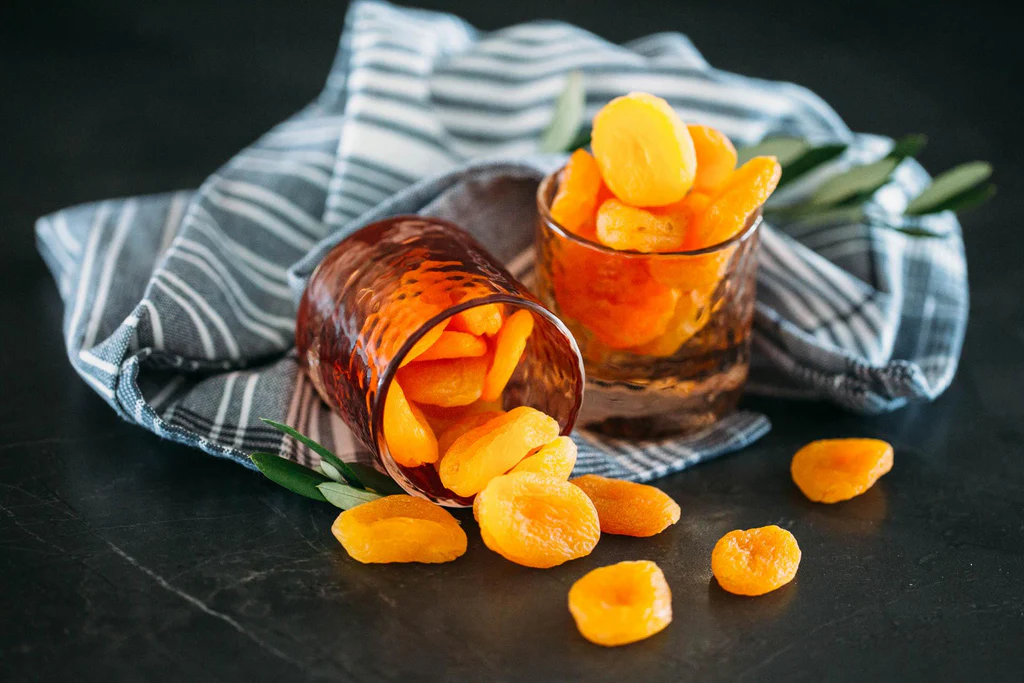
- Stone fruits: Cherries, apricots, nectarines.
Avoid overripe fruits, which can ferment or spoil during drying, and unripe fruits, which may be too tart or lack sweetness.
Preparing Fruits for Drying
Proper preparation ensures even drying, better flavor, and longer shelf life.
1. Washing
- Rinse fruits under cool, running water to remove dirt, dust, and any residues.
- Pat dry with a clean towel to remove excess moisture.
2. Peeling and Pitting
- Peel fruits like apples, peaches, or mangoes if desired.
- Remove seeds, pits, and cores to ensure uniform drying and prevent bitterness.
3. Slicing
- Cut fruits into uniform slices or pieces (¼–½ inch thick) for even drying.
- Smaller pieces dry faster, while thicker pieces retain some juiciness.
4. Pretreatment (Optional)
Pretreatment prevents discoloration and preserves nutrients:
- Lemon juice or ascorbic acid: Dip apple, pear, or banana slices in lemon juice to prevent browning.
- Blanching: Briefly boil or steam certain fruits like apricots to preserve color and texture.
Natural Drying Methods
1. Sun Drying
Sun drying is one of the oldest methods and works best in warm, dry climates.
Steps:
- Place prepared fruit slices on a clean tray or mesh screen, avoiding overlapping.
- Cover with a thin, breathable cloth to protect from dust and insects.
- Position trays in direct sunlight for 2–4 days, turning fruits occasionally for even drying.
- Bring trays indoors at night to prevent moisture absorption from dew.
Tips:
- Ideal temperatures: 85–100°F (29–38°C).
- Ensure low humidity; high moisture can cause mold.
- Use trays with good airflow to prevent uneven drying.
Expected outcome: Fruits are pliable, slightly leathery, and free from moisture pockets.
2. Oven Drying
Oven drying is suitable when sunlight is insufficient or during rainy seasons.
Steps:
- Preheat the oven to 120–140°F (50–60°C).
- Arrange fruit slices on a baking sheet lined with parchment paper.
- Leave the oven door slightly open for proper ventilation.
- Rotate trays and flip fruit slices every few hours for uniform drying.
- Drying time varies: 6–12 hours depending on fruit type and thickness.
Tips:
- Use low temperature to preserve vitamins and prevent burning.
- Check periodically for desired texture.
Outcome: Soft, chewy, naturally sweet dried fruits.
3. Air Drying or Dehydrator-Free Indoor Drying
Indoor drying is suitable for small batches and is less weather-dependent.
Steps:
- String fruits with kitchen twine or place on a drying rack.
- Position near a sunny window, warm countertop, or well-ventilated area.
- Allow 3–7 days for drying, turning or rotating fruits occasionally.
Tips:
- Ensure good air circulation to prevent mold.
- Ideal for grapes (to make raisins), apple rings, and apricots.
Outcome: Light, flavorful fruits with preserved vitamins and minerals.
Checking for Proper Dryness
Properly dried fruits have:
- No sticky or wet spots.
- Pliable, leathery texture without brittleness.
- Concentrated aroma and flavor.
- Uniform dryness; moisture pockets can cause spoilage during storage.
Test a piece by cutting it open; the interior should not have visible moisture.
Storing Dried Fruits
Correct storage ensures longevity and preserves nutrients:
- Containers: Use airtight glass jars, vacuum-sealed bags, or food-grade plastic containers.
- Temperature: Store in a cool, dark place away from direct sunlight.
- Humidity: Keep humidity low to prevent mold growth.
- Labeling: Include date and fruit type to track freshness.
- Shelf life: Most dried fruits last 6–12 months when stored properly.
Tip: Refrigeration or freezing extends shelf life further, especially for tropical fruits like mangoes and pineapples.
Nutritional Benefits of Dried Fruits
Drying concentrates vitamins, minerals, and antioxidants while maintaining a healthy snack option:
- Fiber: Supports digestion and gut health.
- Vitamins: Vitamins A, C (varies by fruit), and E are preserved.
- Minerals: Potassium, magnesium, and iron remain available.
- Antioxidants: Concentrated compounds help reduce oxidative stress.
Dried fruits are a convenient, nutrient-dense addition to vegetarian diets, enhancing both meals and snacks.
Tips for Maximizing Flavor and Nutrition
- Use fresh, high-quality fruits: Nutrients degrade over time; fresher fruits produce better results.
- Slice evenly: Ensures uniform drying and prevents under- or over-drying.
- Protect from insects and dust: Use breathable covers during sun drying.
- Avoid additives: Skip sugar, preservatives, or artificial coatings for natural flavor and health.
- Rotate batches: Use older dried fruits first to maintain optimal flavor and nutrition.
Culinary Uses for Home-Dried Fruits
- Snacking: Healthy, portable energy boosters.
- Baking: Add to muffins, cakes, cookies, or bread.
- Breakfast: Mix with oatmeal, granola, or cereals.
- Salads and savory dishes: Chopped dried fruits add sweetness and texture.
- Smoothies and beverages: Rehydrate or blend for natural sweetness.
The versatility of dried fruits makes them a staple in any vegetarian kitchen.
Conclusion
Drying fruits naturally at home is an effective way to preserve seasonal produce while maintaining nutrients, flavor, and color. By carefully selecting fruits, preparing them correctly, and following proper drying and storage methods, home gardeners and cooks can enjoy a year-round supply of healthy, chemical-free snacks.
The five key steps—choosing fresh fruits, washing and slicing, optional pretreatment, drying (sun, oven, or air), and proper storage—ensure maximum flavor and nutritional value. Home-dried fruits reduce waste, provide convenience, and serve as a versatile ingredient for snacks, cooking, and baking.
By mastering natural fruit drying techniques, you can create a sustainable, nutrient-rich pantry that supports a vegetarian lifestyle while enhancing the taste, aroma, and appeal of everyday meals. Fresh, flavorful, and preserved naturally, dried fruits are a simple yet powerful way to enjoy the bounty of your garden all year long.