
Veg Spring Rolls are a beloved snack across Asia and beyond, cherished for their crispy texture and flavorful vegetable filling. Traditionally deep-fried, these rolls are versatile, easy to customize, and perfect as appetizers, tea-time snacks, or even light meals. This article outlines a seven-step method to prepare vegetarian spring rolls at home, focusing on wholesome ingredients, simple techniques, and healthier cooking alternatives—all without using any non-vegetarian elements.

Introduction
Spring rolls symbolize culinary creativity. Originating in East Asia, they have been embraced globally, particularly in India, where the vegetarian adaptation dominates snack counters, restaurants, and home kitchens alike. The crisp outer shell and savory vegetable filling provide a delightful contrast, making them popular among adults and children.
Homemade spring rolls offer complete control over ingredients, oil usage, and seasoning. Instead of relying on store-bought frozen versions, preparing them from scratch allows for fresher taste and healthier results. This seven-step guide explains the process in detail, from preparing the wrapper to frying (or baking/air-frying) the rolls for guilt-free indulgence.
Ingredients (Makes 10–12 rolls)
- For Wrappers (optional, or use readymade spring roll sheets):
- All-purpose flour: 1 cup
- Cornstarch: 2 tablespoons
- Salt: a pinch
- Water: as needed to make a thin batter
- For Filling:
- Cabbage: 2 cups, finely shredded
- Carrot: 1 large, julienned
- Capsicum (bell pepper): 1 medium, julienned
- French beans: 10–12, finely chopped
- Spring onion greens: 2 tablespoons, chopped
- Ginger-garlic paste: 1 teaspoon
- Soy sauce: 1 teaspoon
- Vinegar: 1 teaspoon
- Black pepper: ½ teaspoon
- Salt: to taste
- Oil: 2 teaspoons (for sautéing)
- For Sealing Rolls:
- A slurry made from 2 tablespoons flour + 2 tablespoons water
- For Frying/Baking:
- Oil (for deep frying or brushing if baking/air-frying)
Step 1: Preparing the Wrappers

- Combine flour, cornstarch, salt, and enough water to make a thin, flowing batter.
- Heat a non-stick pan and lightly grease it.
- Pour a ladle of batter and swirl to form a thin crepe. Cook only until set, without browning.
- Prepare all wrappers similarly, stacking them with parchment in between.
(Alternatively, use store-bought wrappers for convenience.)
Step 2: Prepping Vegetables
- Wash all vegetables thoroughly and pat dry.
- Cut them finely into thin strips or julienne pieces. Uniform cutting ensures even cooking and better stuffing.
Step 3: Making the Filling
- Heat 2 teaspoons oil in a wok or pan on high flame.
- Add ginger-garlic paste and sauté briefly.
- Add beans, carrots, cabbage, and capsicum; stir-fry for 2–3 minutes. Vegetables should remain crisp.
- Season with soy sauce, vinegar, black pepper, and salt. Mix well.
- Add spring onion greens, toss, and switch off the flame. Allow filling to cool before rolling.
Step 4: Rolling the Spring Rolls
- Place a wrapper on a flat surface.
- Add 2 tablespoons of cooled filling near one edge.
- Fold the sides inward and roll tightly, sealing the end with flour slurry.
- Repeat until all filling and wrappers are used.
Step 5: Cooking the Rolls

- Deep Frying: Heat oil until medium-hot. Fry rolls in batches until golden and crisp. Drain on absorbent paper.
- Baking: Preheat oven to 200°C. Place rolls on a greased tray, brush lightly with oil, and bake 15–20 minutes, flipping halfway.
- Air-Frying: Brush rolls with oil and air-fry at 180°C for 12–15 minutes, shaking basket midway.
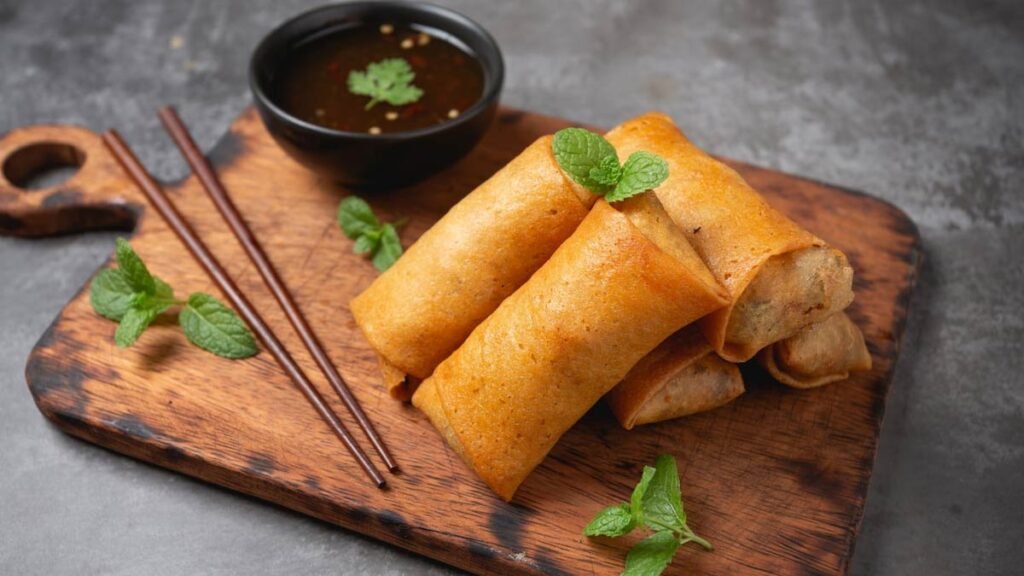
Step 6: Serving Suggestions
- Serve hot with tomato ketchup, green chutney, or chili garlic sauce.
- Pair with a bowl of clear soup for a wholesome meal.
- For parties, slice each roll diagonally and serve as bite-sized appetizers.
Step 7: Storing and Reheating
- To store uncooked rolls, arrange them in an airtight container with parchment layers, then refrigerate (up to 24 hours) or freeze (up to 1 month).
- Fry/bake directly from frozen without thawing to prevent sogginess.
- Leftover cooked rolls can be reheated in an oven or air fryer to restore crispness.
Nutritional Benefits

- Vegetable Rich: Provides fiber, vitamins A and C, and antioxidants from cabbage, carrots, and capsicum.
- Protein Boost: Add tofu or paneer for additional vegetarian protein.
- Low-Oil Options: Baking and air-frying reduce fat while retaining crunch.
- Customizable: Adjust vegetables seasonally—use mushrooms, baby corn, or spinach for variety.
Tips and Variations
- Healthier Wrapper: Replace all-purpose flour with whole wheat flour for added nutrition.
- Indo-Chinese Twist: Add a spoon of chili sauce or schezwan paste to the filling.
- Kids’ Favorite: Include sweet corn and paneer cubes for a mild, kid-friendly version.
- Festive Touch: Add grated cheese or herbs like oregano for fusion-style spring rolls.
Conclusion
Veg Spring Rolls embody the charm of simple ingredients transformed into a delightful snack. By following these seven steps—preparing wrappers, prepping vegetables, making the filling, rolling, cooking, serving, and storing—you can enjoy crispy, flavorful rolls at home without hassle. This method not only provides a healthier alternative to restaurant versions but also allows for creativity in flavors and fillings.
Easy to make, versatile, and always satisfying, homemade vegetarian spring rolls are proof that indulgence and health can go hand in hand. Perfect for family gatherings, parties, or even solo treats, this recipe stands as a practical yet academically relevant study of how traditional snacks can be adapted for modern, health-conscious lifestyles.